How I converted the server UPS to lithium
8 years ago, after the article "Comparing 4 2 KVA UPS", I still had an Inelt UPS Monolith III 2000 RT, which I used to power a 230W home server.
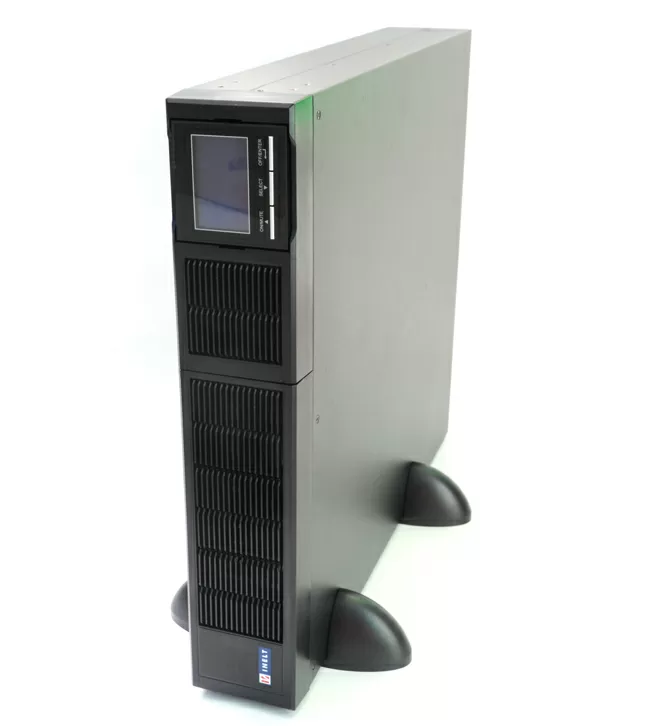
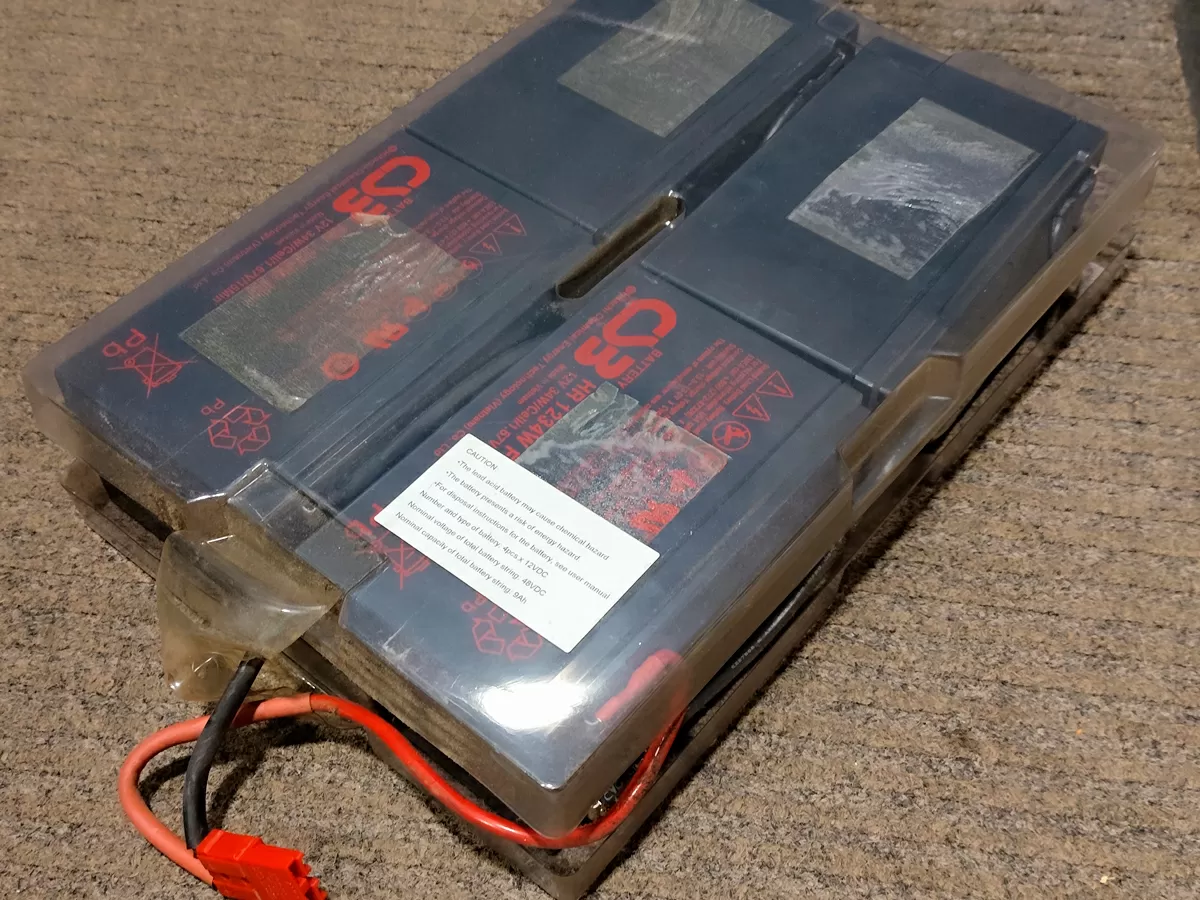
I'm impressed by the fact that the original CSB HR1234W batteries, which were installed in the 48-volt assembly of four batteries from the factory, have not completely died after 8 years, but have reduced their lifespan by about half. As a result, the UPS has been able to keep the server running for about 45 minutes in offline mode. Usually, my UPS batteries "run out" after 3 years, but in this case, they have not even started to die after such a long period of time. There are two reasons for this:
- The first reason is that the Inelt Monolith III 2000 RT UPS has the ability to adjust the voltage per cell in both the charge and battery maintenance modes, and the default settings are set to a gentle 2.2 V.
- The second reason is the high-quality and heavy batteries from a reputable manufacturer.
I have already converted two of my UPSs to LiFePo4 cells, and I decided that I would not be able to purchase the same high-quality CSB batteries today, as their standard battery life of 90 minutes is not enough for me. I am eager to celebrate, and my hands are itching to try something new, so I decided to convert this third UPS to lithium. Initially, I did not plan to write an article about this experience, but as I worked on it, I took so many photos that I decided to share them with you.
Step 1: Select the replacement cell sizes
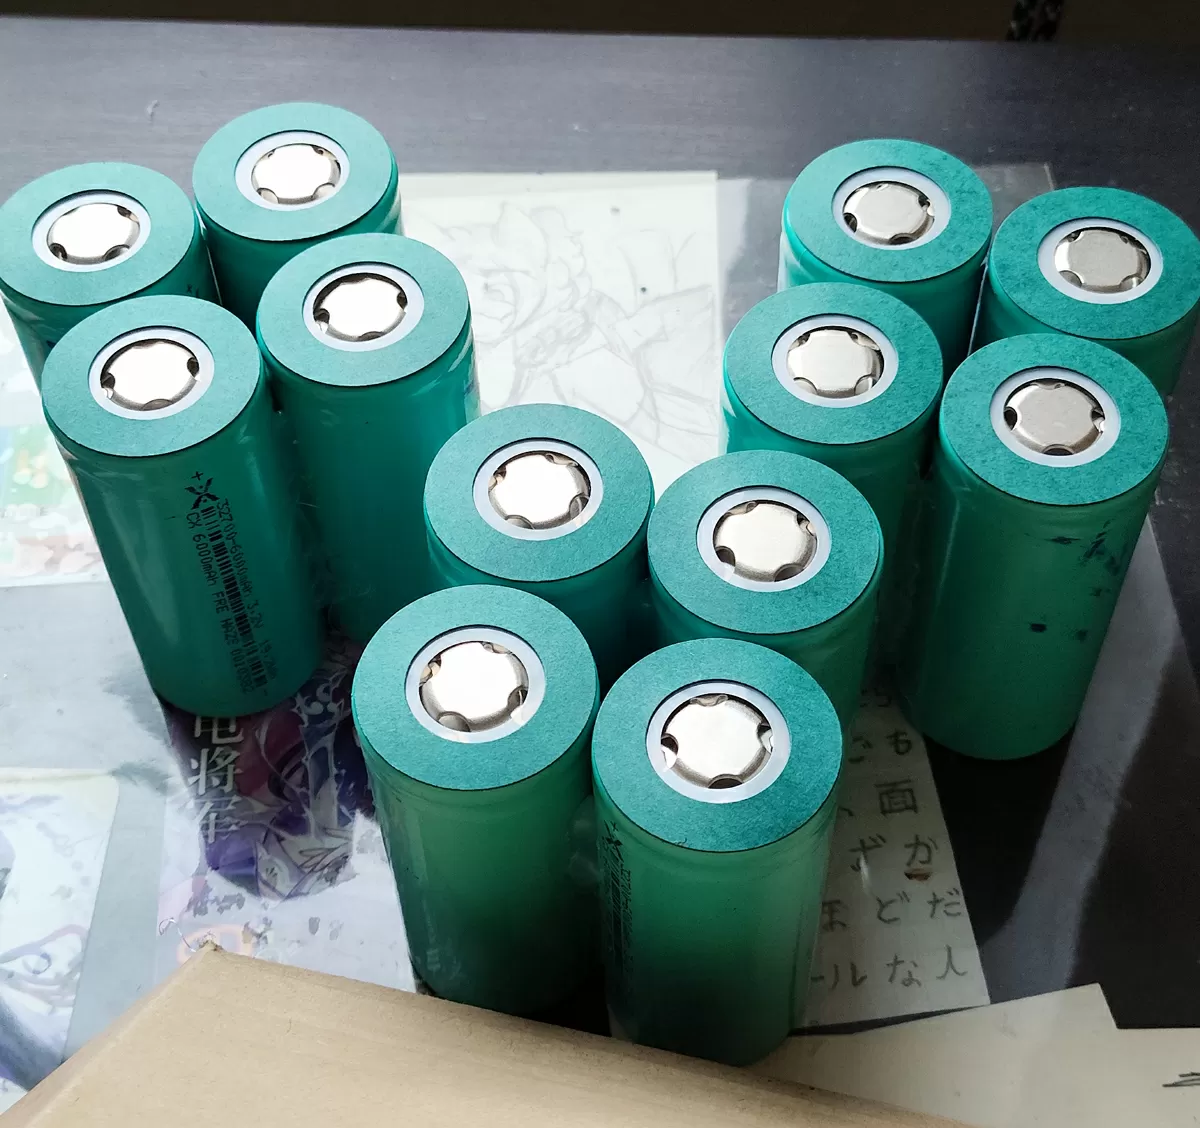
The UPS has a factory-installed cartridge of 4 batteries arranged horizontally, with a total voltage of 48 V, a current of up to 40 amps, and a power output of up to 2 kW (2 KVA). The main size limitation is the thickness of the assembly, which should not exceed 70 mm, as it would not fit through the battery replacement window. The recommendation was to either find prismatic cells with a capacity of 15 Ah or assemble them using 32700 cylinders.
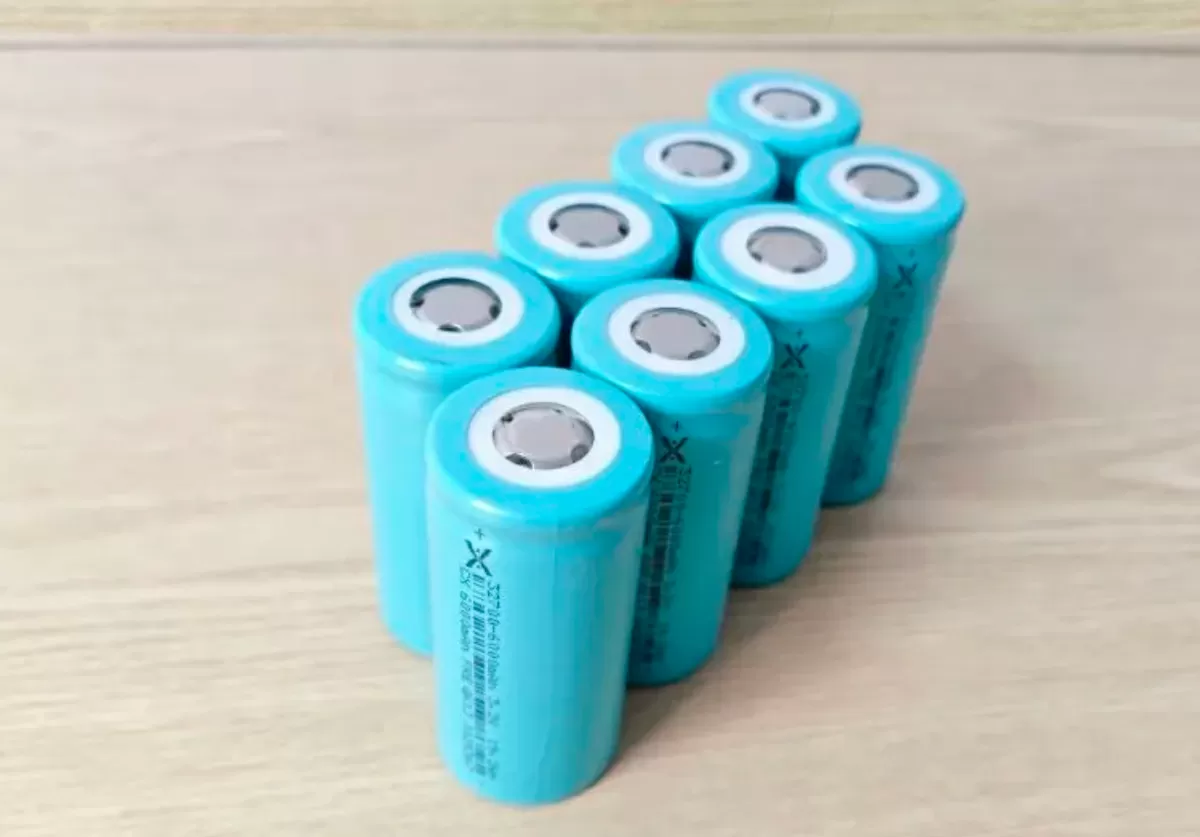
I immediately decided to use 32700, considering that this format of the battery has been produced for a long time, the processes are well-established, and if 3-4 years ago you bought a cell with a capacity of 5600-5800 mAh, then today you can safely look for 7200-7300 mAh for almost the same money.
After communicating with the neural network, we came to the conclusion that in order to replace the standard 48V battery, it is necessary to use a 15S4P assembly of 60 pieces of 32700. Before ordering, I once again measured the battery compartment in the UPS, drew a diagram of the installation in Photoshop, and made sure that a 60-cell assembly is the maximum that will fit in the compartment, and 64 would not fit. In terms of voltage, 15S4P gives approximately 53.2V, which is the closest to the factory assembly, the total current that the assembly can withstand is about 70 Amperes (3.5 kW), limited by the BMS electronics and the UPS inverter at around 40 Amperes. However, in terms of capacity, I gain a factor of 3 by combining the cells into parallel groups of 4 cells, resulting in a total capacity of 24 to 27 Ah, compared to the 9 Ah of the original lead-acid battery, which should provide about 300 minutes of autonomy instead of 90 minutes on the new lead-acid battery and 45 minutes on the old one. As they say, it's worth the effort.
However, I had to reject the use of convenient holders for large assemblies due to the fact that the assembly would be wider and longer with them. Therefore, I decided to use tape and/or a glue gun to secure the cells together. Although I realized this after ordering the holders, it's not a big deal as they are really cheap.
Step 2. Selecting scheme
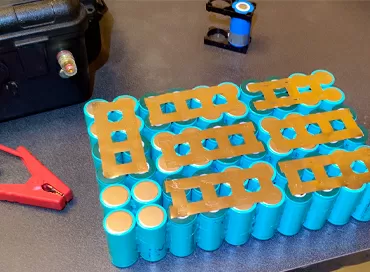
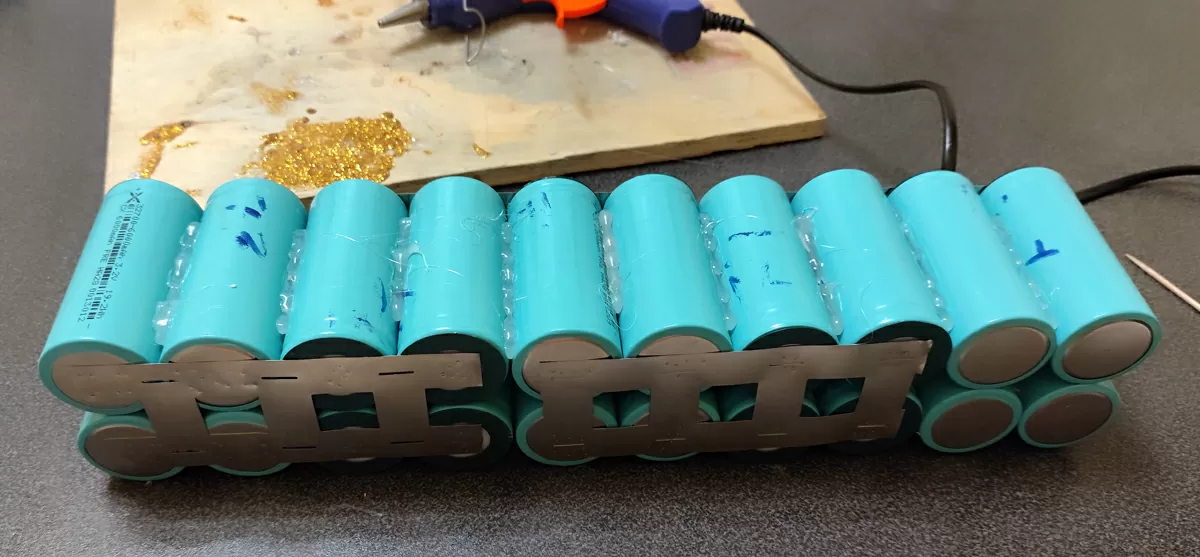
To connect the groups into "fours", I chose to combine the cells into 2x2 squares, which are then connected in series in a "snake" pattern. This connection allows for the use of a 2-row nickel strip, dividing the total current into parallel buses.
Please note that in the diagram, I have depicted the groups as if the battery were located at the bottom, with the + terminal output on the opposite side of the observer.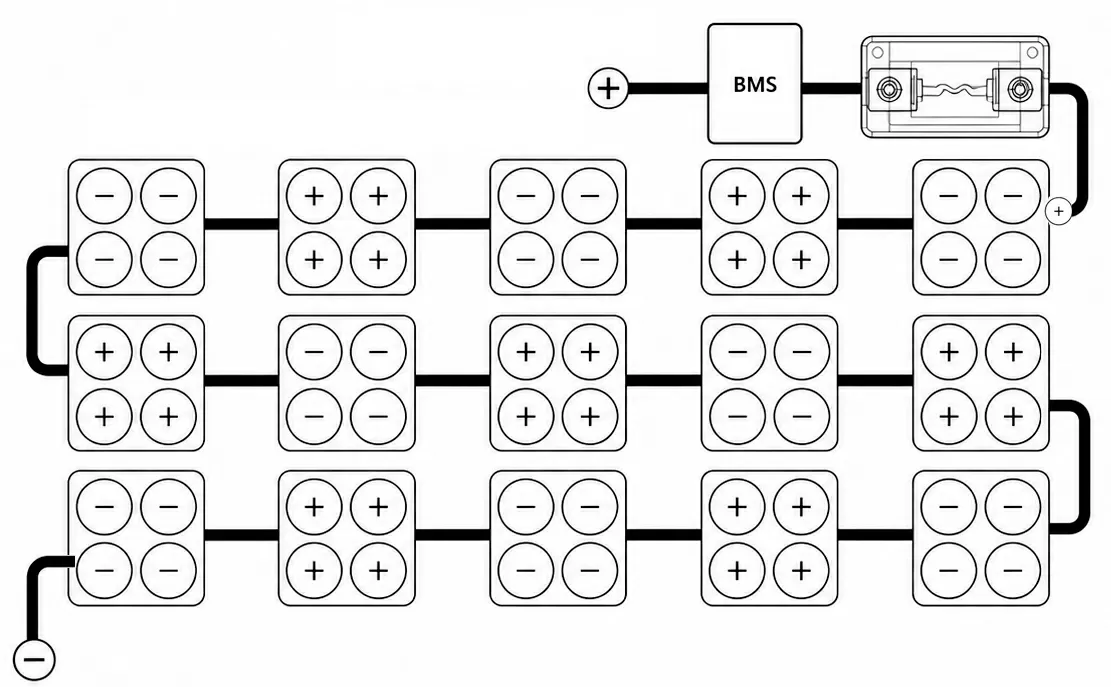
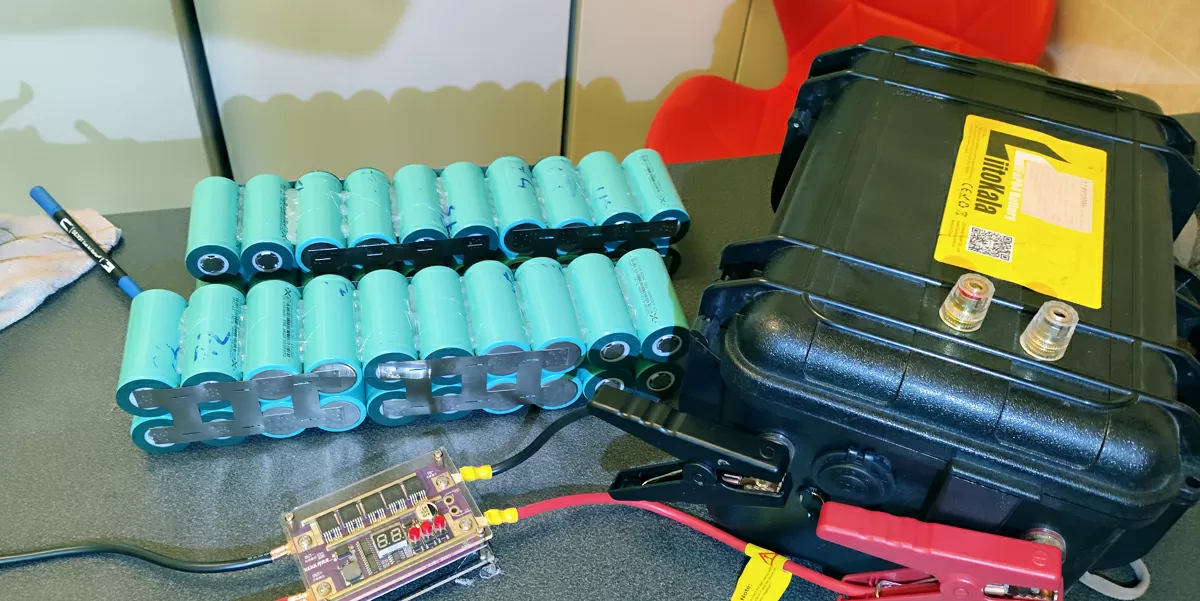
The final assembly should be 3 rows of 5 groups of 4 elements each. This is simpler than any other connection sequence.
Step 3. Choosing components
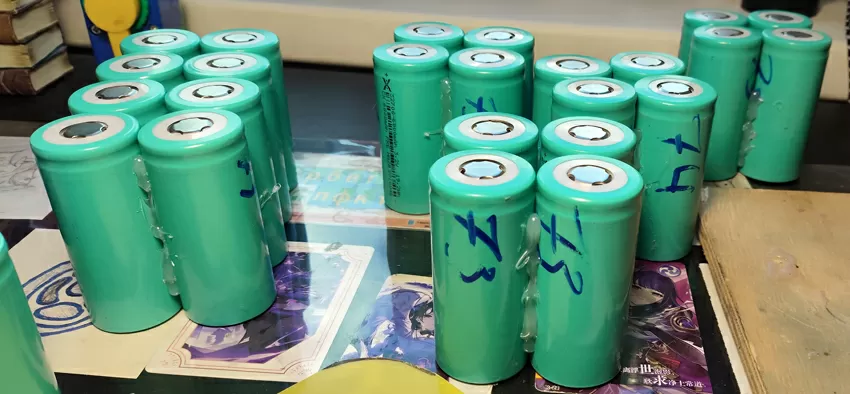
I decided to buy the 32700 batteries themselves on local marketplaces, so that I could check them and return them if necessary. Initially, I wanted to buy something like 7 sets of 10 batteries, given that sellers always add a few subpar batteries to larger sets. I would have selected these batteries and returned the extra, seventh set. However, I had to buy 3 sets of 32 batteries, and out of the 96 batteries, approximately 70 had a capacity of 7200 to 7400 mAh, while 26 had a capacity of 6300 to 6800 mAh. To the seller's credit, they were all sold as 6000 mAh batteries, and the extra capacity was provided for free.
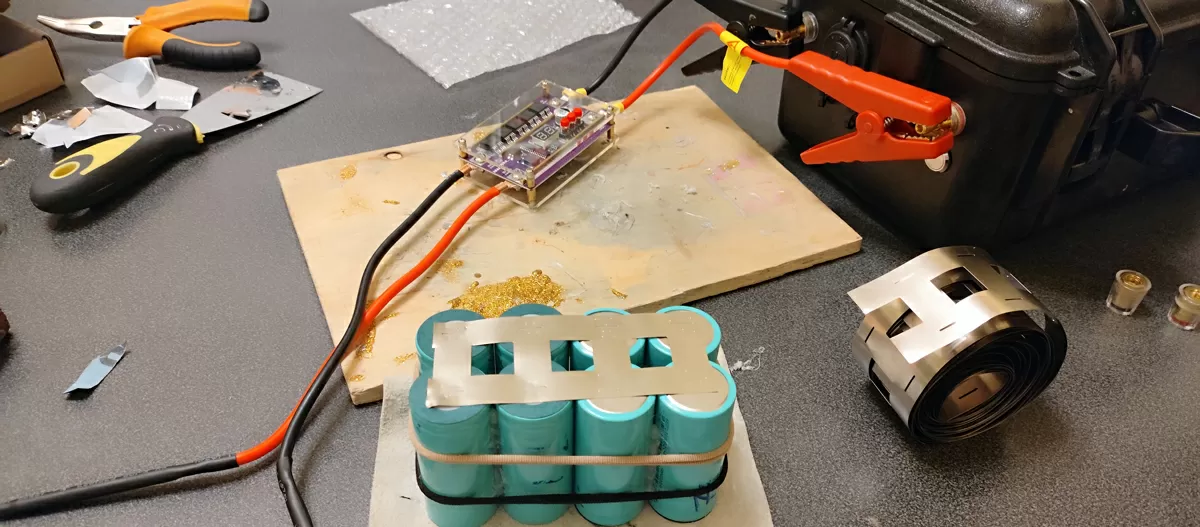
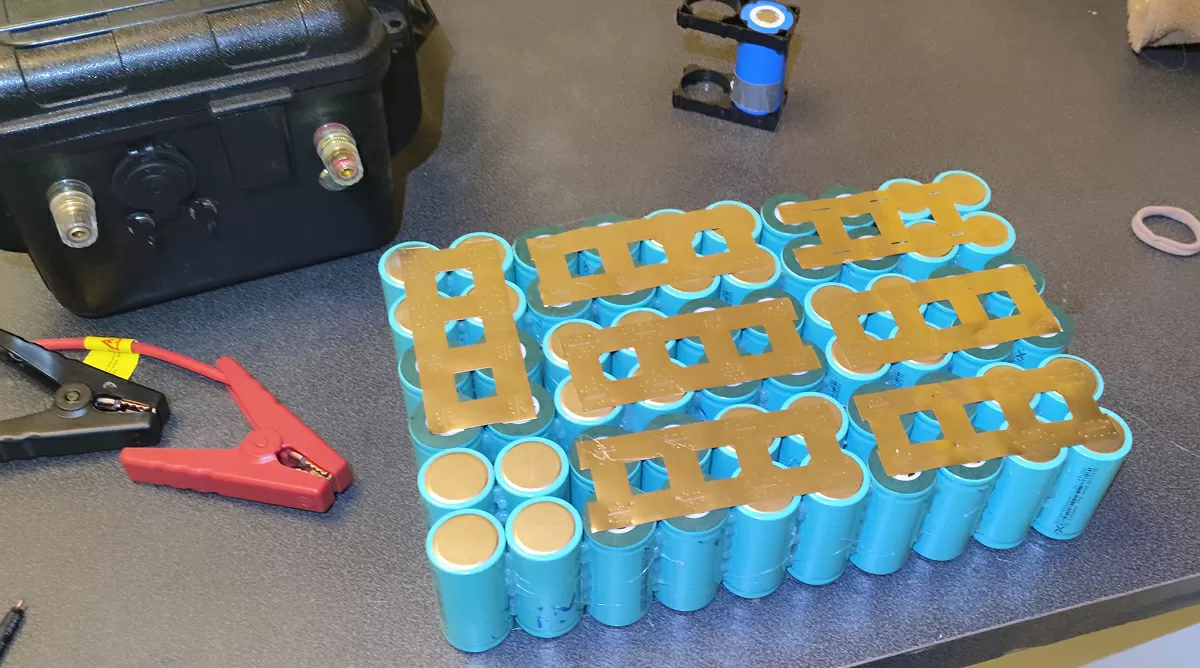
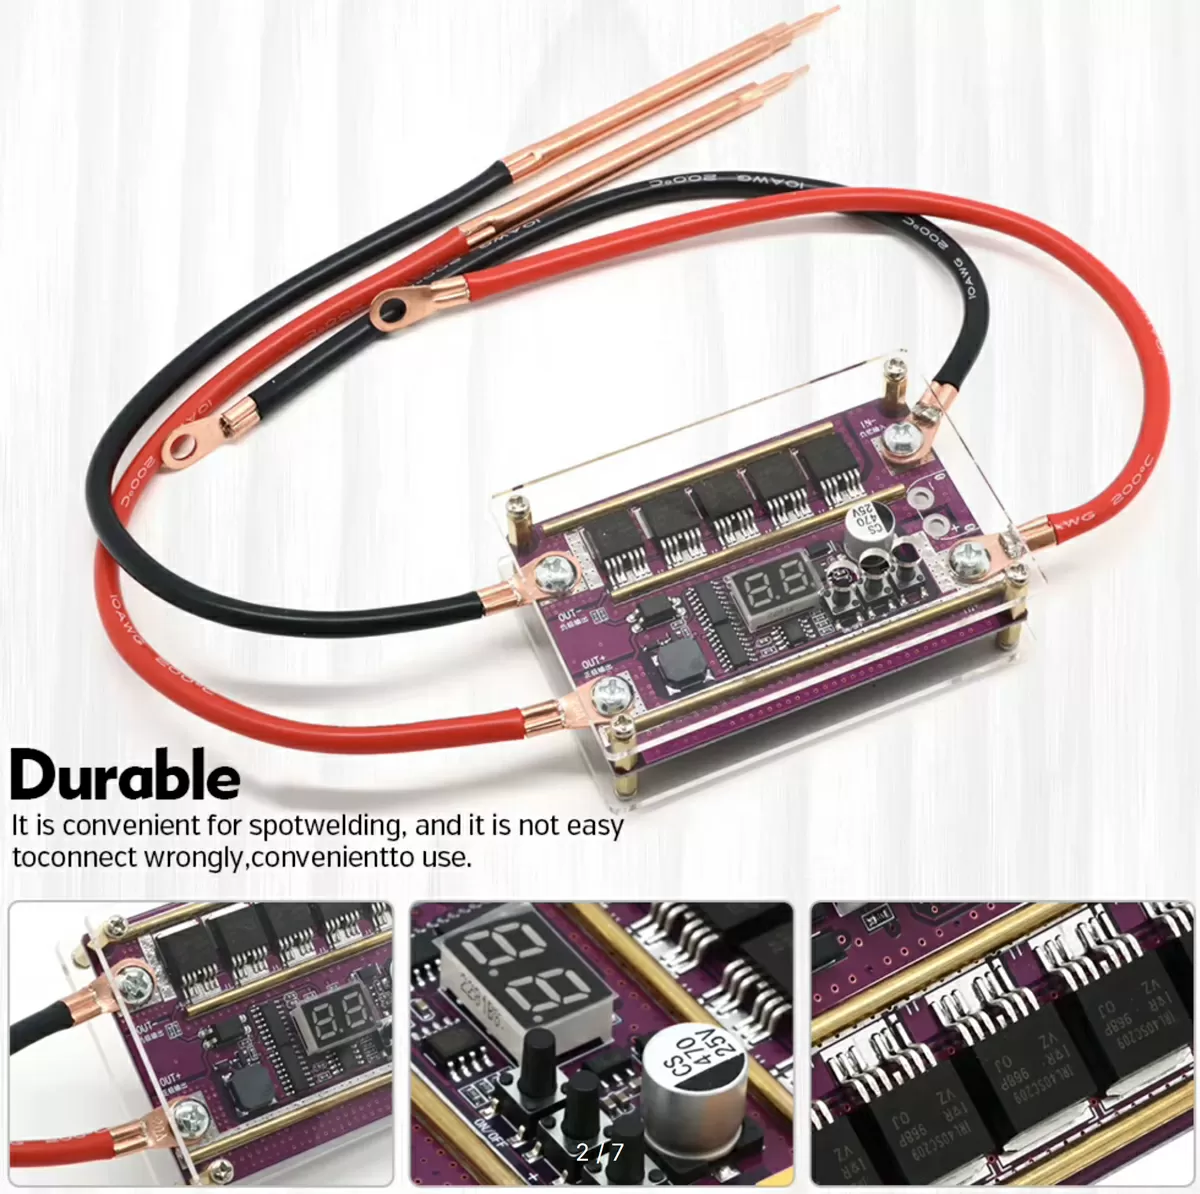
I soldered my first 32-cell 32700 assembly with a soldering iron and copper wires. I tried four different fluxes, cursed everything in the world, and promised myself that I would never do it again. So when I imagined assembling 60 batteries, I decided that I would use welding. I purchased a simple set from Aliexpress that was designed to connect to 12V. I have a powerful 100Ah portable lithium battery, and I decided to connect to it.
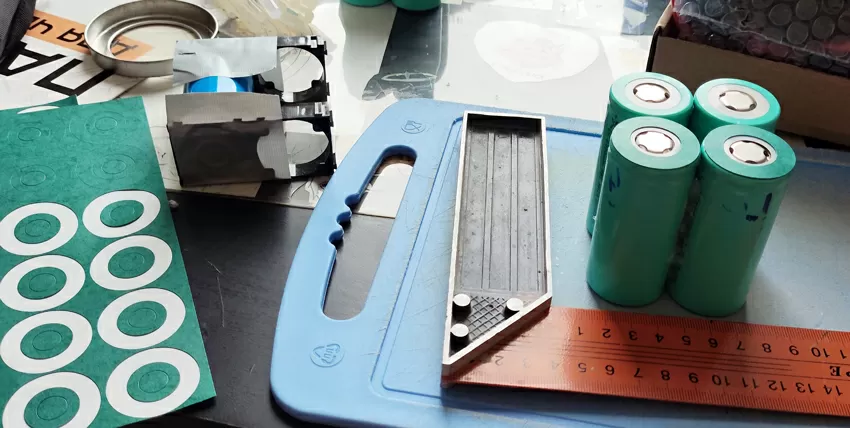
When choosing a nickel tape, I encountered the fact that the crossbars for parallel connection of elements have different spacing for assemblies in holders and for assemblies with dense installation of elements side by side. This should be taken into account when ordering.
Insulation circles for sticking to the positive terminal of the batteries. In principle, I still didn't understand whether I needed them or not in my case, but since everyone was sticking them on, I decided to buy them on the marketplace as well.
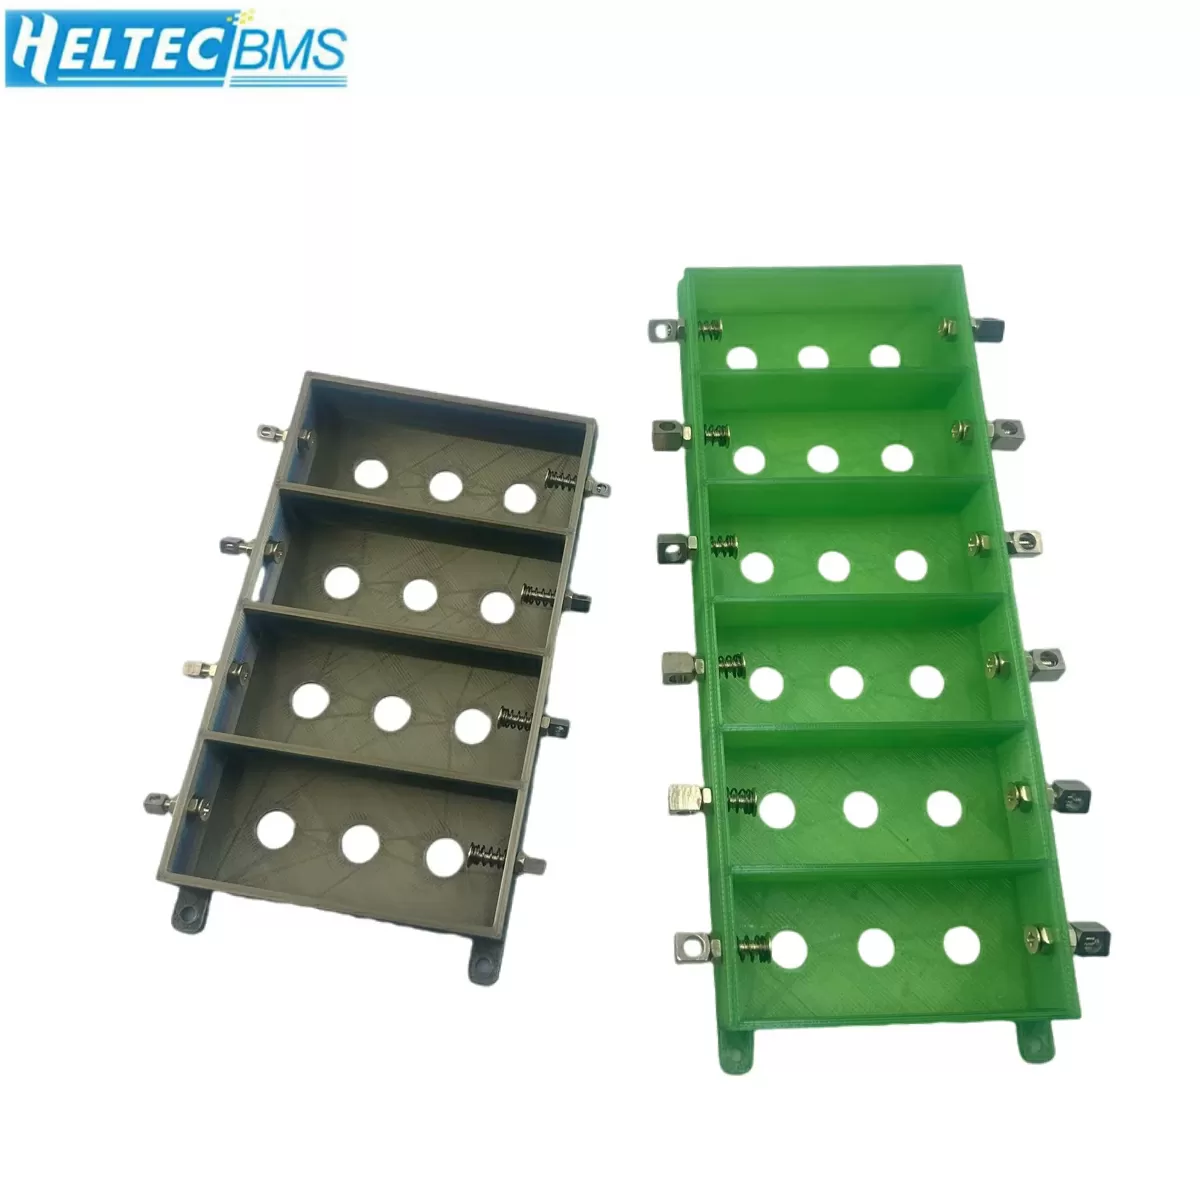
A 4-cell cradle for testing and balancing the cells before assembly. I already have a B6 Max V2 charger, and I needed to insert a few 32700 cells into it. These craddles are printed on a 3D printer, and we may have them available, but I ordered them from Aliexpress.
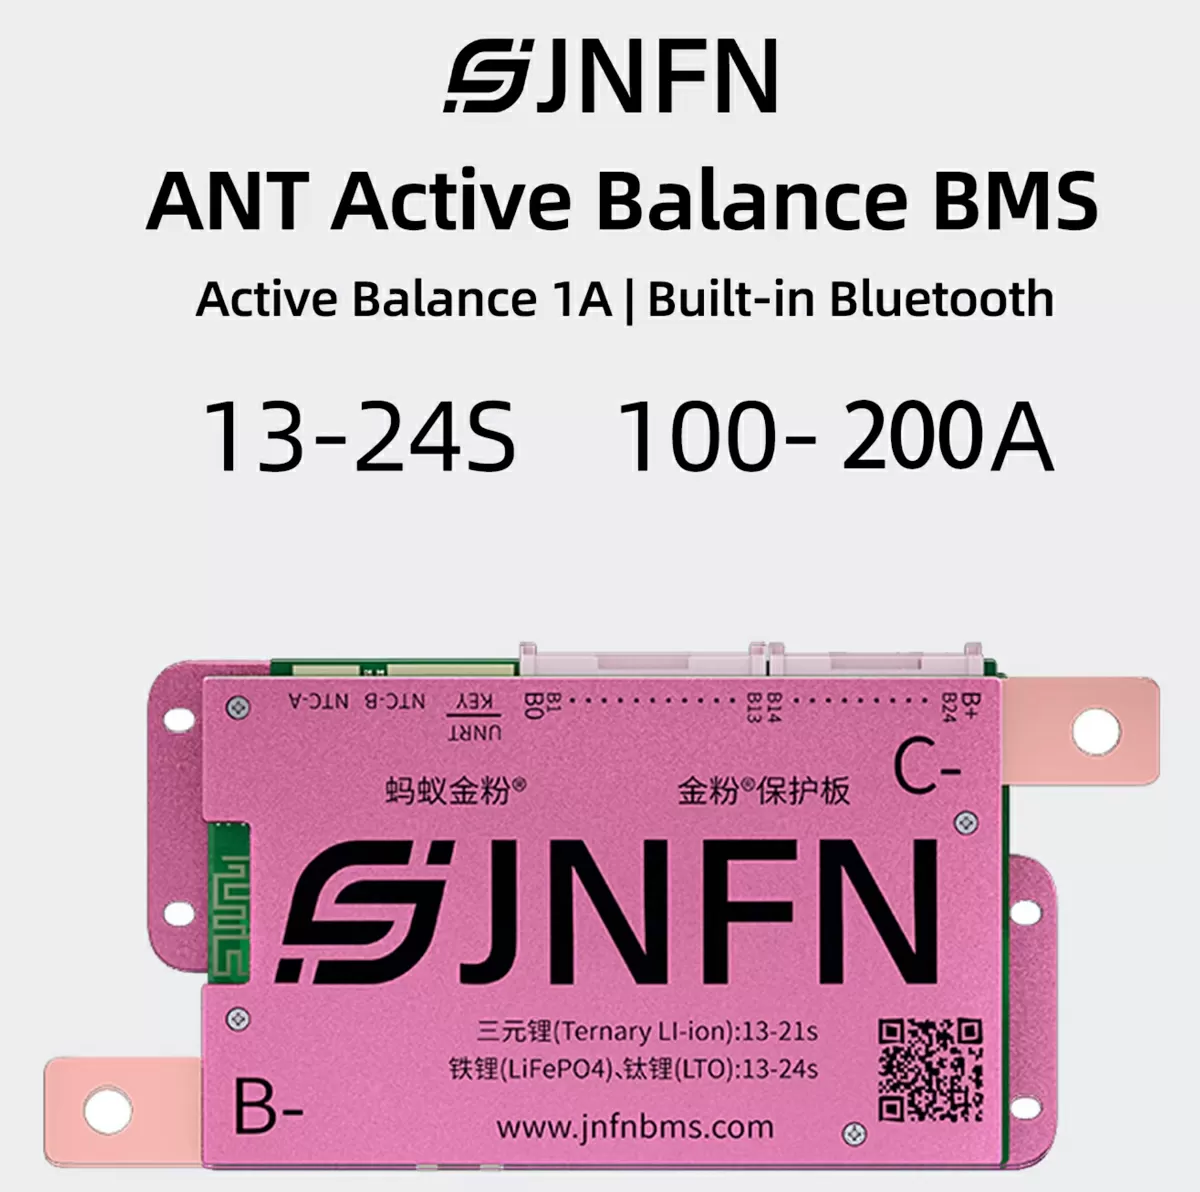
BMS. It's simple here - on the sale on Aliexpress, the ANT JNFN model was sold with a big discount. This BMS has a discharge current of up to 100A (with a large margin), one common BMS for circuits from 13 to 24S, a large active balancing current of up to 1A, and Bluetooth support for setting up and monitoring with a smartphone. The only thing that worried me was that the board was very thick, as much as 20 mm. According to my calculations, the assembly was exactly the same height as the UPS compartment, and it was taller than the original lead plate.

Mystery 60 Amp fuse from the car audio store. In the event of a short circuit, it is not certain that the BMS board will be able to help break the circuit, so the good old fuse is the solution. Plus, like everything in car audio, it looks great.

I bought insulating cardboard in rolls 14 cm wide, as well as shrink wrap, on the marketplace. I decided to borrow the wires from the existing lead assembly, they are good there – 10AWG, and the only thing that was required was to replace the terminals on them with “ears”. But such a trifle as terminals, bolts with nuts and crimping pliers, I have.
In general, I was in no hurry, and having started ordering in April, I started the assembly process in June.
Step 4. Verification and balancing cells
Since the assembly will be 4P, I had to pre-balance the cells in groups of 4, while also determining the capacity of each group. I discharged each group with a current of 0.7A and charged it with a current of 4A (the power supply did not allow for more), recording the capacity of each group. As I mentioned earlier, I only kept the groups with a capacity of more than 7200mAh, discarding the rest and returning them to the seller. Marketplaces are the way to go!
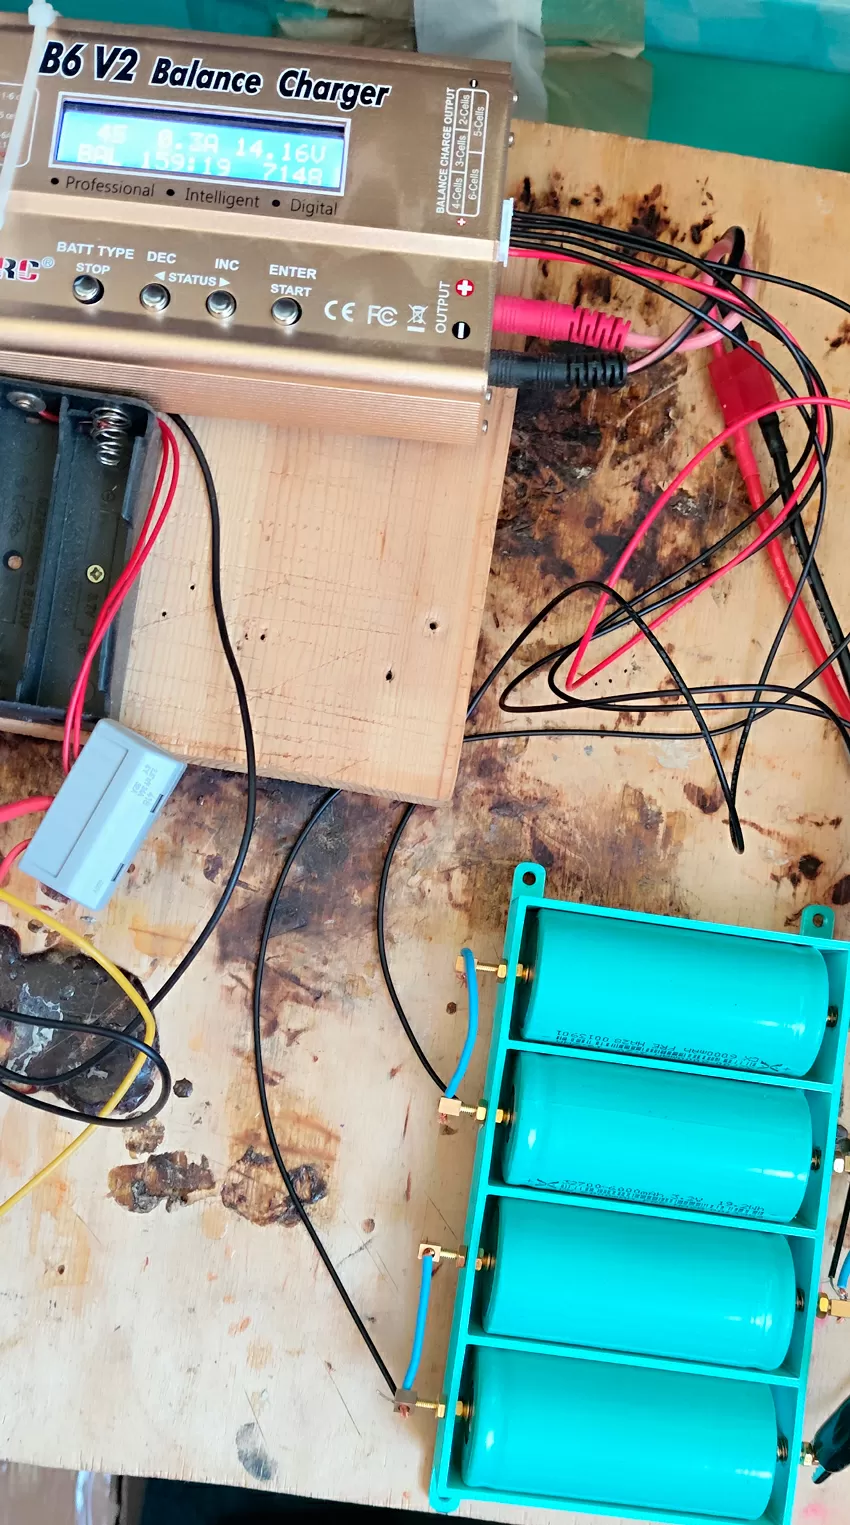
It took me about 2.5 weeks to complete this process, working around the clock. I spent approximately 180 minutes on discharging and 240 minutes on charging and balancing the group.
Step 5. Gluing groups
I glued groups of 4 batteries together using a glue gun, making it easier to connect them to the assembly later.
It is important to glue them together as evenly as possible, otherwise the final battery will be larger and will not fit into the UPS.
Step 6. Soldering cells
Protective circles should be glued immediately before welding, otherwise they will peel off the next day.
Using the welding machine was easier than I thought. First, I took an old trowel and tried to weld a piece of nickel tape to it, adjusting the power on the machine. My welding machine has 30 power levels, but levels 7 and 8 worked well for me. They didn't burn through the tape and didn't produce too much sparks.
Yes, sparks fly in all directions, so you should wear protective goggles. The main secret is to press the electrodes firmly but not too hard, practice on an old or extra battery, and use something to secure the group and hold the tape in place so it doesn't fall apart during welding.
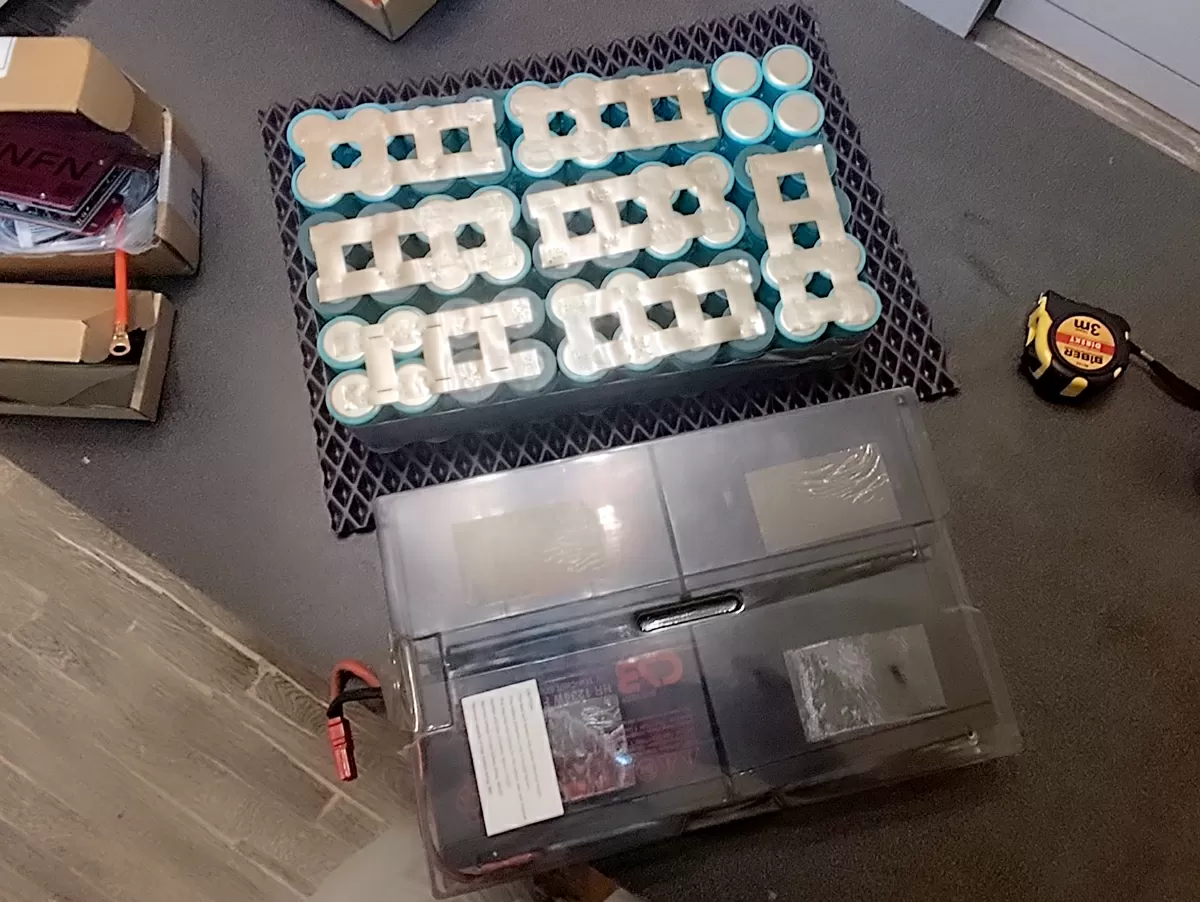
It took me 2 evenings to make a battery out of 15 groups. After completing it, I additionally glued three lines of 5 groups with a glue gun and then wrapped them with tape.
Step 7: Soldering the balance wires and temperature sensors
Small balancing wires are convenient to solder directly to the nickel strip, after previously cleaning the place of soldering with a sandpaper and using a 60-watt soldering iron. So that the wires do not add thickness to the assembly, somewhere I have sunk them between the cells, somewhere I have simply pressed.
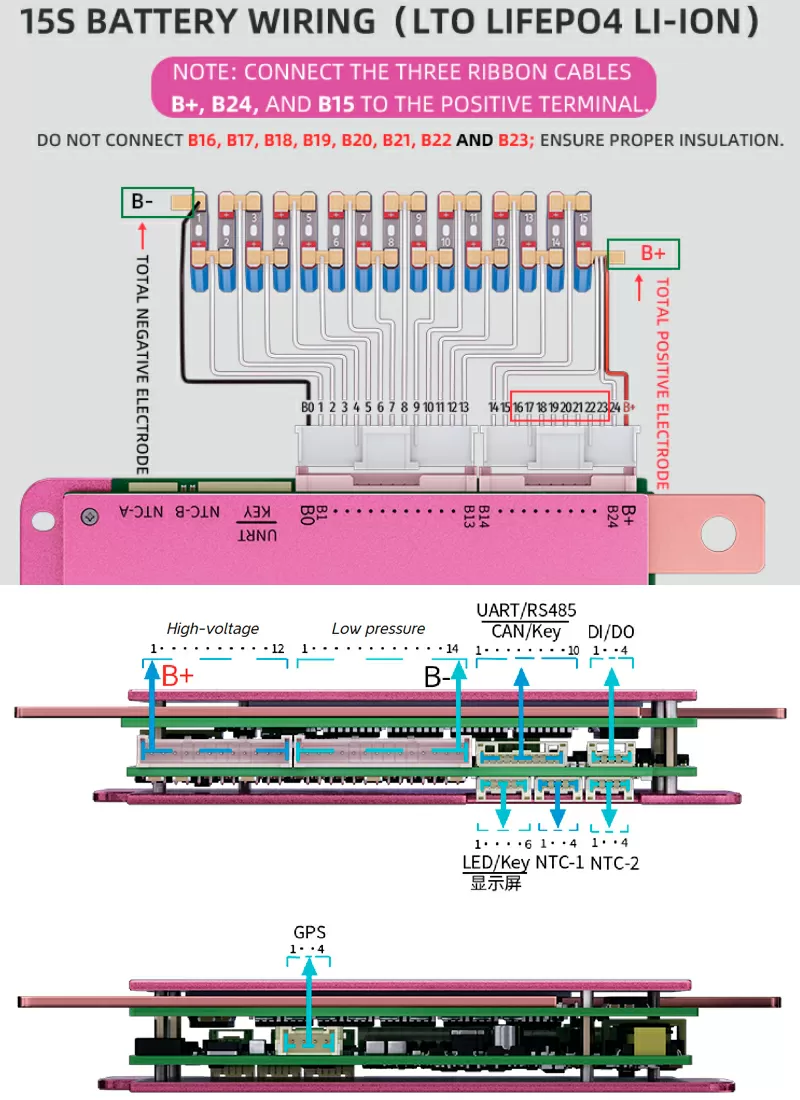
ANT JNFN's balancing wires are divided into two loops, and I use the first loop completely, while the second loop contains only two signal wires for the groups and two wires for the positive terminal.
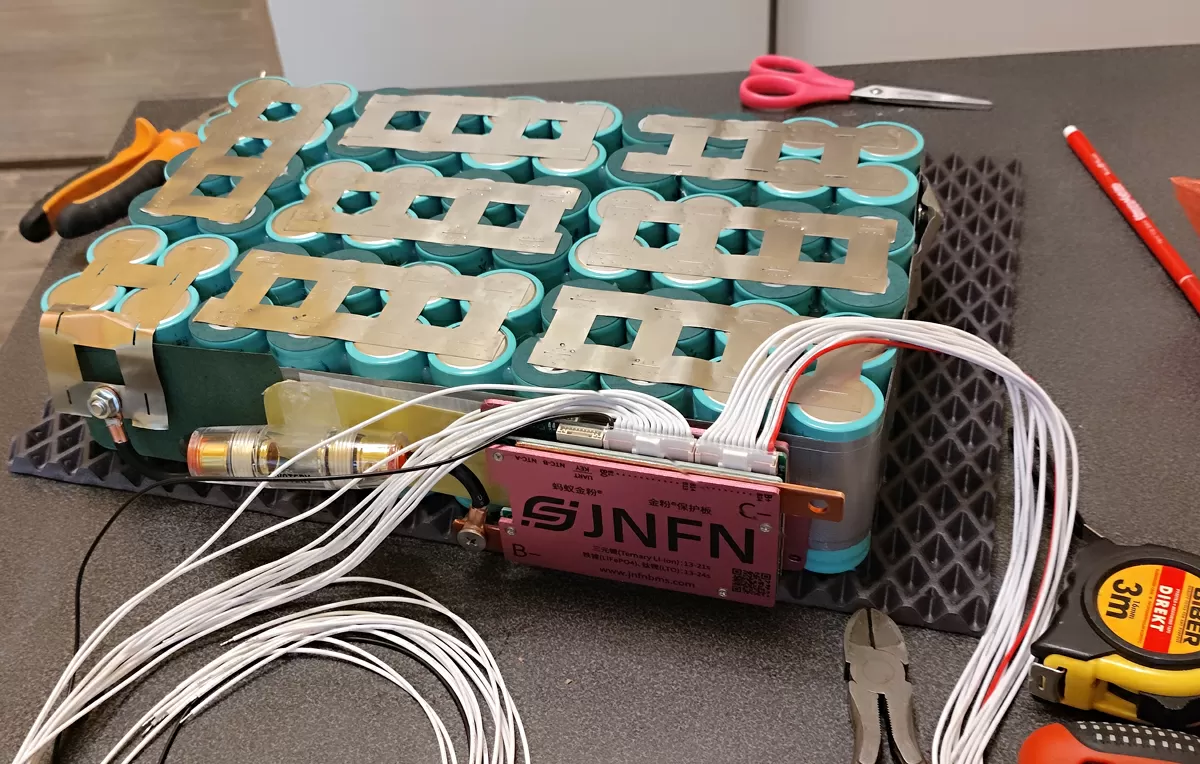
The ANT JNFN board has as many as 5 thermometers, of which 1 is built-in and 4 are external. I attach two of them to the power terminals using tape, one I shove into the depths of the assembly center, and one I leave so that it sticks out of the package.
Step 8 – Connecting the power wires and BMS
I decided not to solder the power wires, but to fasten them with bolts by drilling holes in the nickel strip. I turned the terminals to make it easier to control the tension of the wires.
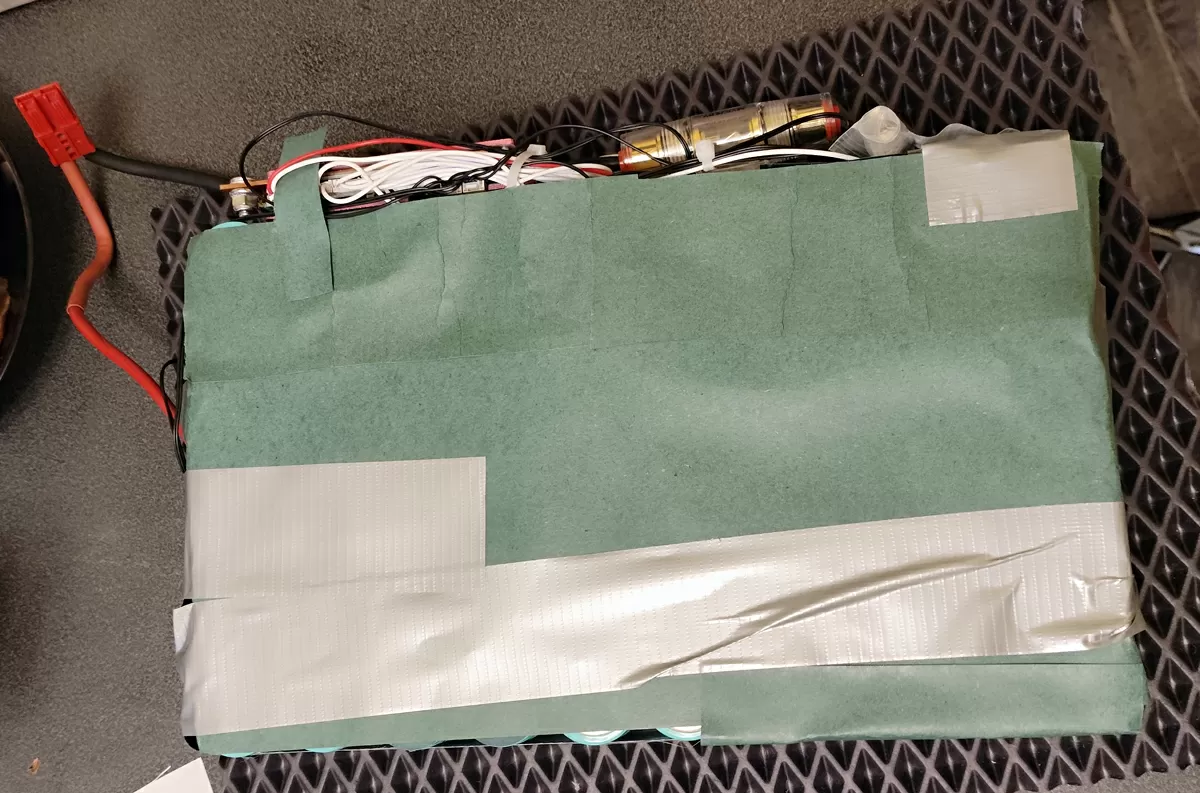
The BMS board has serial numbers and a QR code on the back, so it was a good idea to take a photo of it. Installing software from a Chinese manufacturer is a bit of a challenge, with registration and confirmation steps, so this will come in handy. I placed the BMS board on the long side of the battery and connected it to the positive terminal using a fuse. To prevent the board from moving around, I glued it to a thin strip of epoxy sheet.
At this stage, you can already connect to the BMS via Bluetooth, check that the board sees all the cells, that the balancing is working, and that you can connect to the UPS and check the charge/discharge.
Step 9 – preliminary testing, configuring the BMS software via Bluetooth and UPS
By default, everything works fine. However, you can change the boundaries of temperature alerts and cell voltages, set some values for emergency shutdown when currents and voltages are exceeded, adjust the actual assembly length to 15S instead of 24S and see if the thermal sensors are lying.
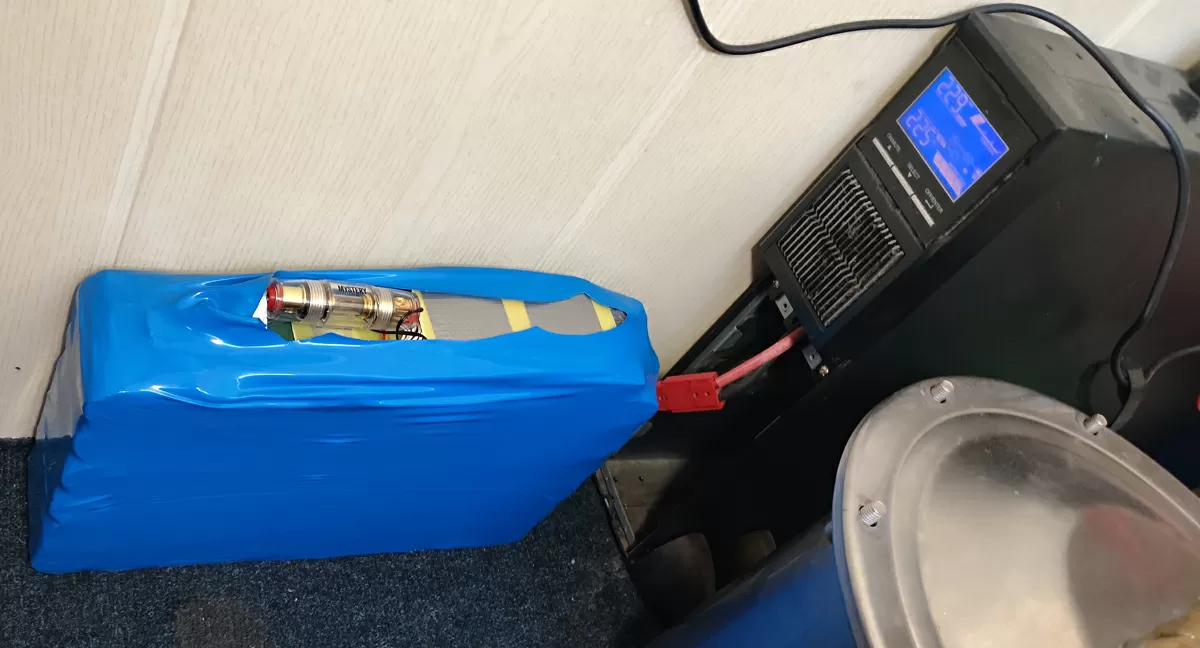
In the advanced UPS settings, points 15 and 16 set the "cell voltage" for the lead battery. Here it makes sense to change only the 16th point, increasing from 2.2V to 2.23 V, which will increase the voltage of the 32700 cell from 3.48V to 3.53V in charged mode. I don't see any point in raising it higher, as I want to extend the battery life.
I test–connect the load to the UPS in the area of 1800 Watts - I see that everything is working, the battery can be prepared for installation. I glue the battery with insulating cardboard on all sides and quickly wrap it with shrink wrap, after which I reconnect it to the UPS to make sure that nothing has fallen off.
For better seating, I heat a 2-kW hair dryer at medium power until the braid begins to repeat the shape of round batteries. I cut a hole for the power cable, cut off the excess with a knife, and hope I don't have to take it all apart ever.
Step 10, the most difficult one, is how to stuff it all into the UPS.
In only one of the 3 cases, when I changed the lead battery to a lithium battery in the APC SMT1000i, I did not have to cut, break or tear anything. No, in our case, everything would be too easy if the battery would fit into the place of the old one without tools.
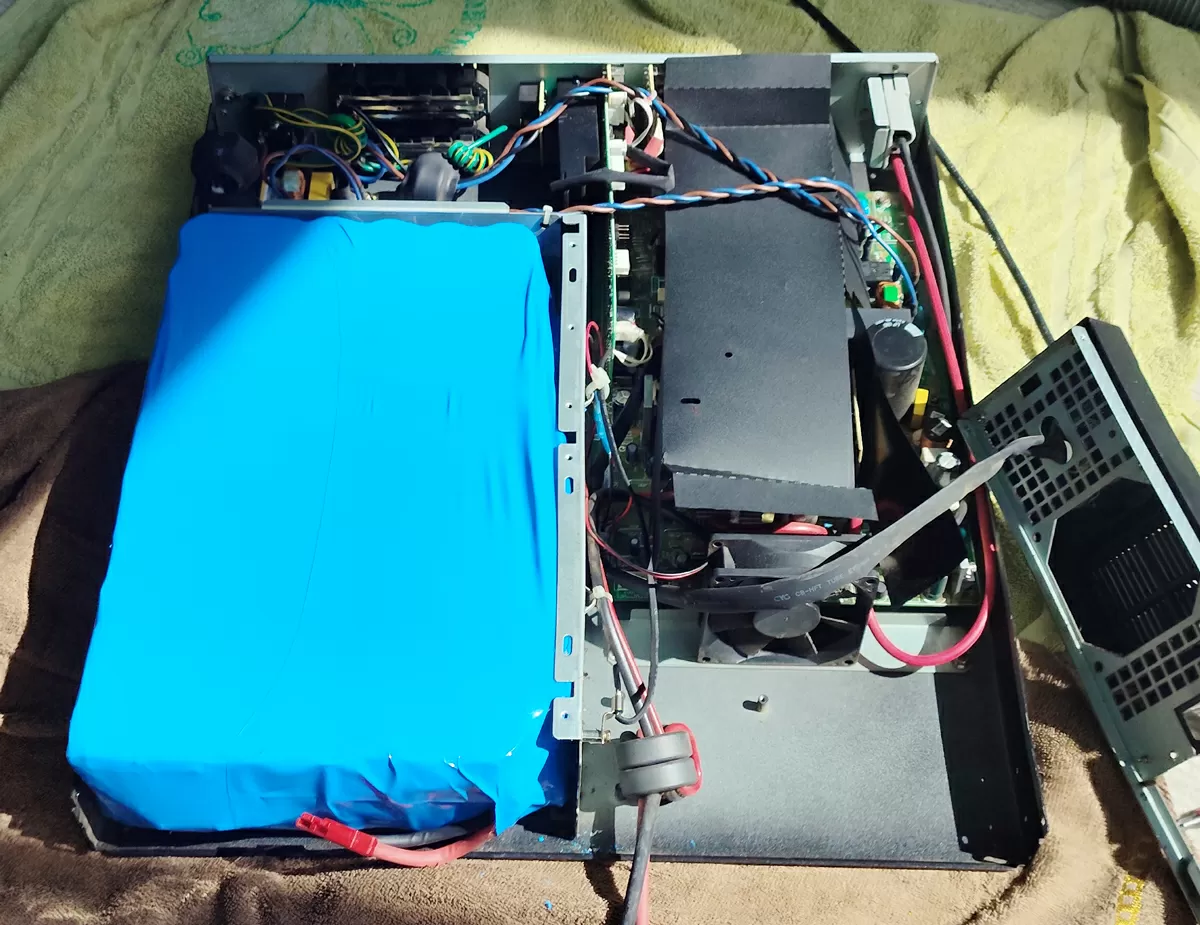
The width of the battery compartment window is 70 mm, exactly the same as that of a single 32700 cell, add to this an insulating circle, nickel tape, balancing wiring, cardboard, shrink wrap – pushing the battery into the regular window is as easy as a camel crawling through the eye of a needle. The UPS must be disassembled.
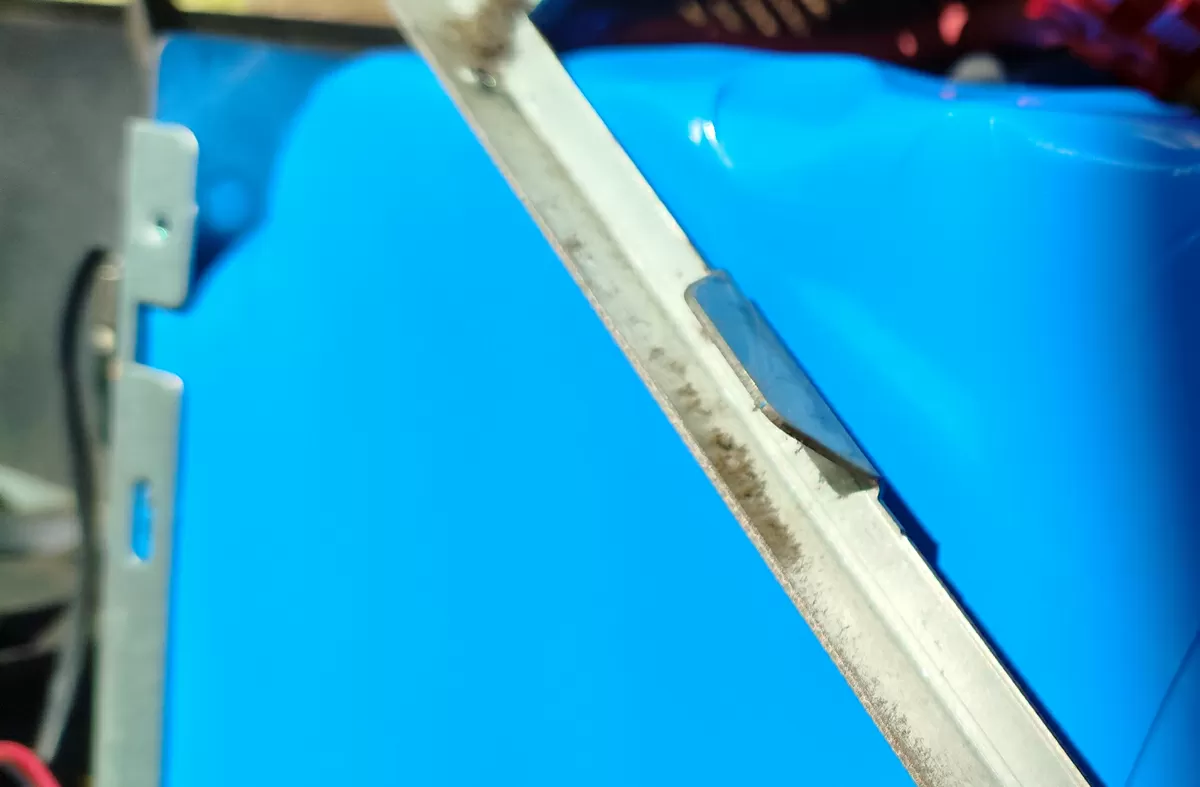
The height of the UPS inside is noticeably larger than the lead battery, and the manufacturer removed the extra space by sticking plastic stops on some very cool double-sided tape, which, even after 8 years, only comes off with a huge power screwdriver. It's hard, but it's coming. Having torn off the supports, I get about plus 1 centimeter from the bottom and in thickness.
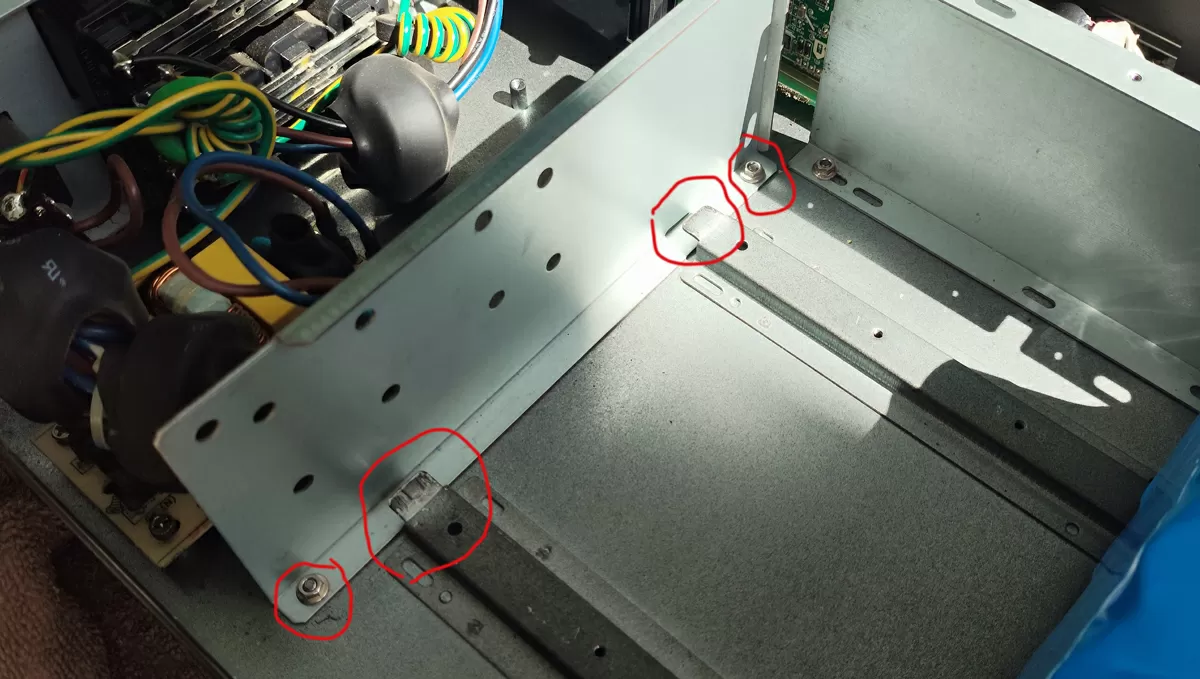
The battery does not fit in length – about 1-1.5 centimeters are missing to close the front cover. I tried to bend the lid itself, but it didn't work, it was too soft.
Then I bent the stops at the back of the battery compartment with a hammer and pliers and turned the wall against which the battery rests 180 degrees along its length. This gave me the necessary space for the front cover to close.
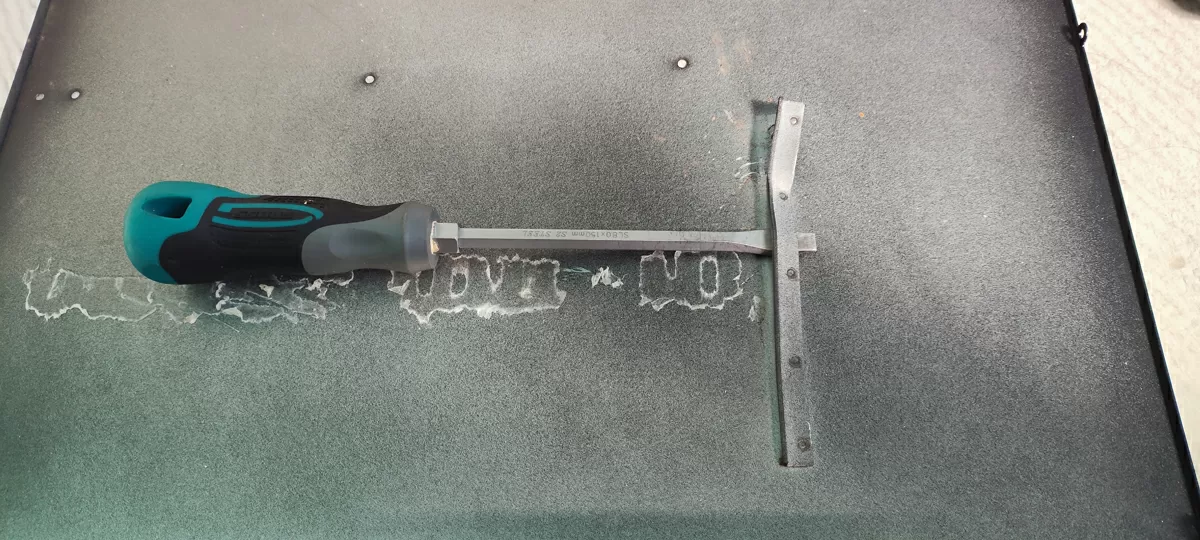
The last difficulty was that a corner was mounted on the rivets on the UPS lid, which was also supposed to hold the battery along the length. It had to be brutally torn off with a power screwdriver. I had neither the strength nor the desire to think of a more gallant way.
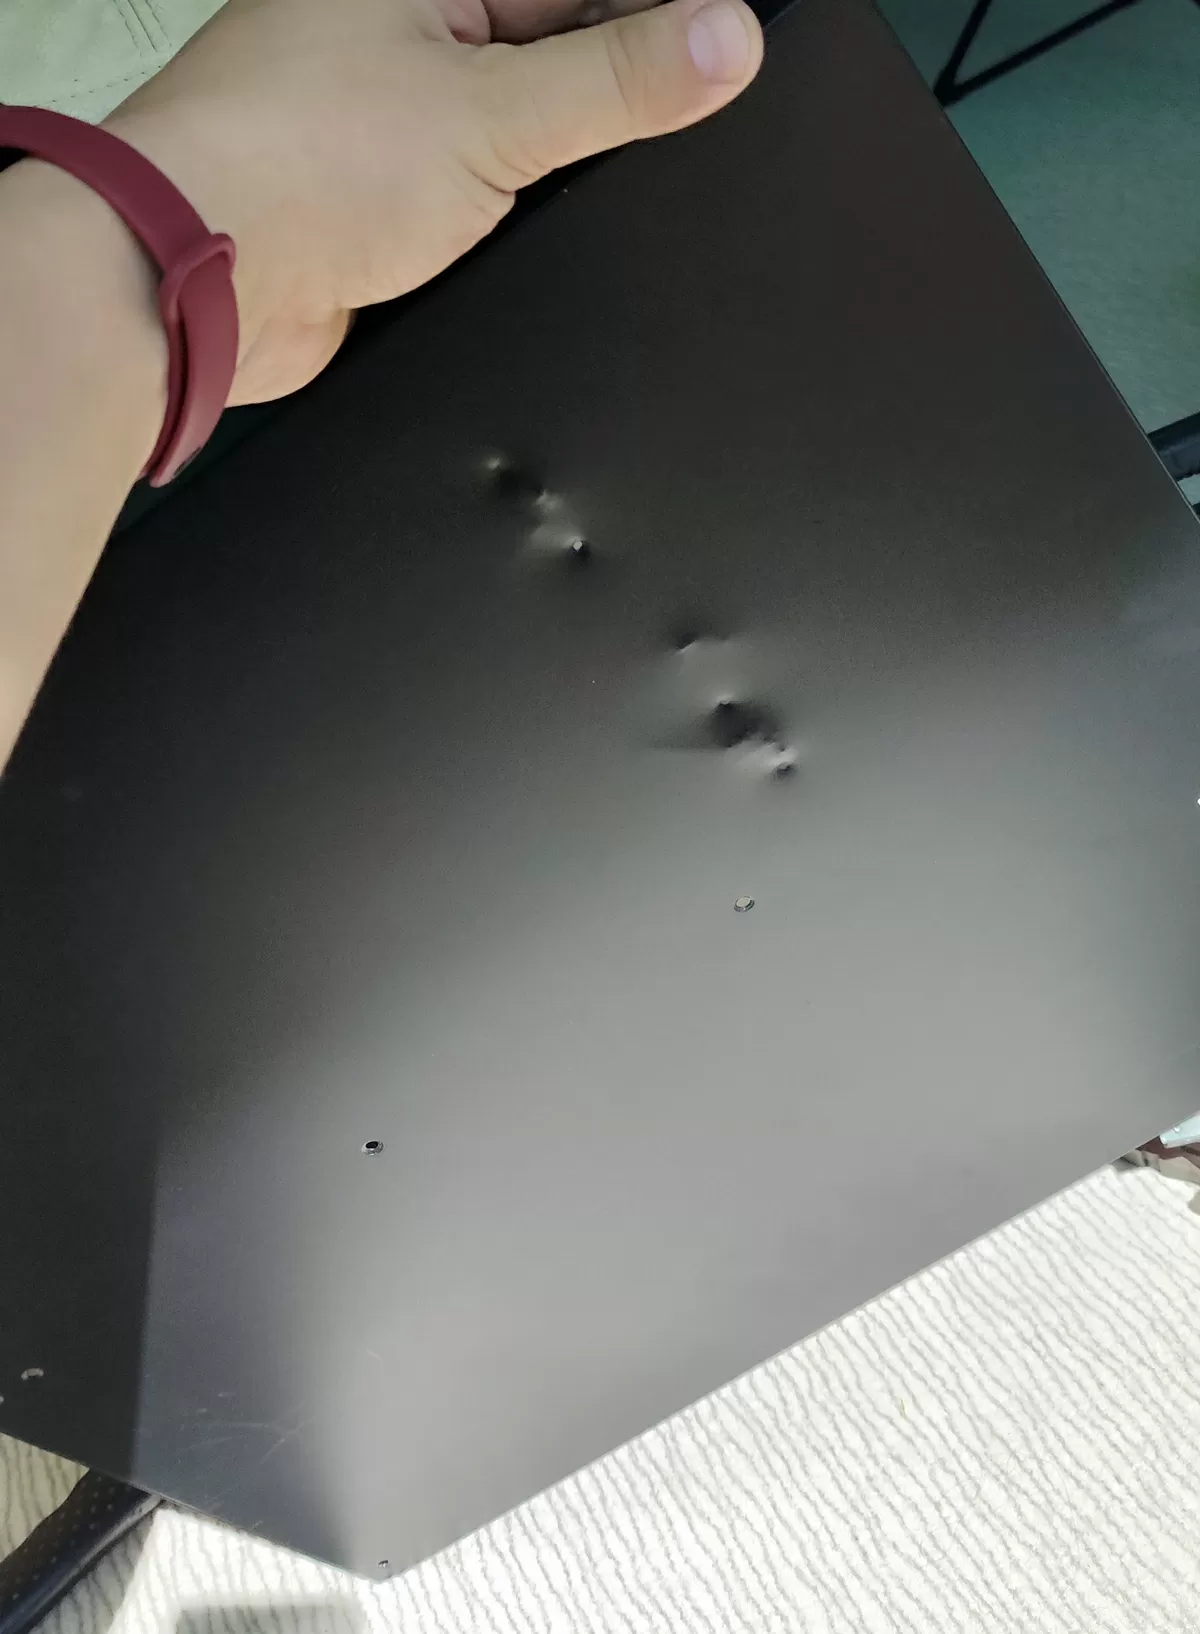
The lid is closed, the UPS is assembled, and it is worth considering that if the battery was previously located at a distance of 1 cm from the walls, now it touches all the walls closely, so I do not tighten all the screws of the lid on one side of the case so that they do not pierce the cells.
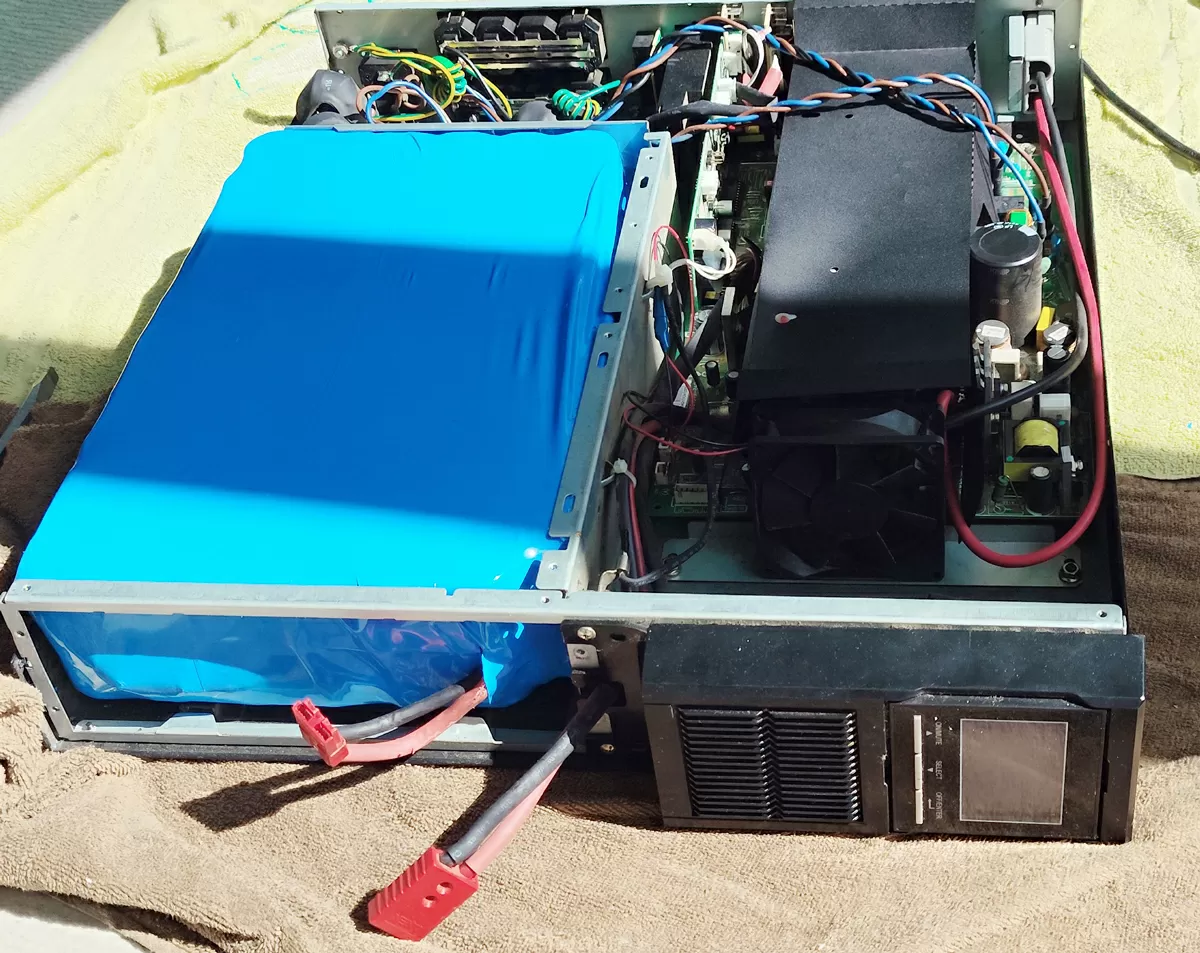
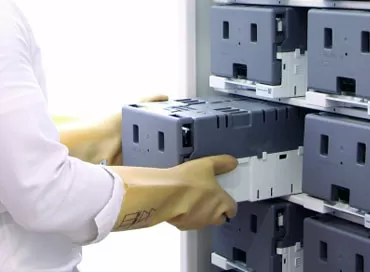
As I said before, I lost the Hot-Swap of the battery module, and if something happens, I'll have to disassemble the entire UPS again.
Финальное испытание
The test showed that the UPS now drags the server for about 5.5 hours, and you can survive a prolonged power outage without doing a graceful shutdown. With such a small load, there is no noticeable heating of the battery either during charging or discharging.
A soft shutdown will have to be adjusted not by battery voltage, not by residual capacity (these parameters are shamelessly false in the case of switching to lithium), but after a certain time interval. For example, after 15 minutes, turn off the non–main load on programmable sockets, and after 4.5 hours, turn off the server itself. But as practice shows, long-term outages of more than 3 hours have not occurred in our region over the past 10 years.
Conclusions
As you can see, converting the UPS to lithium is a non–trivial task, but feasible. The key to success is having a good tool, motivation, and time. If the UPS format allows, it is better to use bolted batteries, of course, but if you choose cells of the 32700 type, then do not skimp on welding with nickel tape.
LiFePo4s are safe, powerful and durable, and if you want to buy an uninterruptible power supply with dead batteries to retrofit it to a lifer, then look for models that regulate the charging voltage and high battery current. This will give you a stable lithium charge up to the rated capacity. Before buying, it is better to search the Internet for photos of the UPS internals, but even this does not guarantee that everything will go smoothly. As a rule, the casting assembly will be slightly larger, but in most corporate UPS it is possible to bend, trim, unscrew something, and in this regard consumer plastic models are, of course, less desirable.
Michael Degtyarev (aka LIKE OFF)
20/07.2026