Setting up a free micro-cloud using the Terramaster F2-423
Since about 2015, in our NAS reviews, we have focused on the fact that a modern file server for a small company is primarily the services it provides: advanced collaboration functions, file sharing via the Internet, video surveillance, gallery, etc. It's time to rethink this paradigm and accept for the truth that starting in 2023, NAS is just a platform for files with some basic storage functions and user access level settings and Docker support. Any services that the user needs can be installed for free from GitHub and do not depend on the NAS manufacturer.
What has changed over the past 2-3 years?
The most important thing is that the free open source software market has made a tremendous leap forward in recent years, and above all, by attracting commercial customers who switched to FOSS (Free Open Source Software) for security requirements. Open source software has not just grown in code quality, but has also gained high-quality documentation and attracted new community members. And the fact that a year or two ago it worked somehow and through the stump of the deck, today it will plug commercial paid products into the belt. Most of the free software today comes in Docker containers, which dramatically simplifies setup and launch, and this has caused the emergence of a new movement: "self-hosted".
What is Self-Hosted and why is it so fashionable?
As you can understand from the name, this is the installation of various services on your equipment. Instead of using paid services, fans of "self-hosting" install their analogues on their hand-bought servers, on NAS's and Raspberry Pi. Undemanding resources and the relative cheapness of HDD/ SSD allows you to completely transfer all the cloud that we use today to your desk, already with a completely different level of privacy and reliability. As they say, you manage your data only when it is on your server. Today, Self-Hosted has become especially fashionable due to numerous scandals related to data leaks and hacks of large cloud resources.
There is, however, some problem: anyway, but to configure third-party applications, you need to understand at least a little about this and it is highly desirable to know English. But never mind, we'll show you how it's done so that you understand that even on a small compact NAS, you can raise your analogue of Google Docs, Dropbox, Google Photos and other services that we are used to.
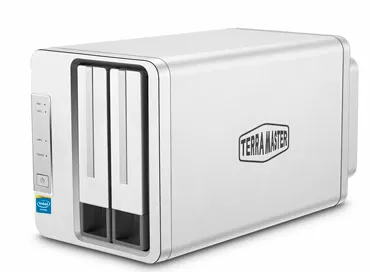
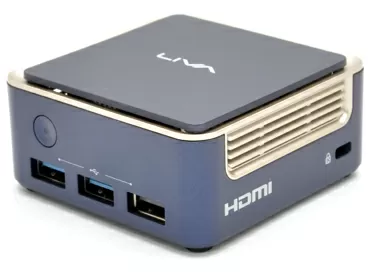
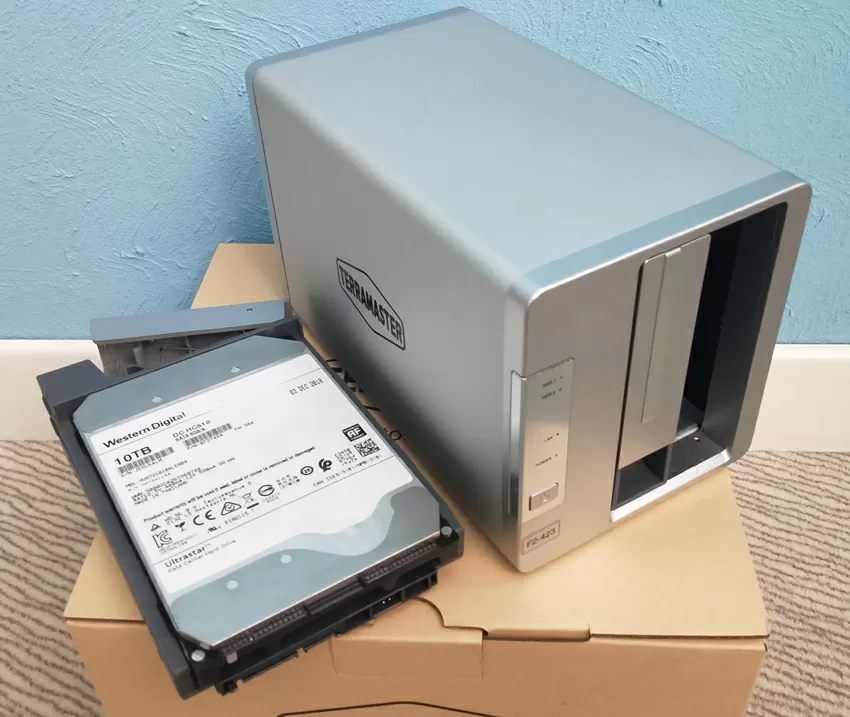
Terramaster F2-423
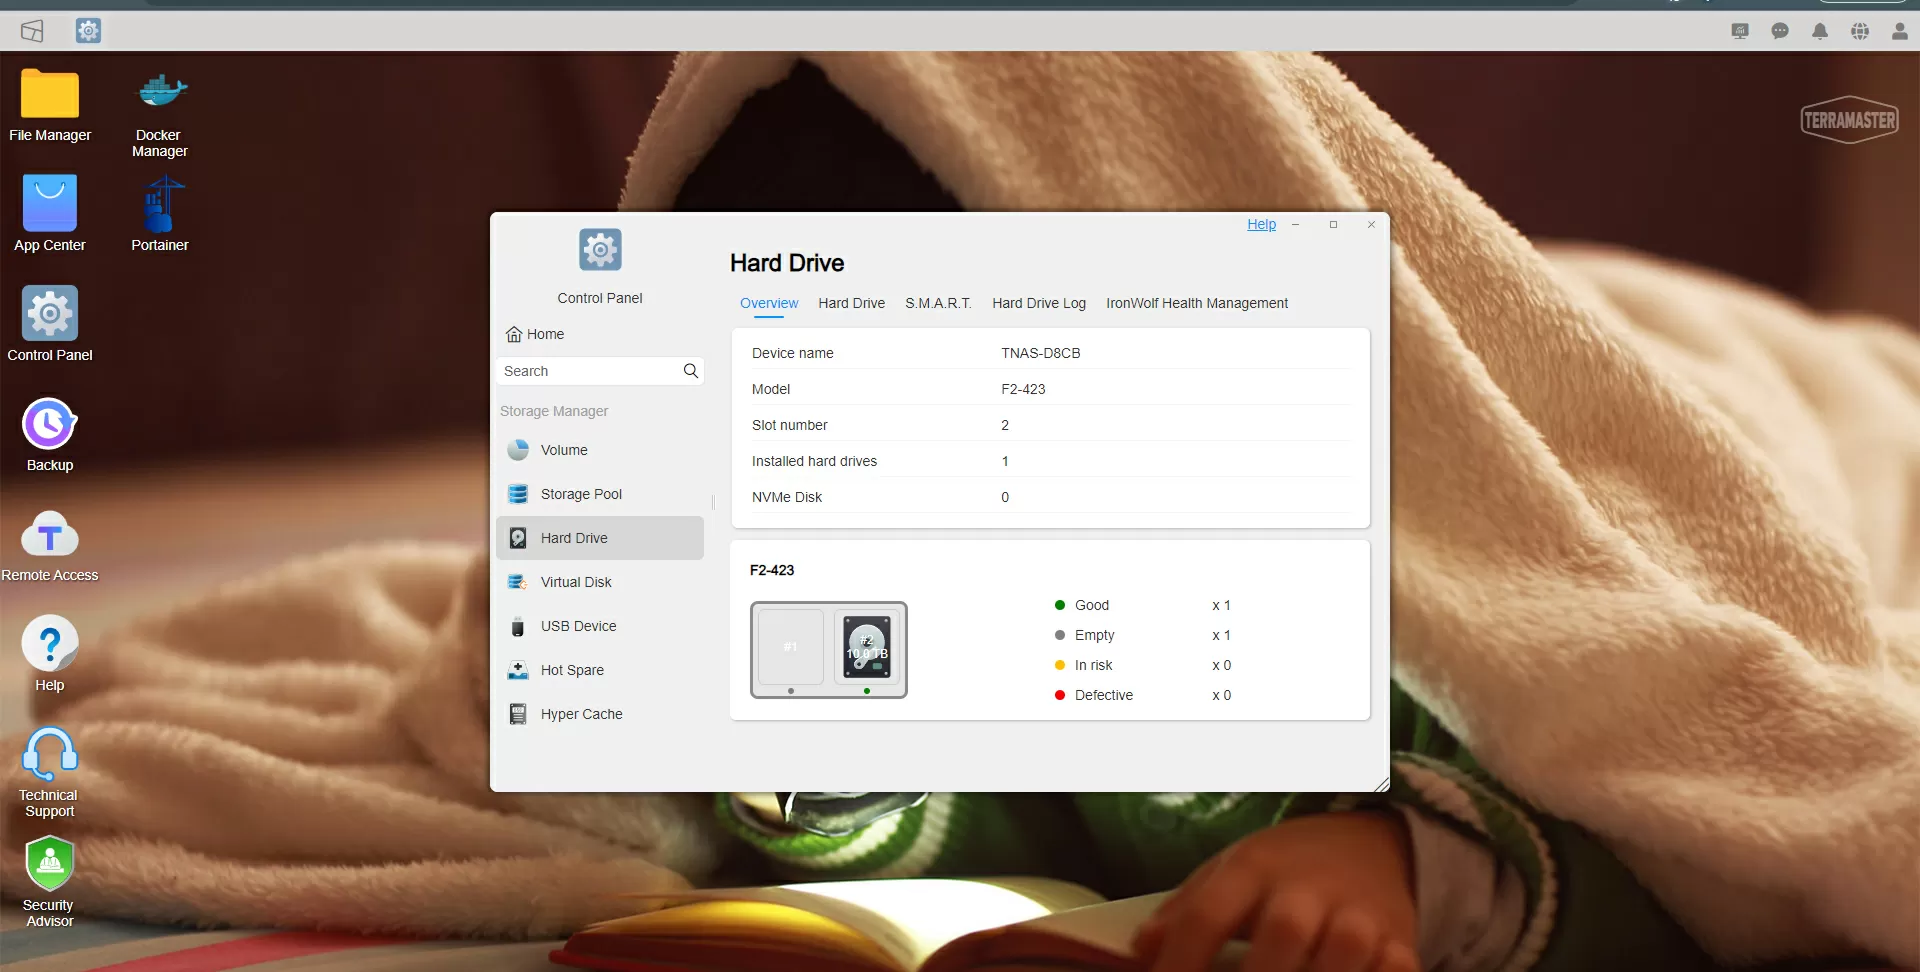
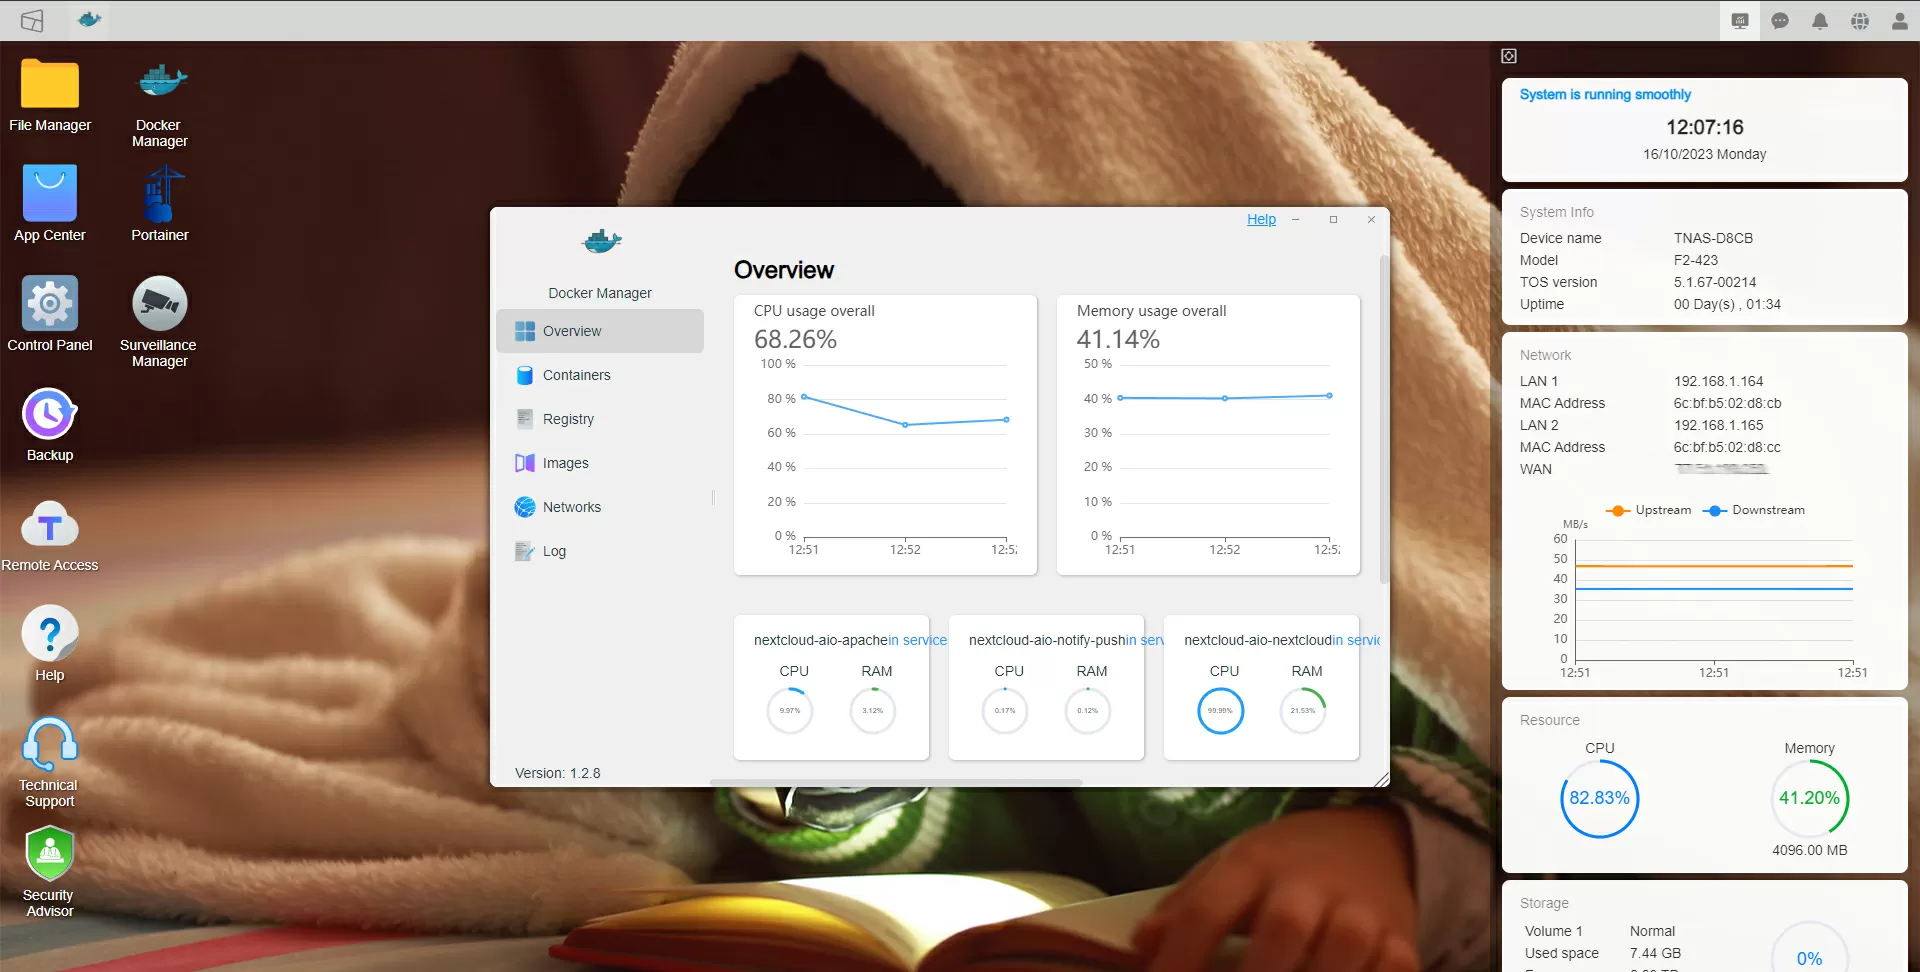
As I said, we don't need much from the NAS: a compact case and a software platform that will do all the work with disk storage for us and allow us to install Docker from a nice Web interface. In most cases, today's software is not demanding on the processor, so even a 4-core Celeron N5095, if it is not loaded with video transcoding, will most likely be idle most of the time. But modern software is quite demanding of memory, because it actively uses Redis databases for caching in RAM. Fortunately, Terramaster F2-423 although it comes with 4 GB of memory, it supports up to 32 GB of DDR4 SoDIMM. I believe that 8 GB of RAM would be optimal for our tasks, and 16 GB is more than enough.
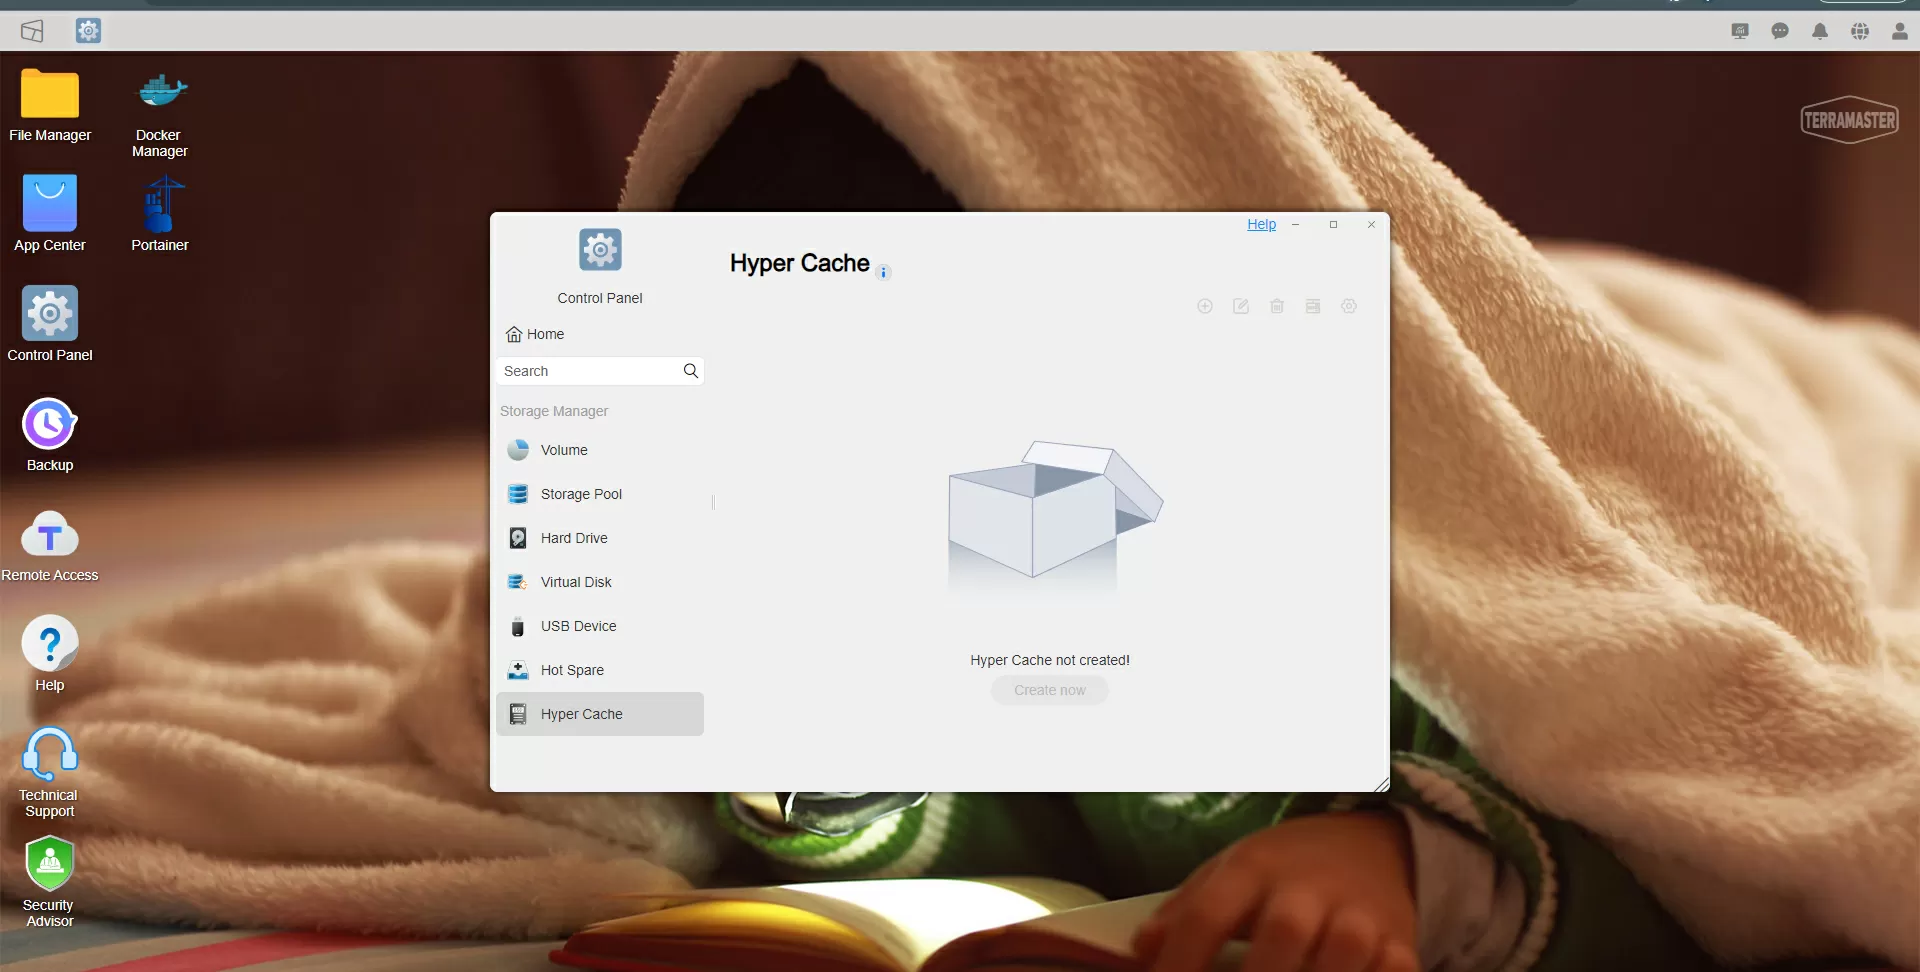
As far as SSD caching is concerned, the situation is ambiguous. Many programs that use databases to store files, such as SQLite, even when downloading large files, write to disk in small blocks up to 64 KB. For hard drives, this is a very bad load, so of course the SSD cache can help. In this case, the Terramaster F2-423 has 2 M.2 2280 PCIe 3.0 slots (up to 1 GB/s). On the other hand, it all depends on the specific software you are working with – SSD caching may not be required, but I think it's better if we have the opportunity to use the cache, if anything, we can always use it.
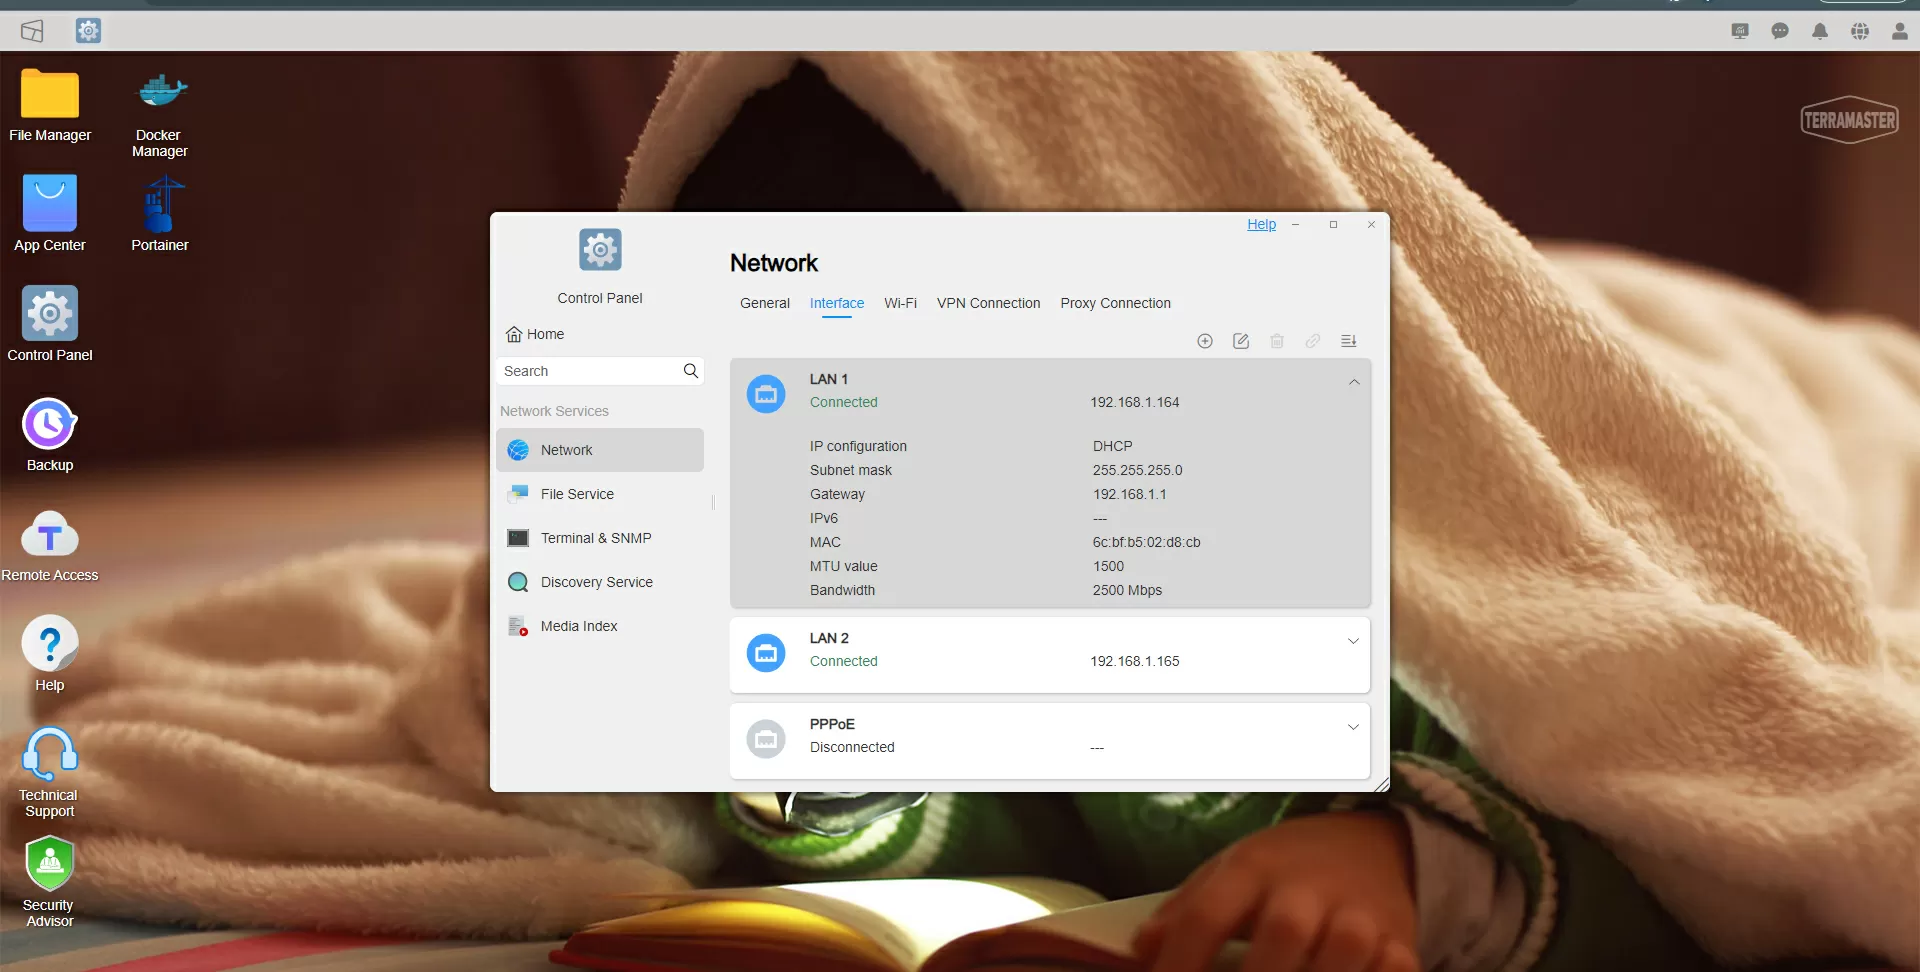
Another distinctive feature of the Terramaster F2 c-423 is a pair of 2.5–gigabit network interfaces, giving a total speed of about 550 MB/s. From the point of view of switching to carriers via SMB/CIFS or via iSCSI, this is an undoubted plus compared to 1-gigabit analogues. But what in terms of applications? Today, all of them are designed to work over HTTPs on the Internet, and the file download speed of 200-300 Mbit/ s is considered a great success. In a local network over the unencrypted HTTP protocol – yes, you can expect speeds at the level of 600-900 Mbit/s, a good powerful server will show 1.5-2 Gbit/s.
File storage
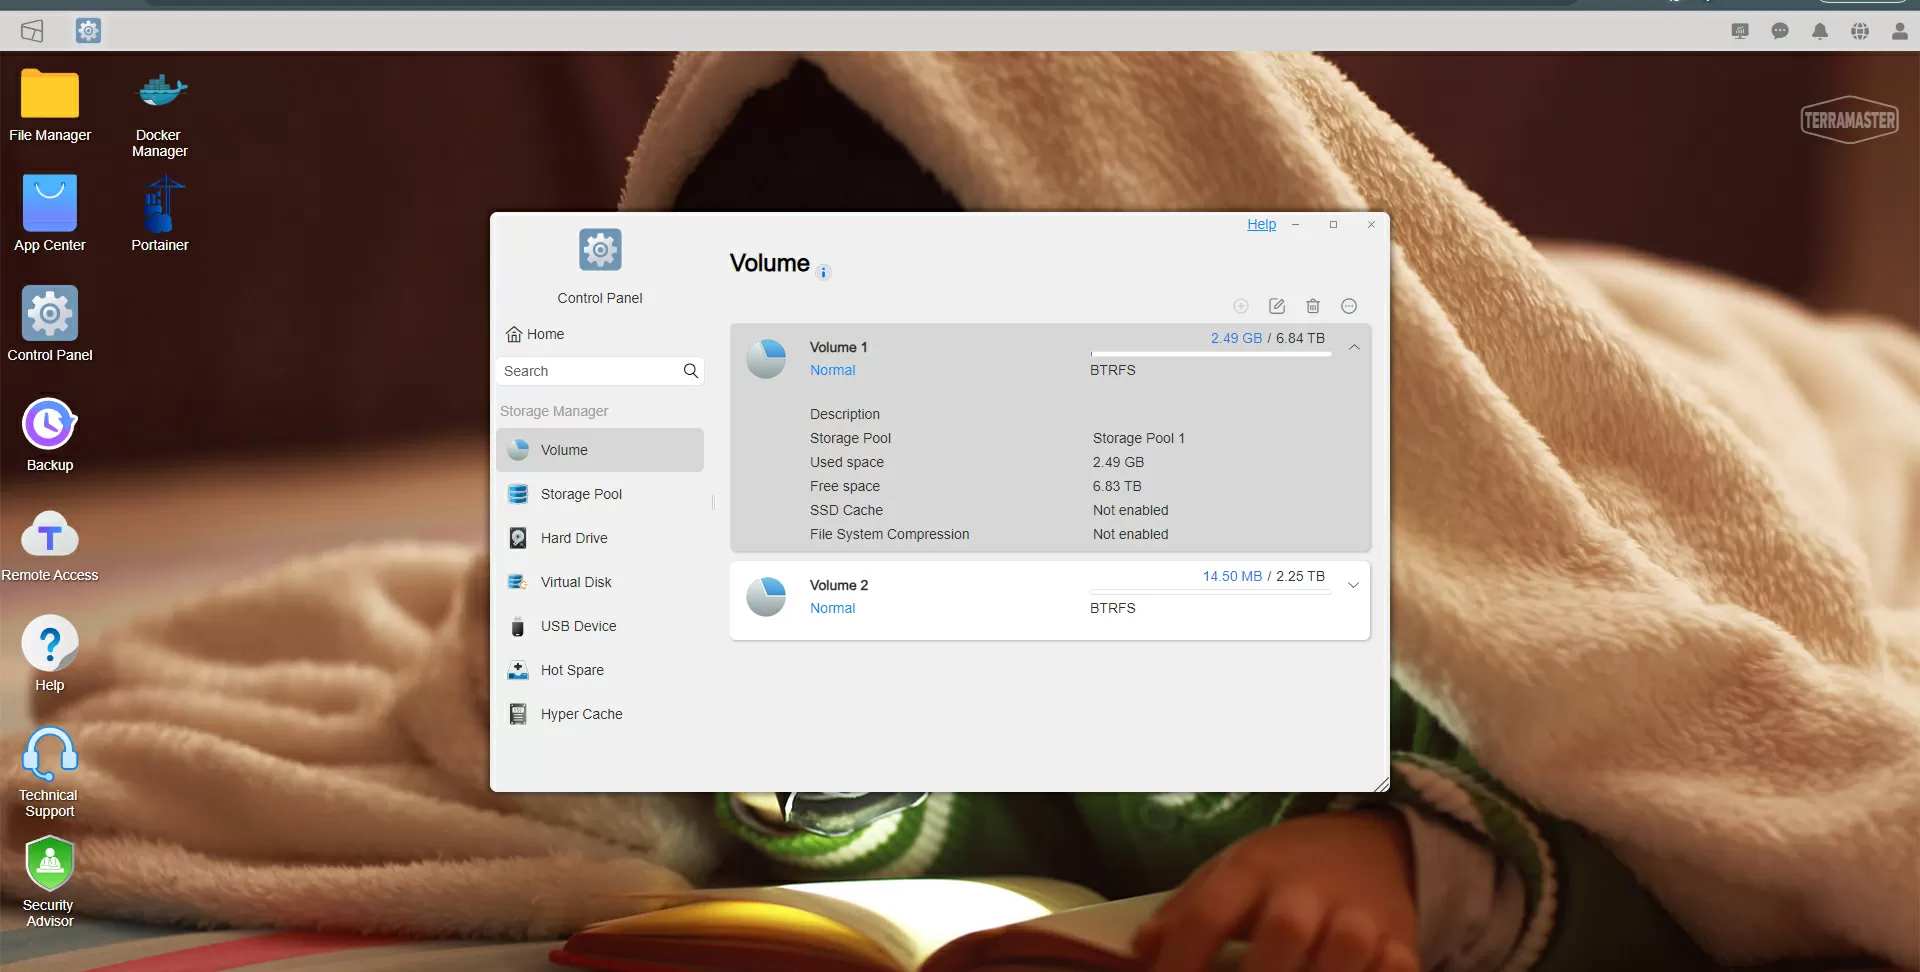
In general, TerraMaster does not pamper the user with the latest software in its operating system: at the time of writing the review, the latest firmware version TOS 5.1.67-00214 used the 5.15.59 kernel. Why do I pay attention to this? Because TerraMaster supports not only the EXT4 file system, which has nothing to say except that it is fast and convenient, but also the more progressive BTRFS, which at one time caused a lot of controversy in the professional community. So, starting with BTRFS version 6, a mini-revolution took place in this file system, as a result of which BTRFS became the leader in the speed of working with small files and in some other tests, bypassing even EXT4. The TerraMaster firmware uses BTRFS of an earlier version, 5.6, but I still recommend using this particular file system, because when/if Terramaster switches to BTRFS 6.2, you will not need to change the disk configuration, and you will get a "rocket" out of the blue.


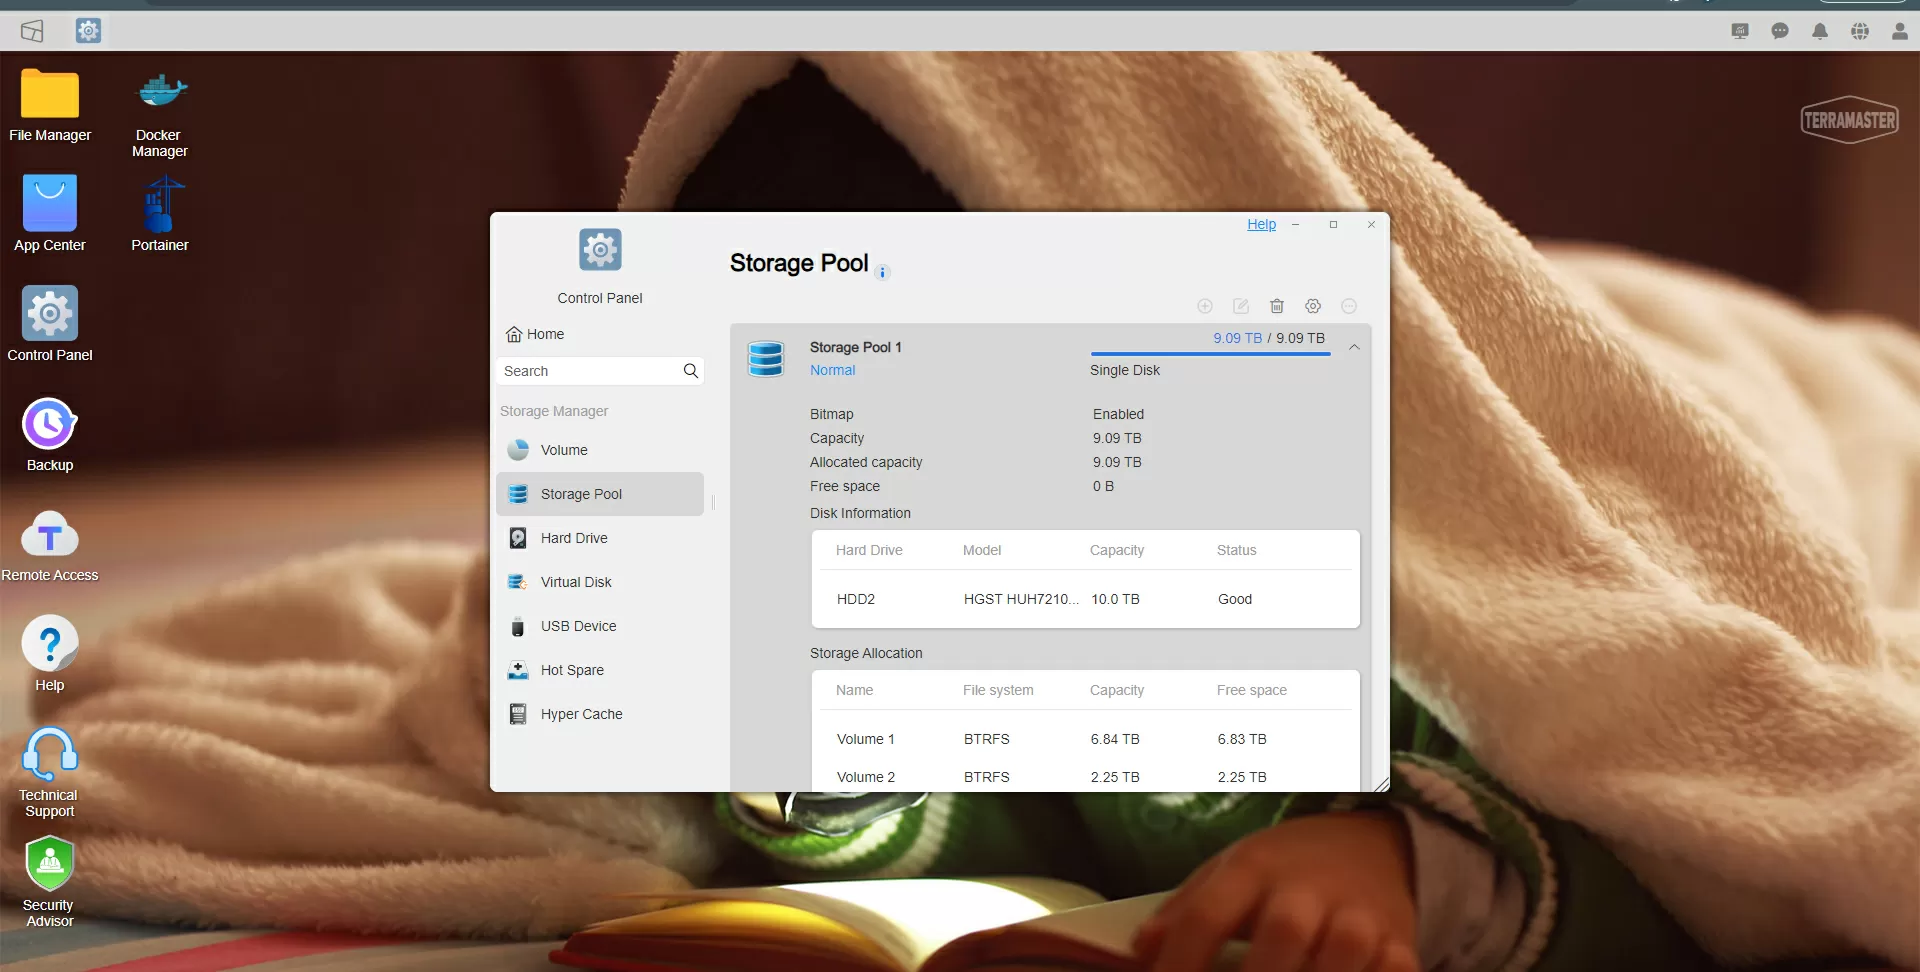


By the way, if you "heard something" about the problems of BTRFS with RAID, then I hasten to note that firstly, they all concerned BTRFS RAID5/6, and have nothing to do with our NAS, secondly, they have been fixed for a long time, and thirdly, for building a RAID array Terramaster uses LVM version 2.03.14, that is, BTRFS works here only as a file system.
The "sandwich" of LVM+mdadm+file systems is considered the generally accepted norm in the NAS world for small businesses and at home: this technology has been worked out for years, but is quite difficult to build and maintain, so the fact that the manufacturer keeps it "under the hood", and gives us a nice Web interface with levers in the form of buttons – this is the first answer to the question why a proprietary NAS is more expensive than a self-assembled PC.
Own Terramaster software
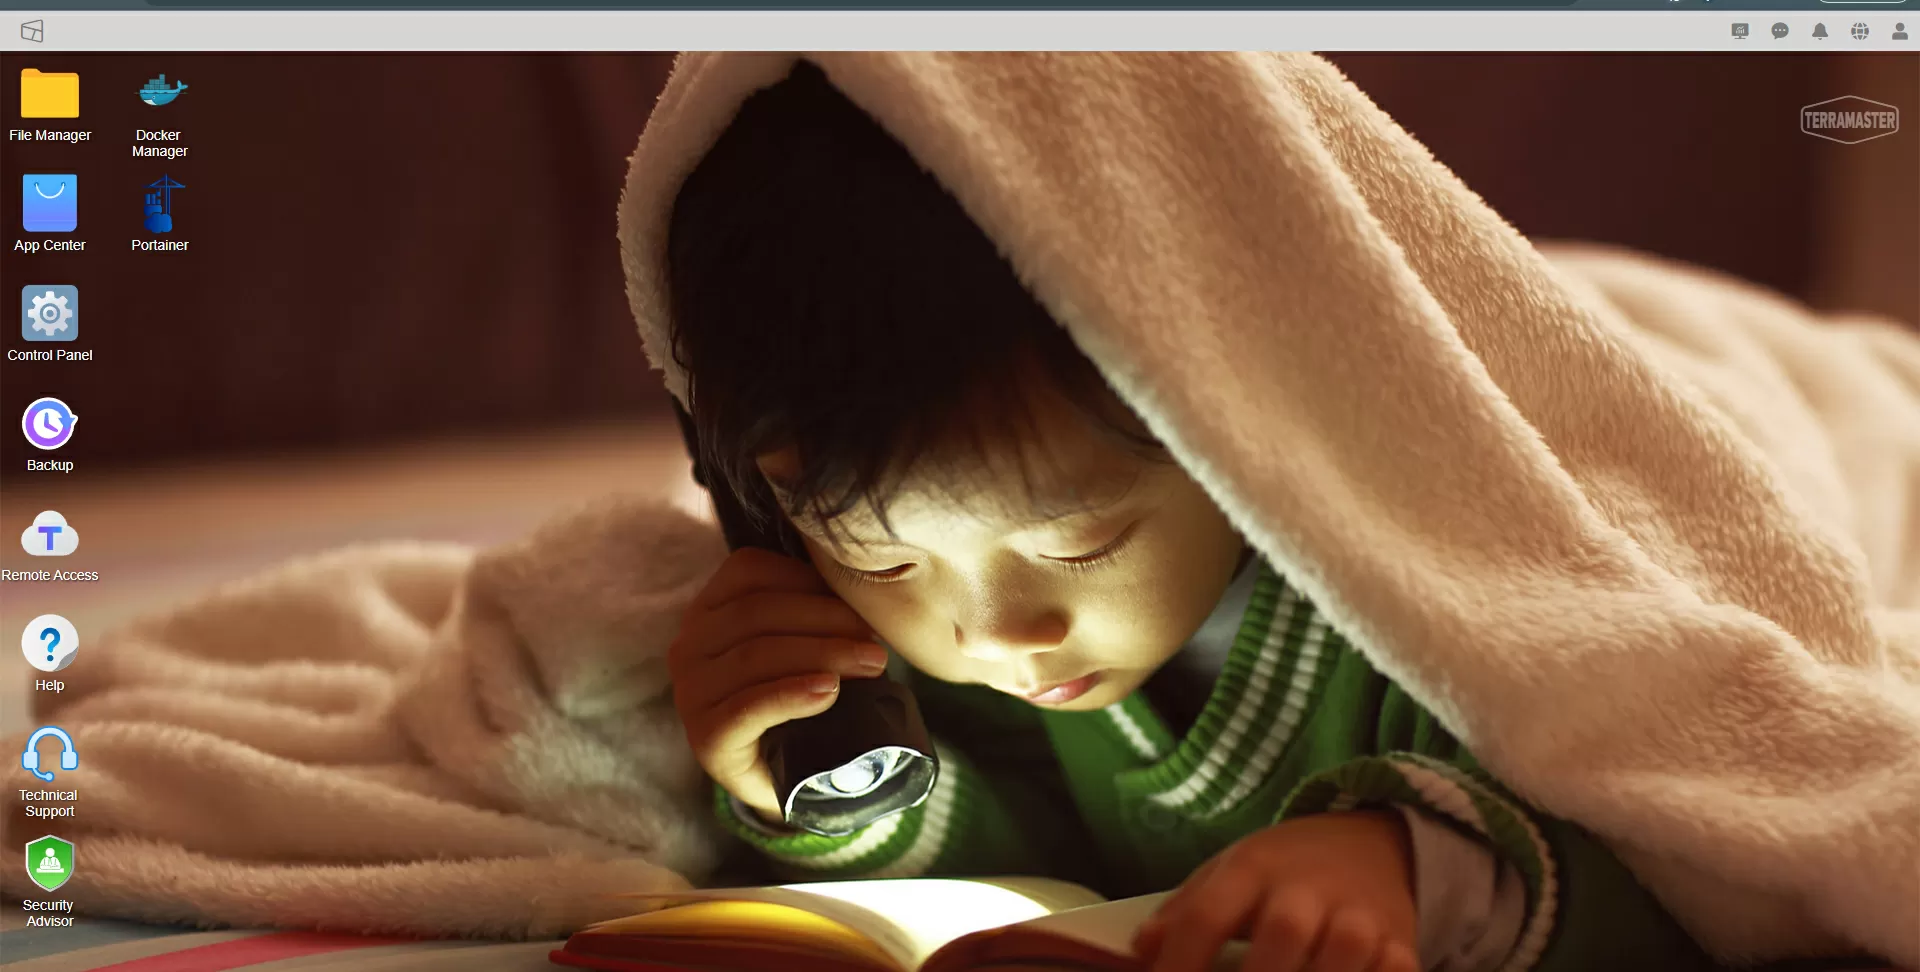
In principle, I do not want to focus on my own Terramaster software – you will find many other reviews where the authors test it. It is important for me to have modern SMB/CIFS, AFP, FTP, SFTP, Rsync, WebDAV protocols on the file storage layer – all this is there. There is built–in UPS support, which means we will not lose data in case of blackout.
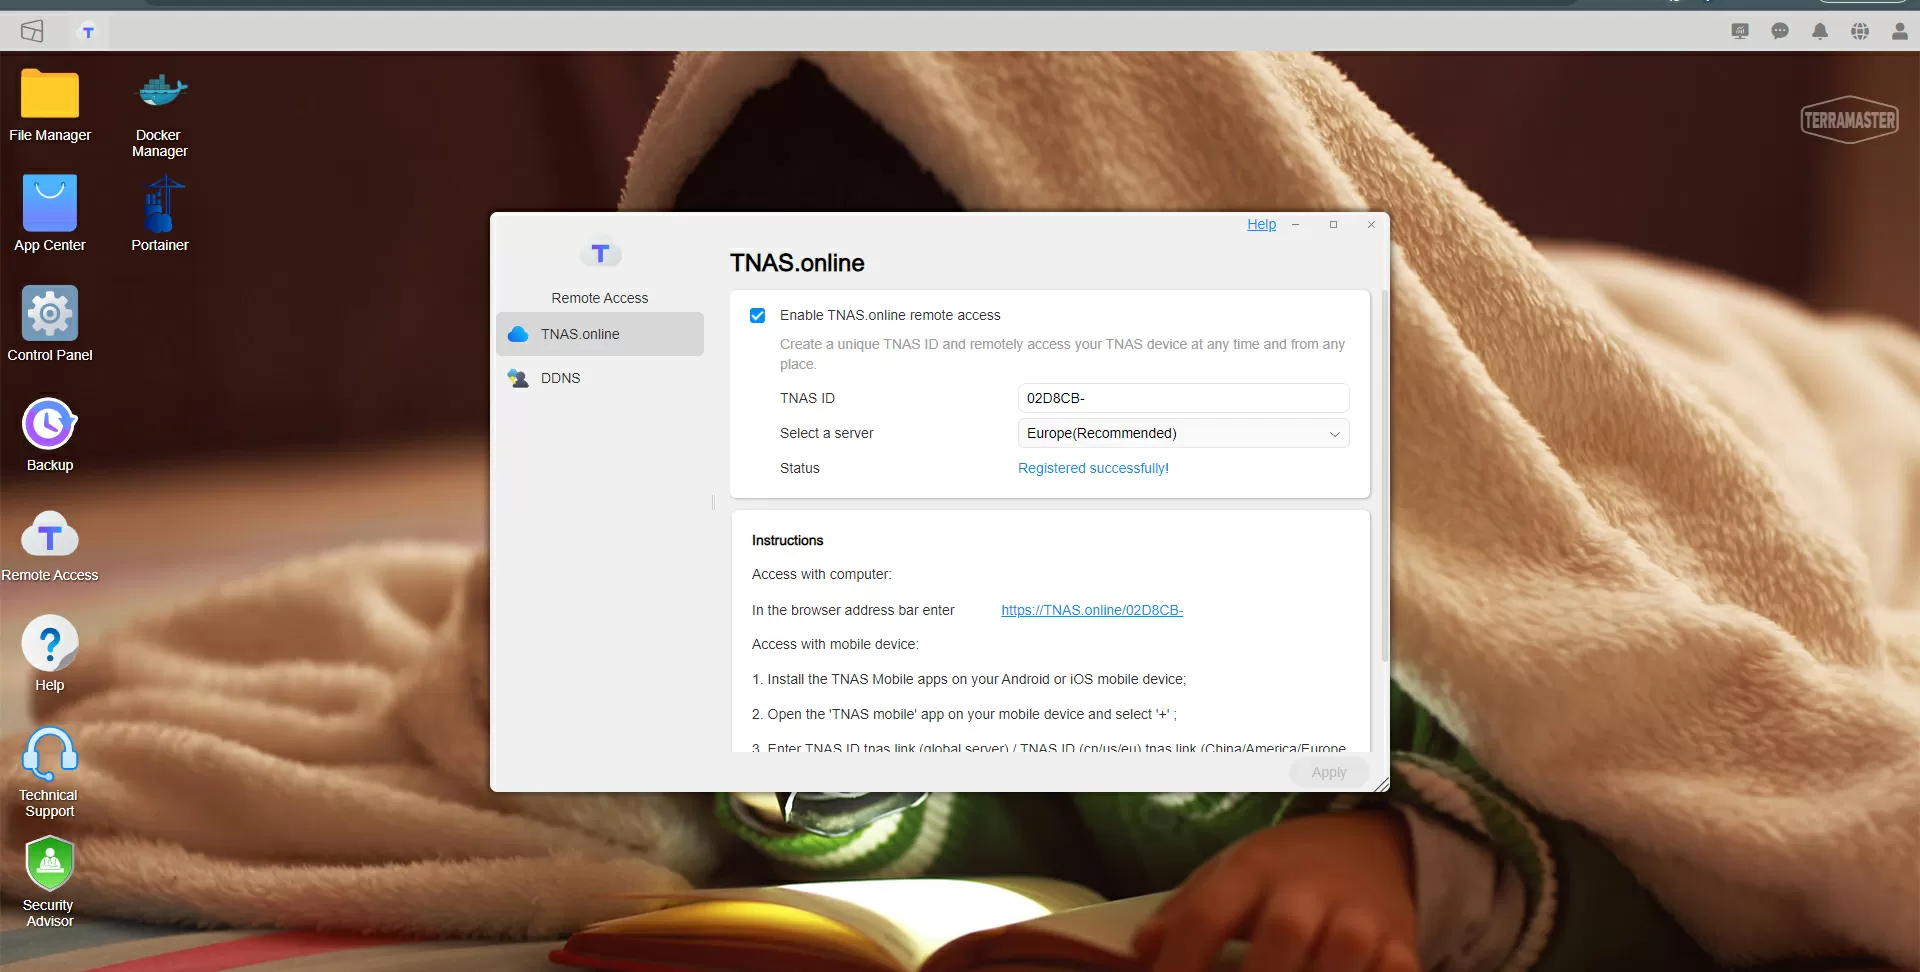

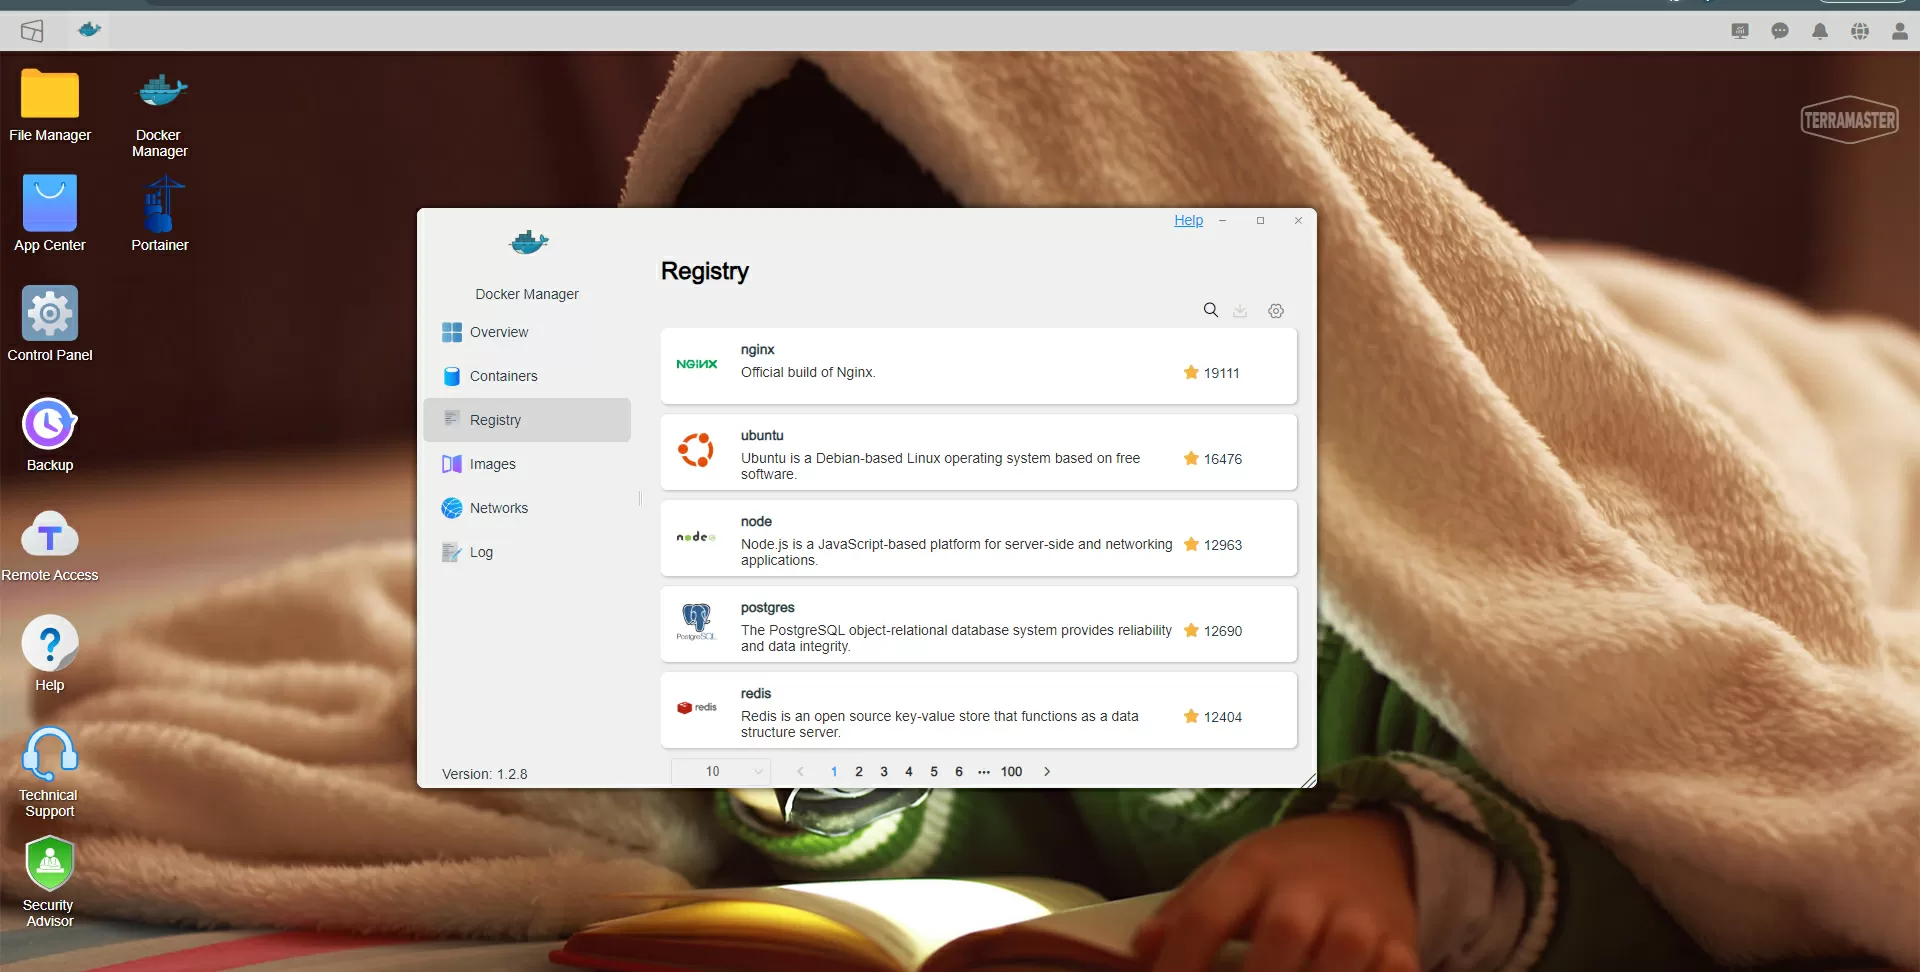
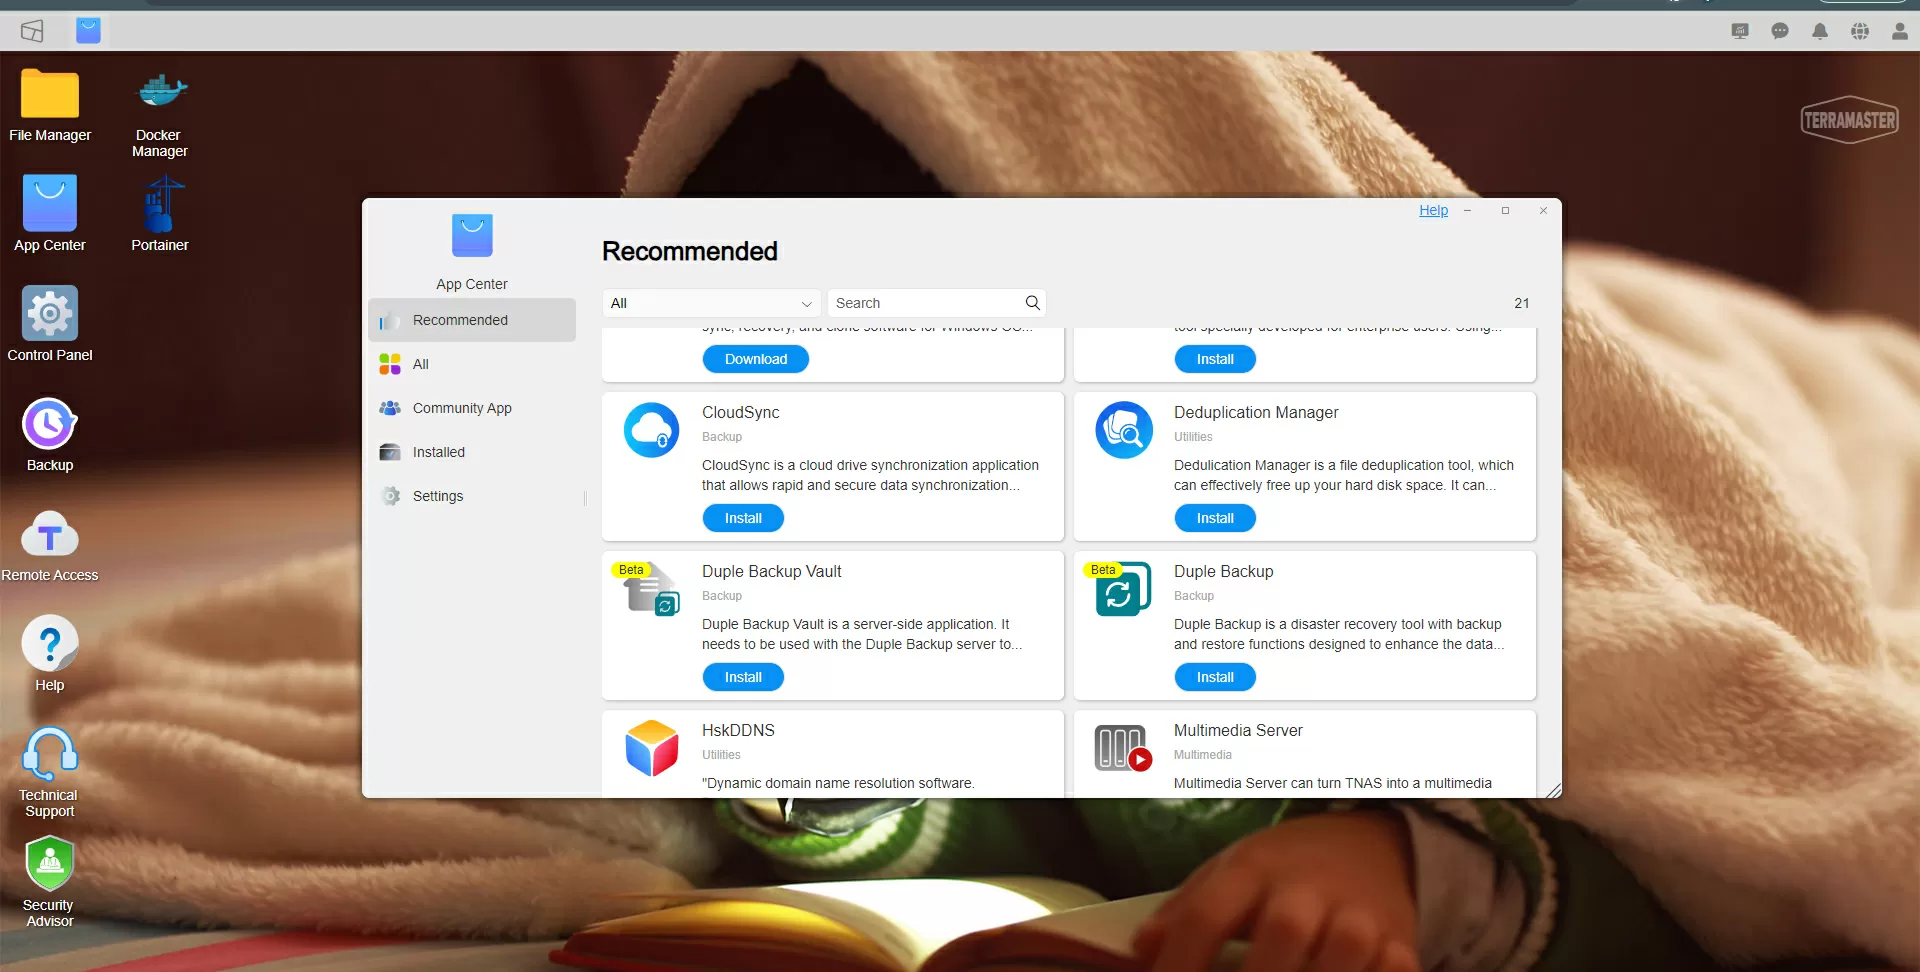
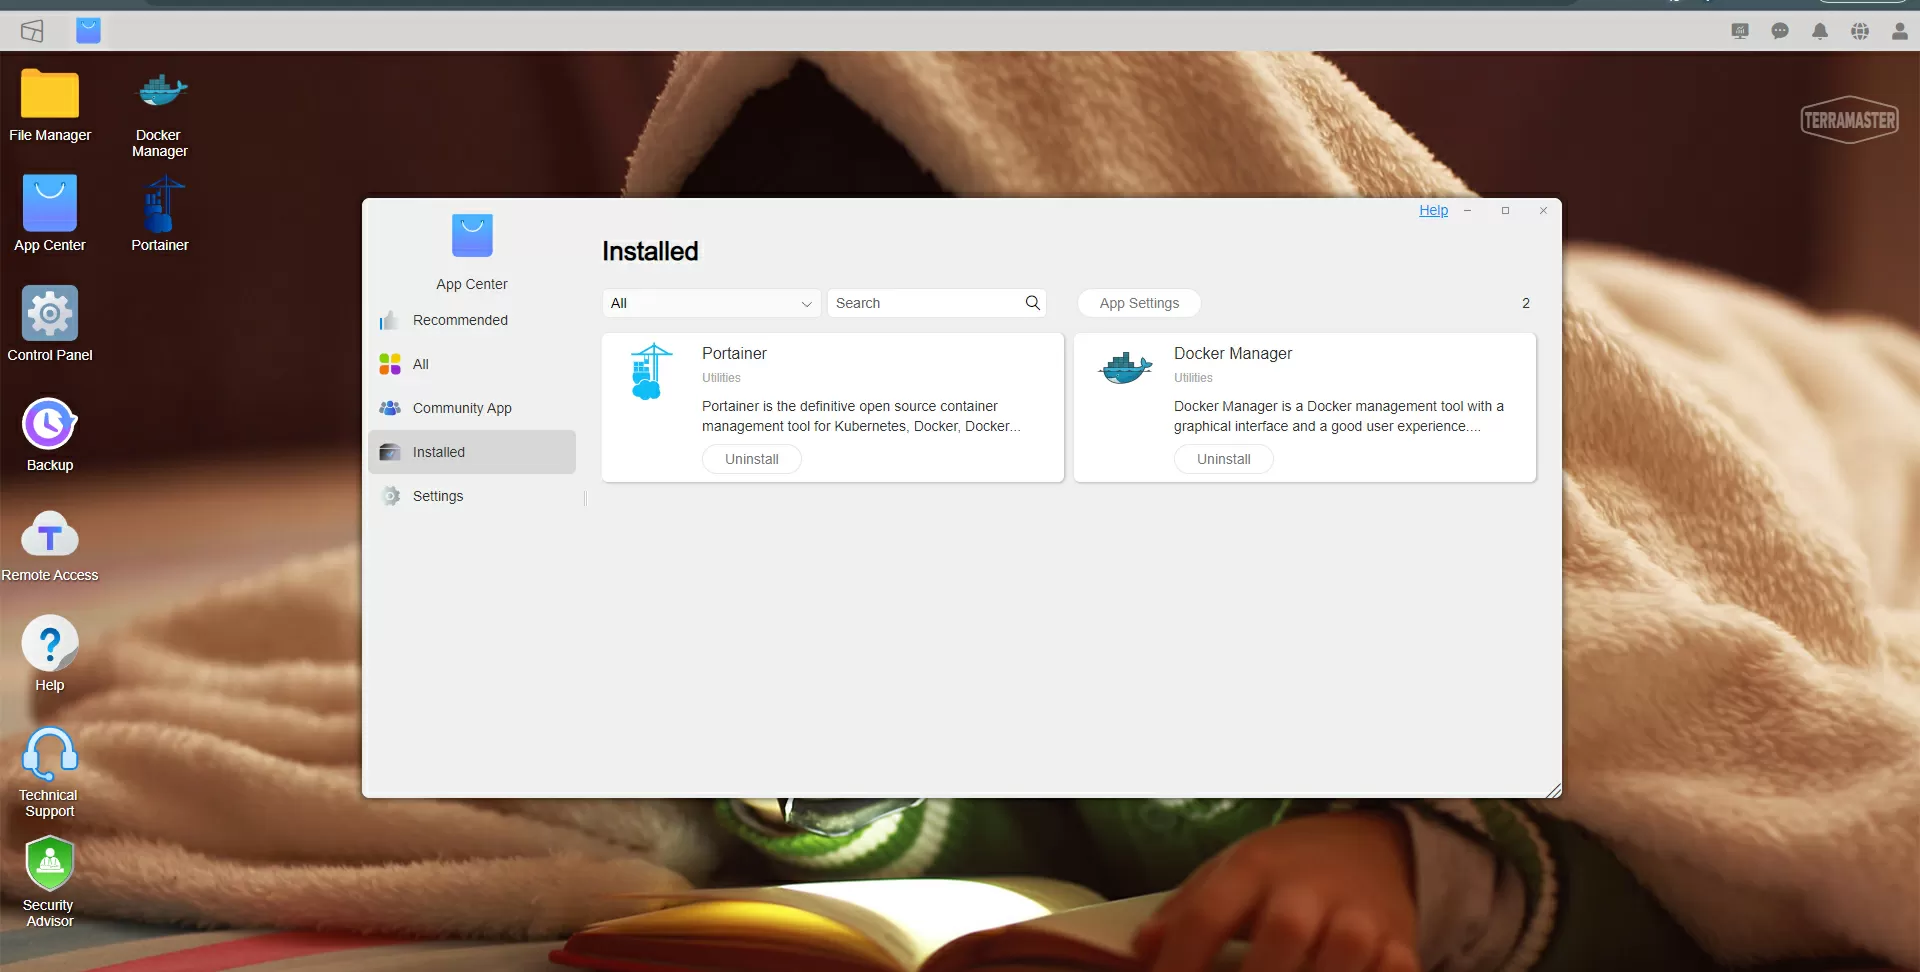
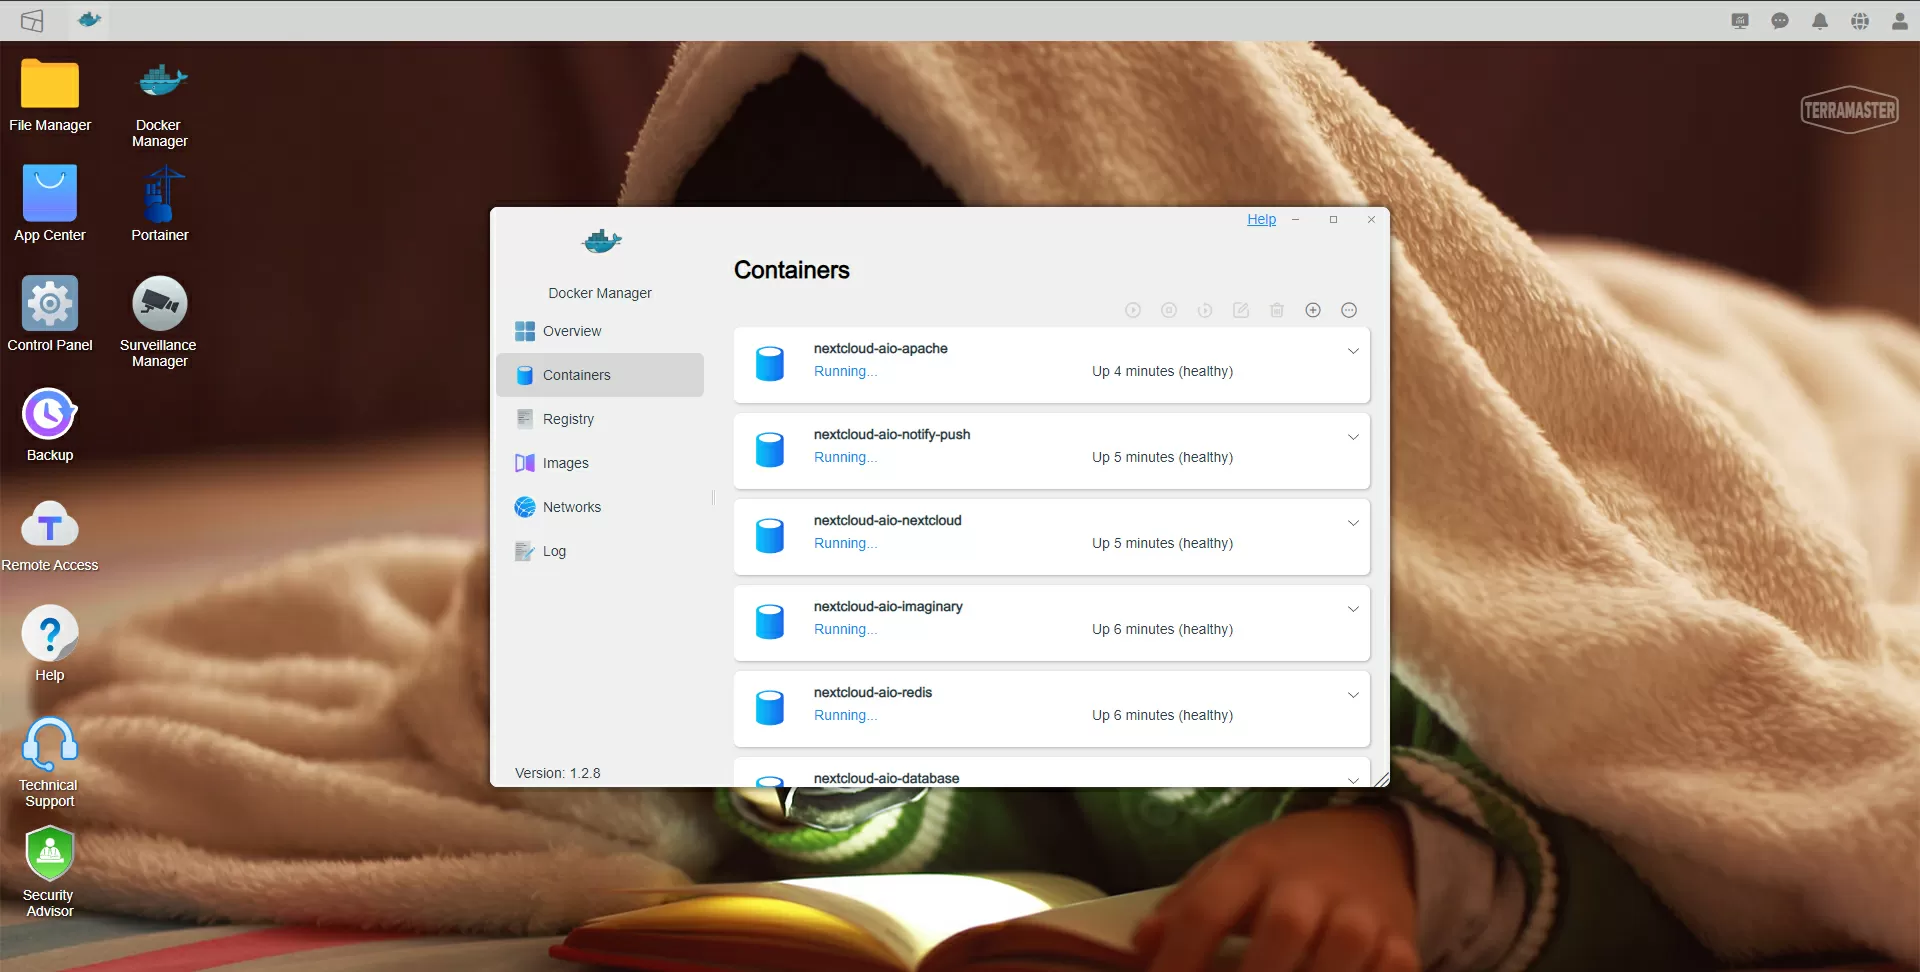
File manager (my weakness) there is also, and quite a good one, and most importantly, there is a package manager, running which we install Docker first, and then Portainer. Welcome to the vast world of free software!
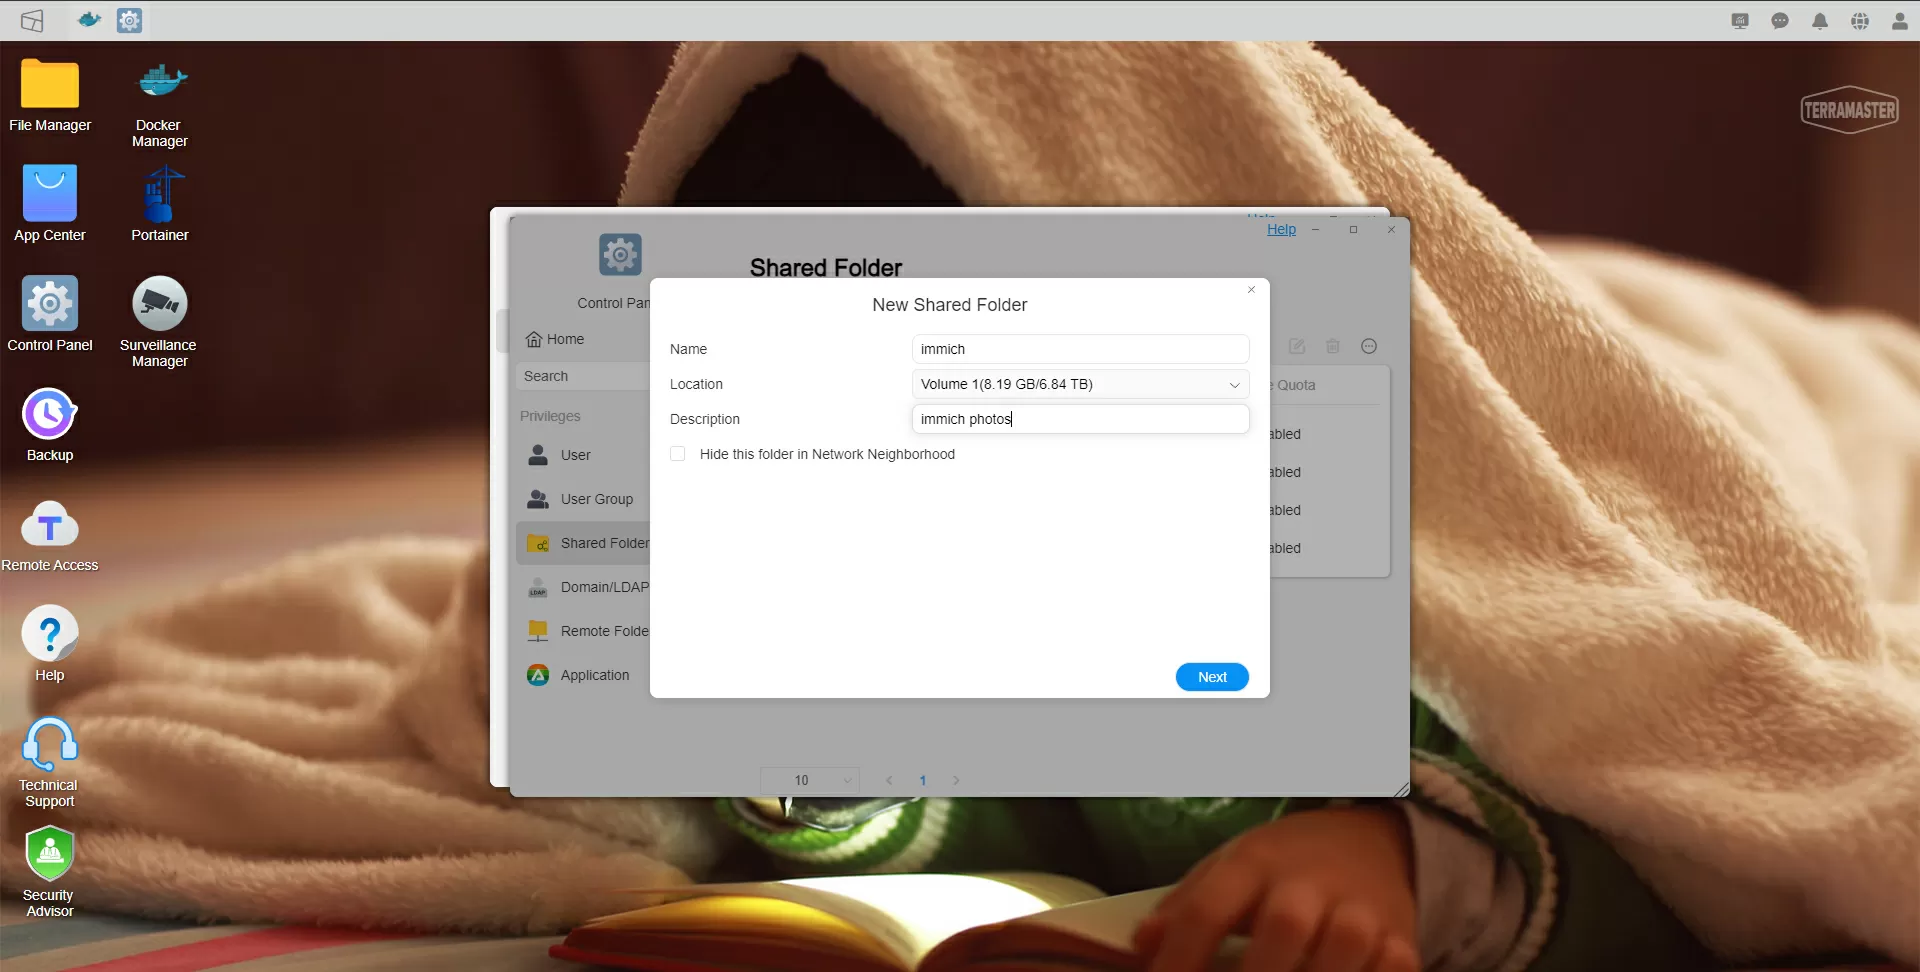
Due to its architecture, Docker does not store data permanently in containers: he either needs to configure the use of the built-in Docker Volume system, or drop a folder with storage into the container. We can create separate folders for different stacks directly in the Terramaster TOS interface, but note that the shell does not show the absolute path of the folder that we need, so for clarification, you can connect to the NAS via SSH and check. Usually the folder name has the following path relative to the root: /Volume1/folder name (note – Volume1 is capitalized. I do not recommend you to use the built–in folder encryption tools in Terramaster for use with Docker, since containers are launched automatically at system startup, and encrypted folders are mounted manually, and if the container starts with an unmounted folder, there will be a glitch.
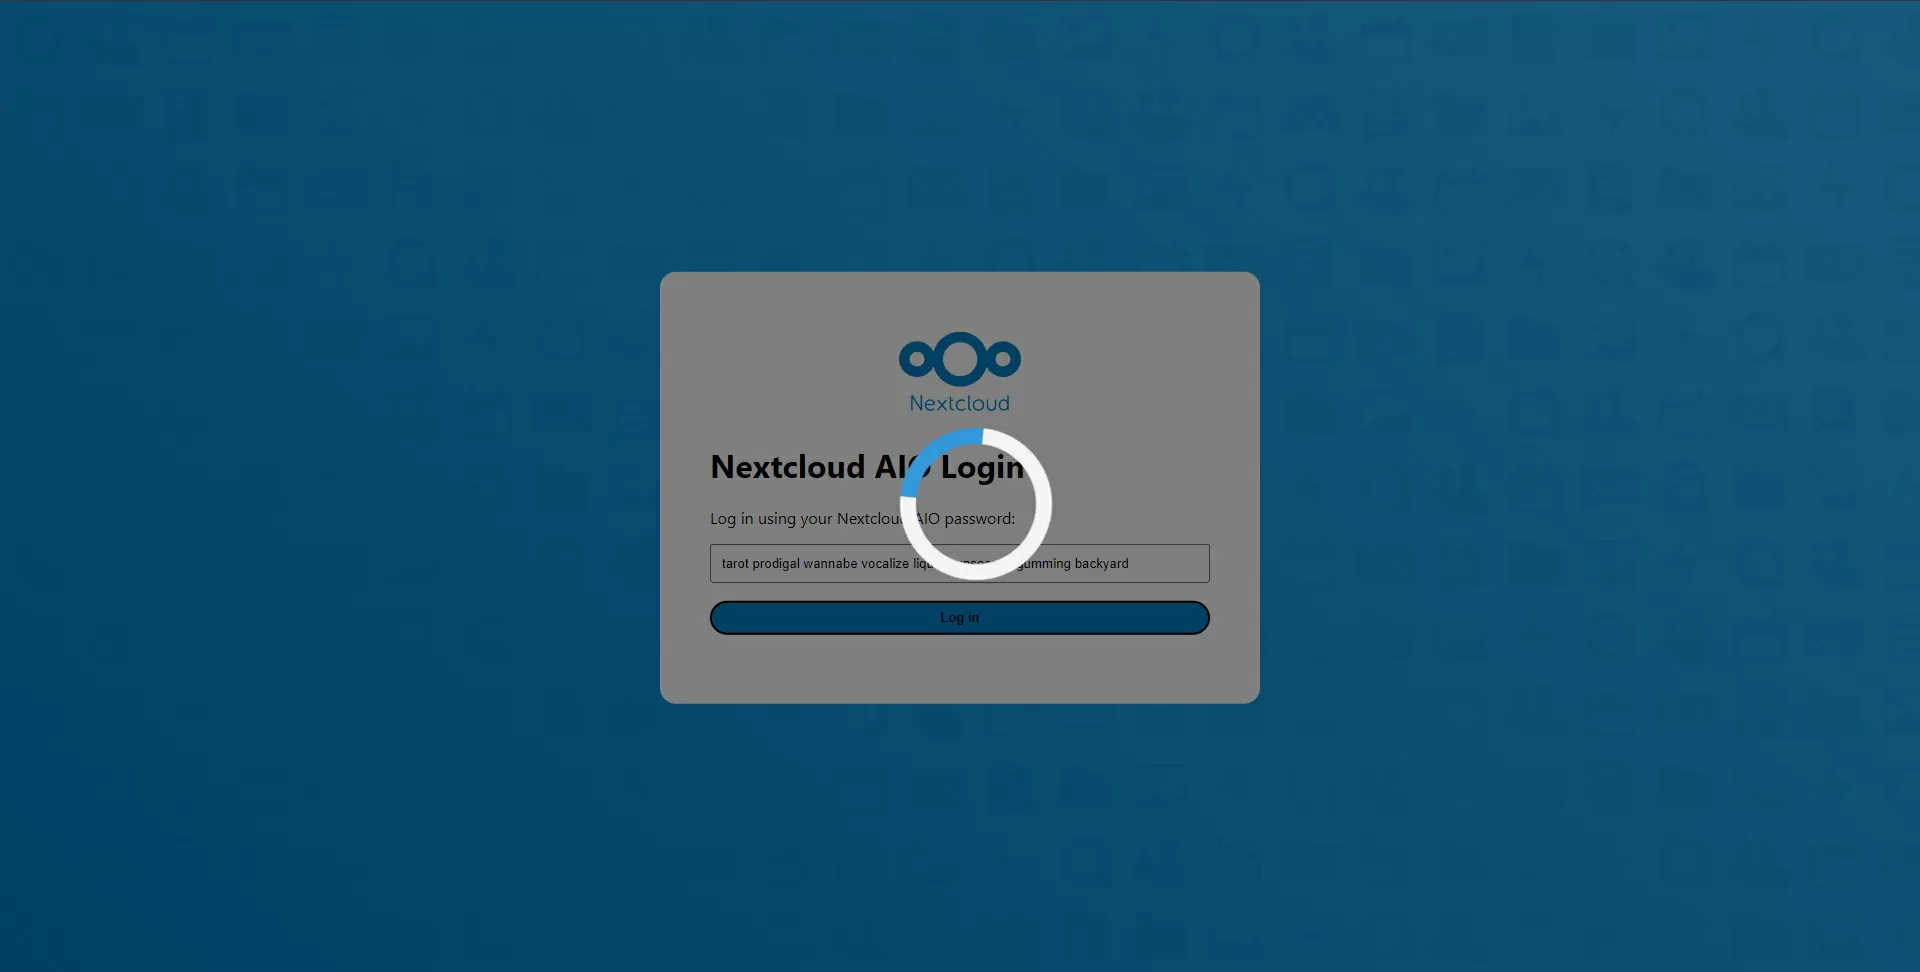
Step 1 – Install Nextcloud AIO
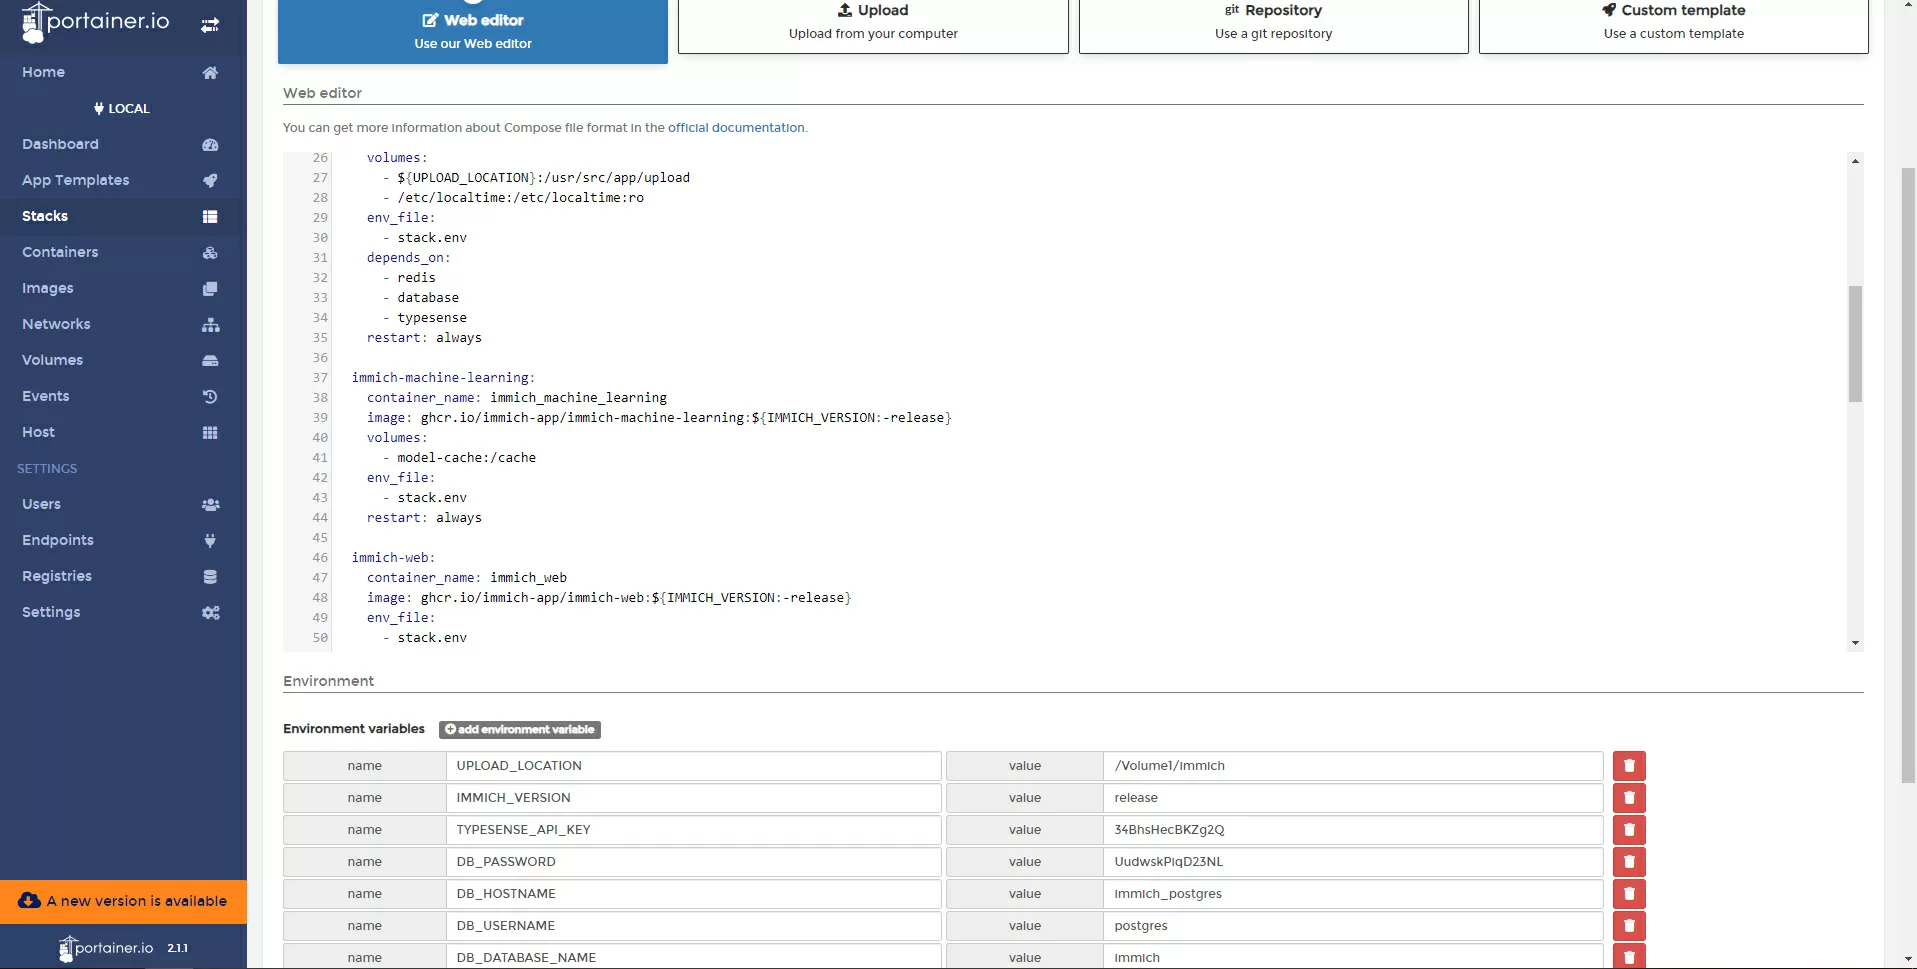
I believe that Nextcloud has now become the de facto standard for file synchronization, sharing and hosting. Indirectly, this is confirmed by the fact that this software is available as applications in all modern NAS, but in order to install the newest version, you will have to install it yourself. Click on the Portainer icon in the Terramaster TOS web interface, enter your username and password, select the local Docker installation and select Stacks in the left column. Click on the Add Stack button and open the next browser tab, where we follow the link https://github.com/nextcloud/all-in-one/blob/main/compose.yaml, copy the contents of the file to the main field and uncomment the lines
environment


 APACHE_PORT=11000
then click the Deploy button.
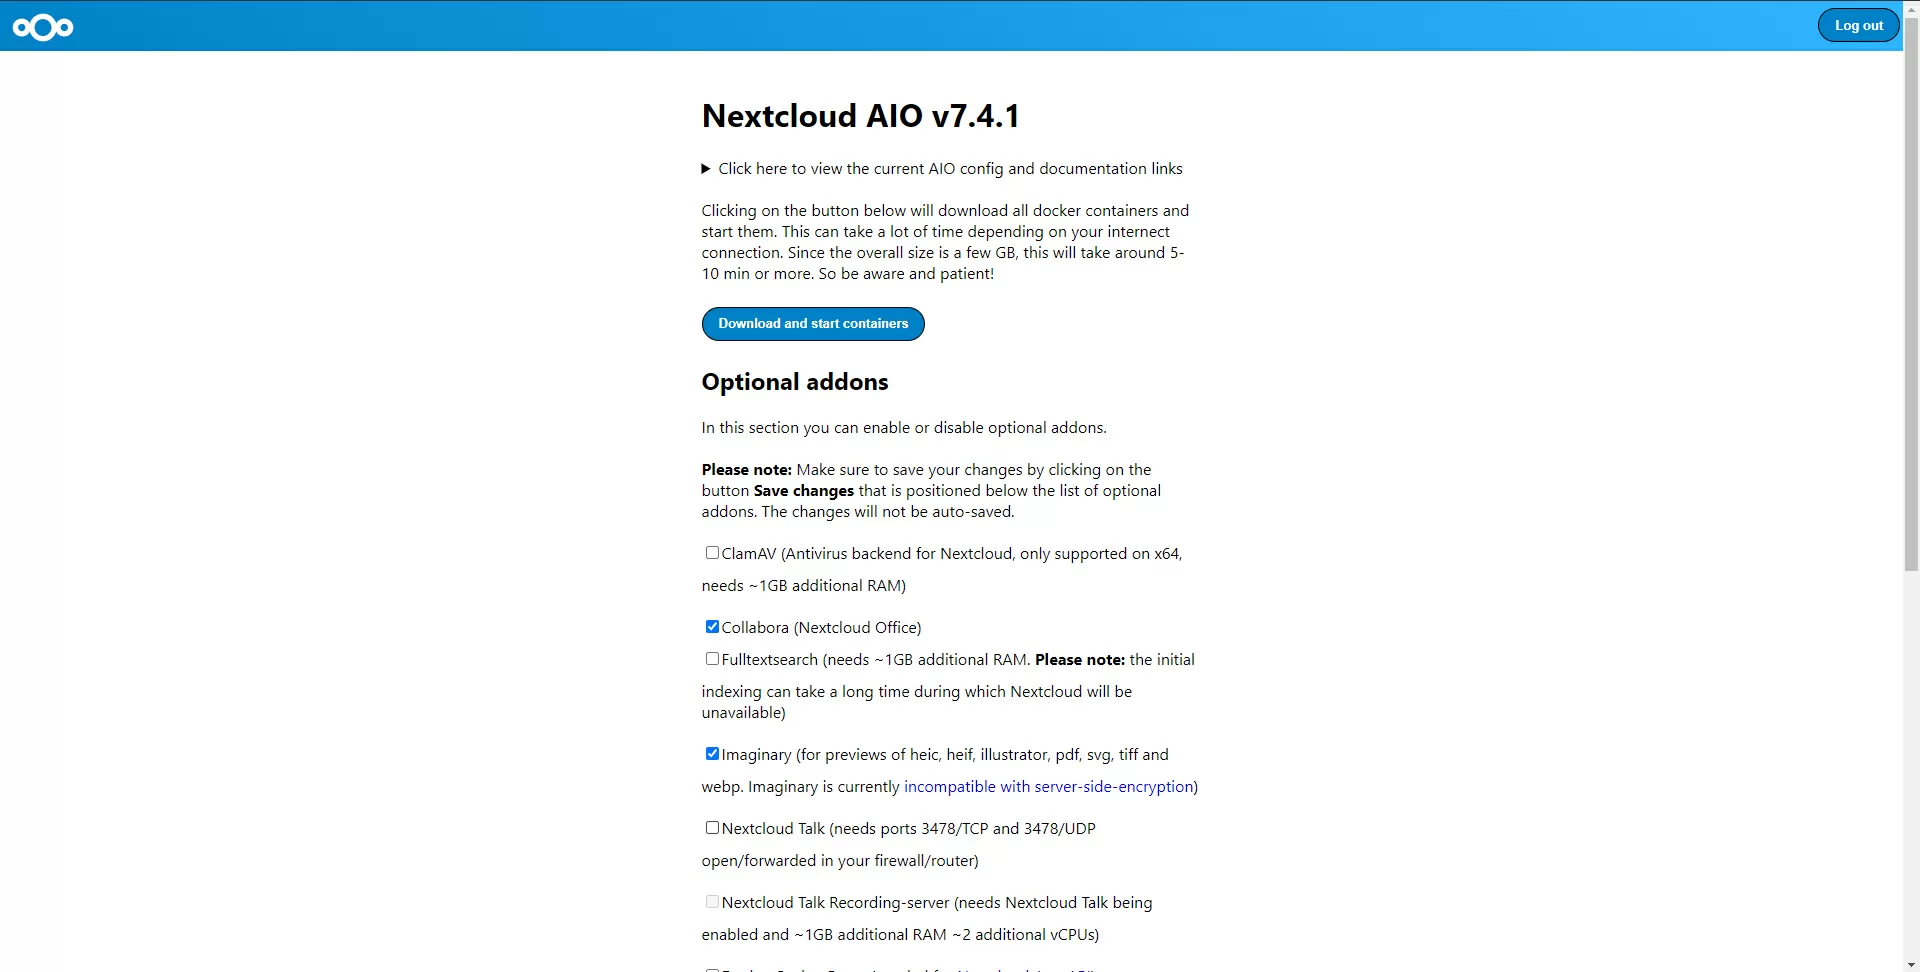
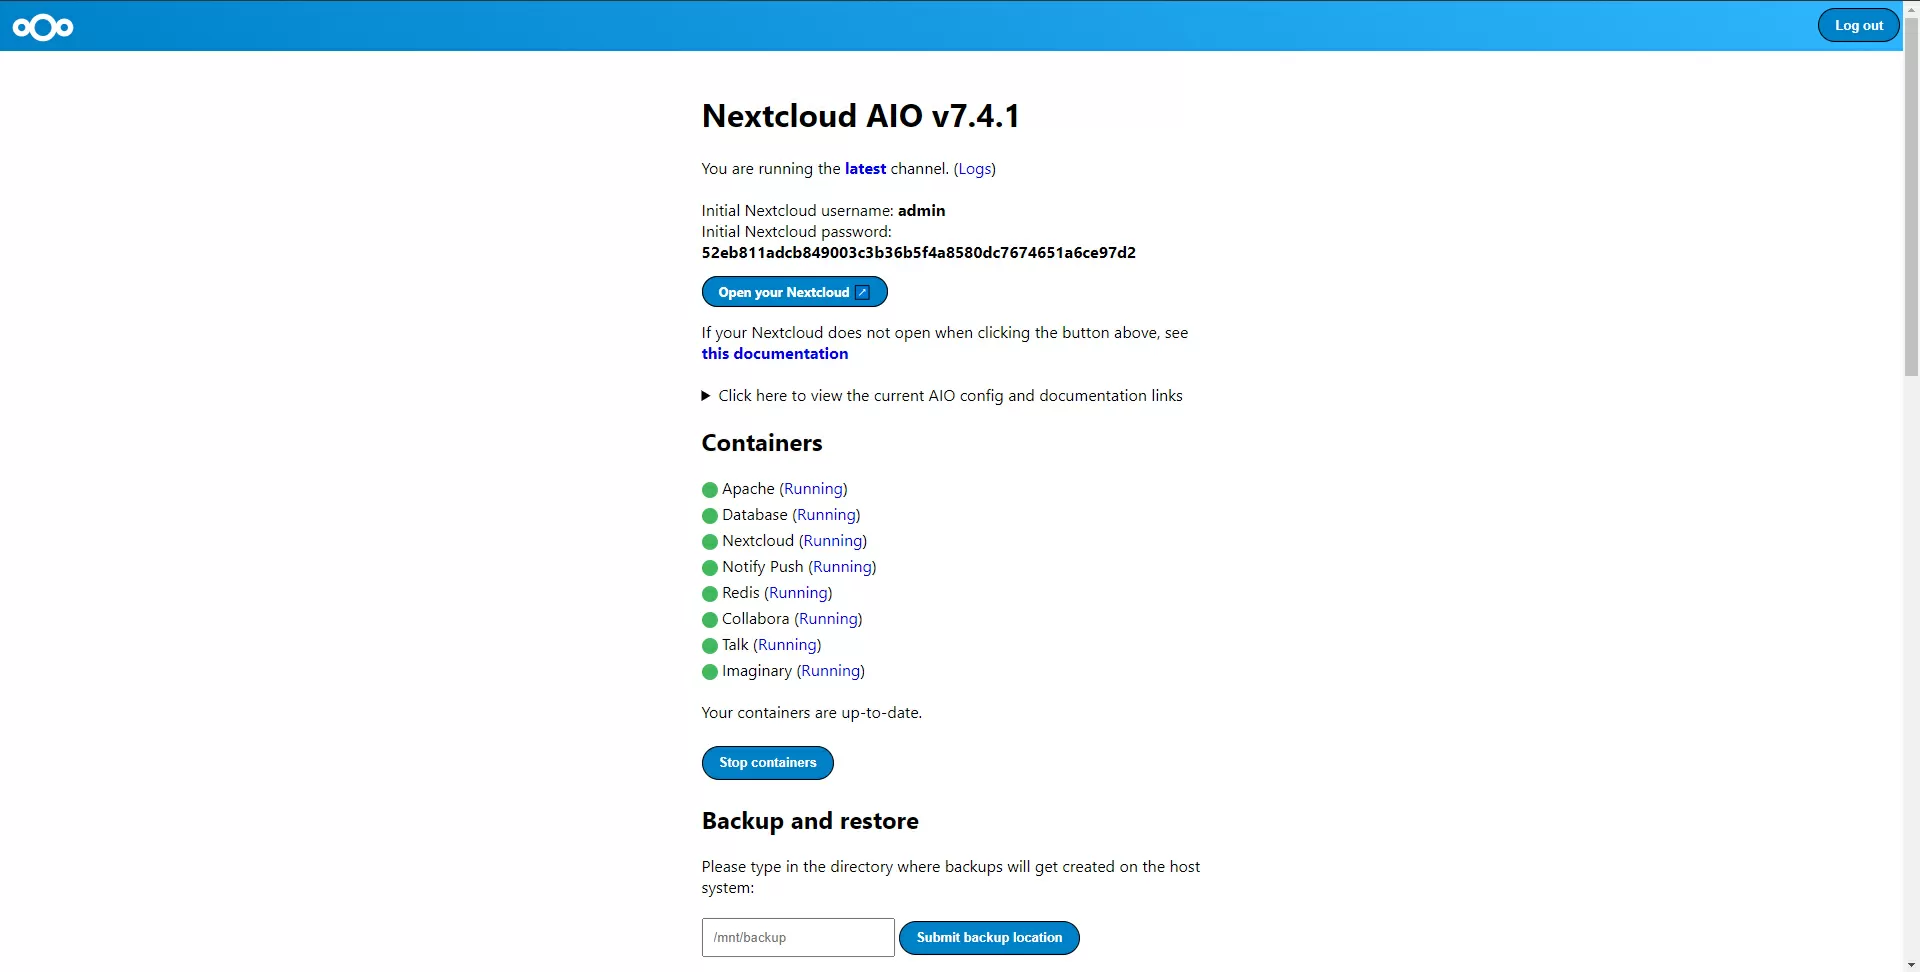
Nextcloud covers probably 70 percent of the needs for working through the cloud. Many install it and calm down on this, because it really "has everything". Without transcoding and AI functions such as tagging and face recognition, it is not demanding on the processor, but packages such as full-text search and antivirus will require an extra 2 GB of memory. However, you need to be prepared for the fact that Nextcloud is slow, and it's not about the server part, but about the huge amount of JS code that your browser loads.
After installation with the basic parameters and the Collabora office suite, the Nextcloud installation consumes almost no CPU resources, but requires about 2 GB of RAM, so we have less than 1 GB of base 4 GB. The data on the server is stored in plain text, so if necessary, you can install the E2E Encryption plugin or encrypt the folder using Terramaster OS, although I have already spoken on this topic above.
Step 2 – install our own Vaultwarden password manager
When Chrome or Firefox stores passwords, it's convenient, but if you use both browsers at the same time, then difficulties already arise. Therefore, it is more convenient to set up your own password storage, download the extension for all browsers (including mobile ones) and get another degree of freedom from corporations. Nextcloud has a password manager, but as it is customary in the industry, a specialized solution works better.
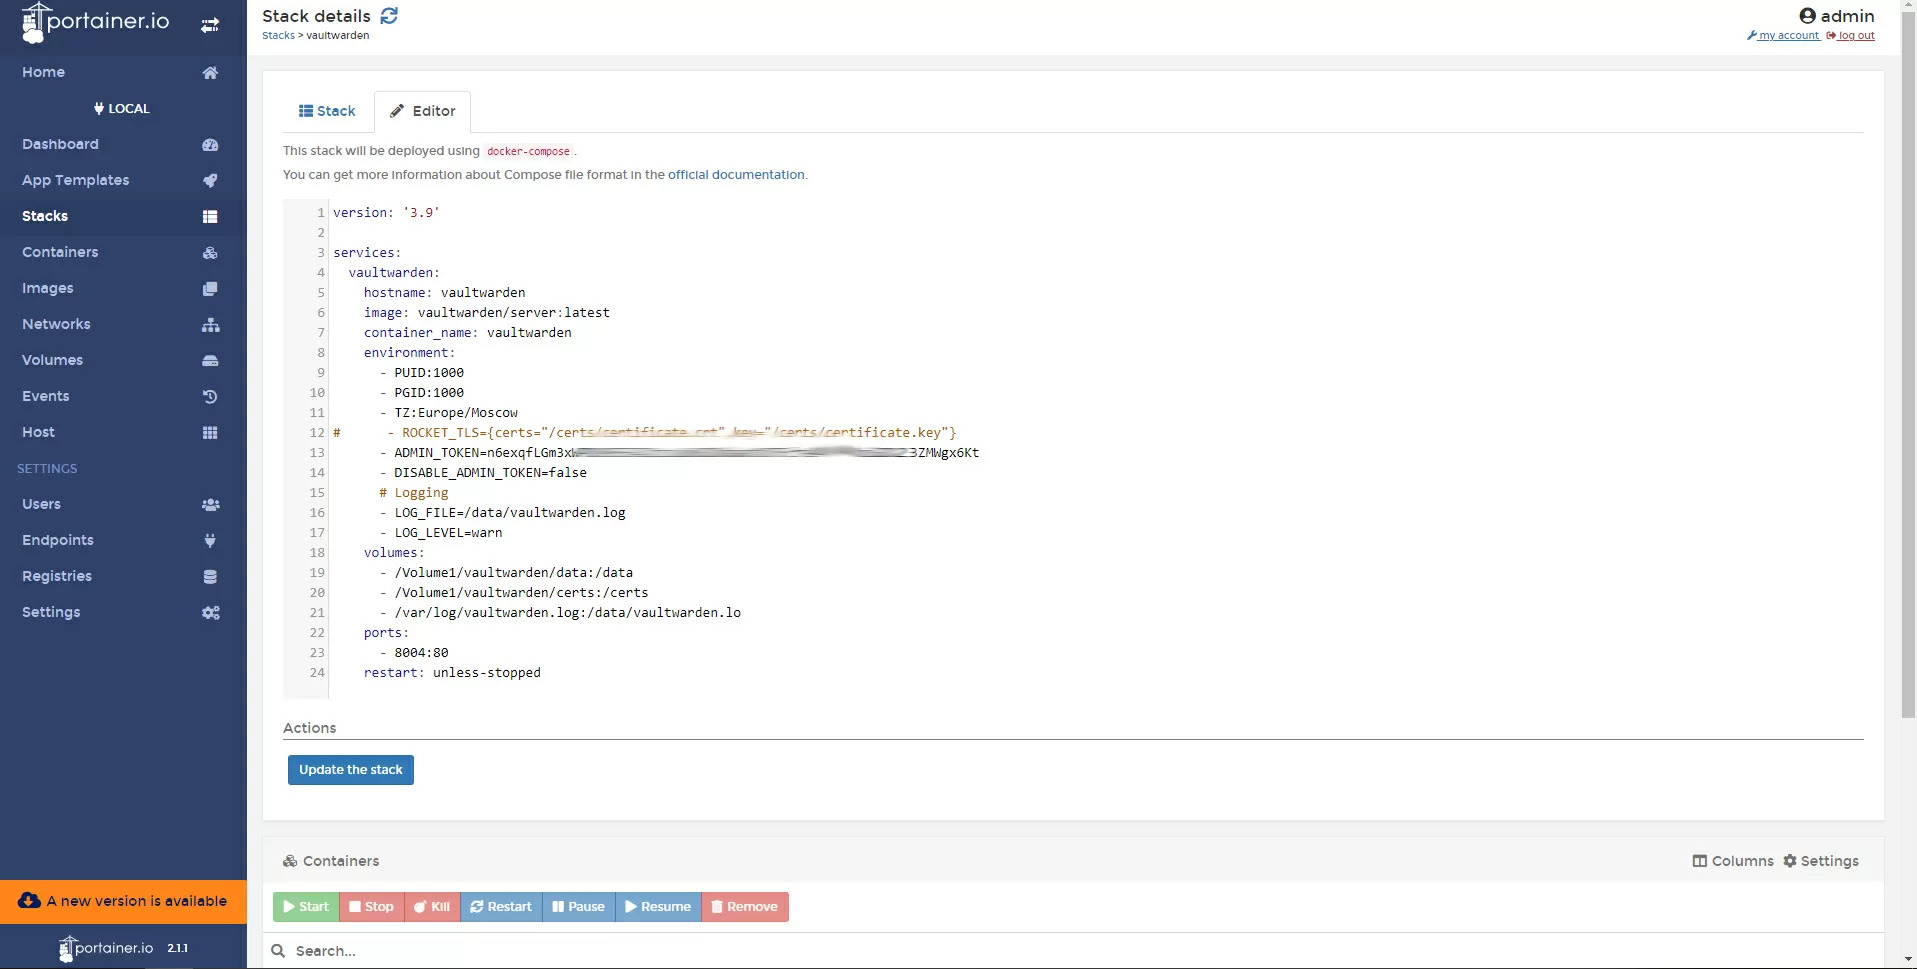
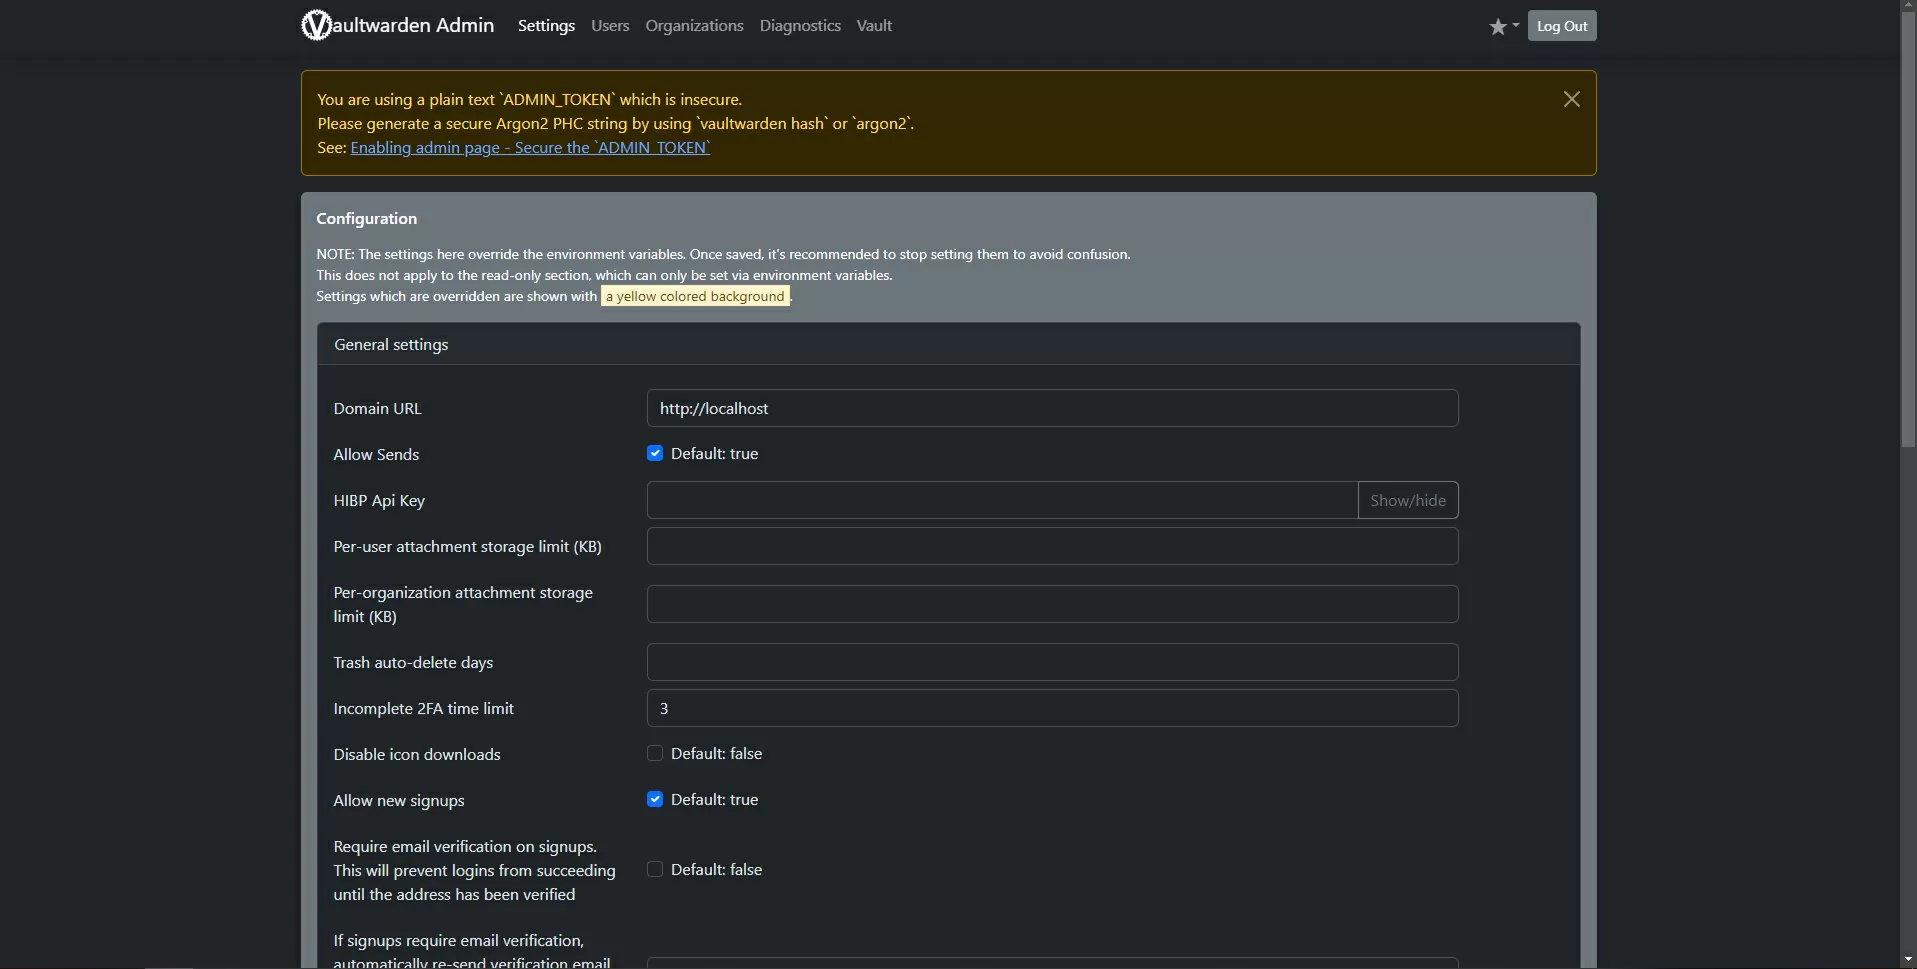
Vaultwarden does not consume noticeable memory and CPU resources, so we consider this installation "free". Please note – all data sent to Vaultwarden from the client application is encrypted on the client side and stored in encrypted form, so it does not make sense to use additional encryption of the folder.
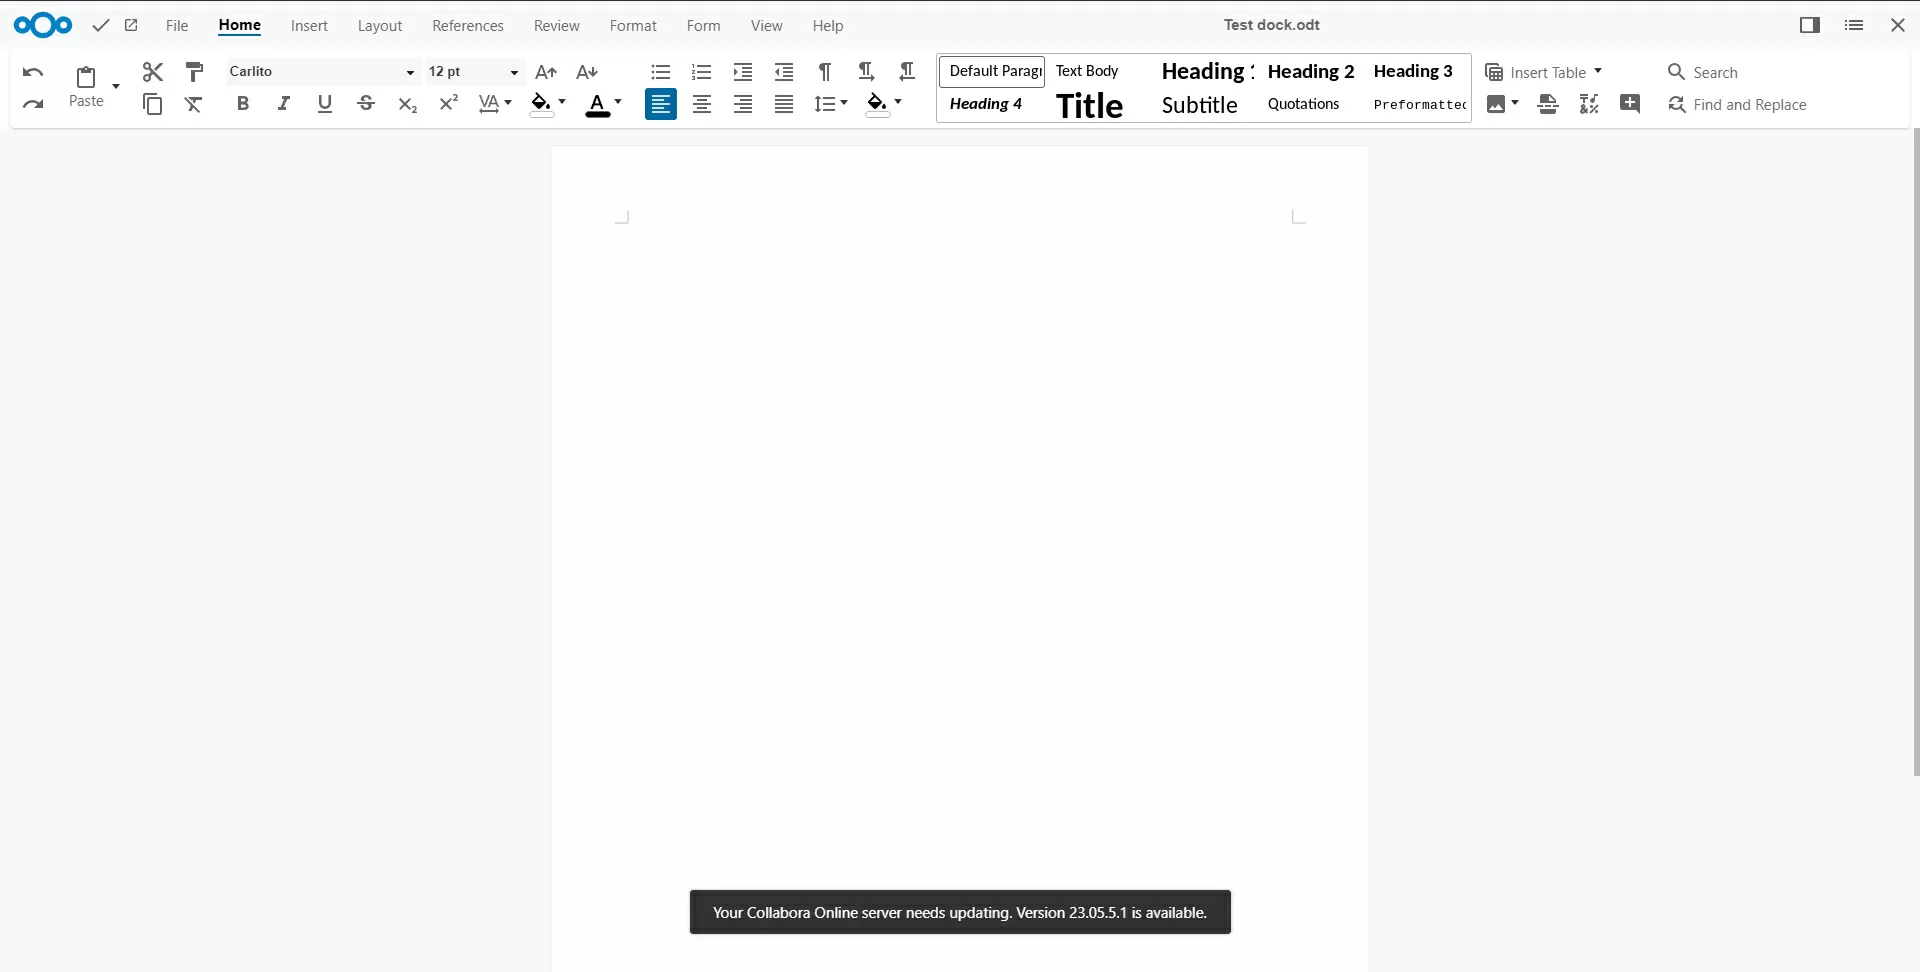
Step 3 (optional) – install our own cloud "office" Onlyoffice Docs
Microsoft may stop supporting Office 365 for customers from unfriendly countries at any time, Google with its Google Docs is not immune from this either. Large enterprises have already faced the inability to renew access certificates to MS Exchange, so it's better to overdo it. OnlyOffice Docs is a Backend that doesn't have its own interface, but connects to something. It integrates seamlessly into Nextcloud and allows you to edit the same documents both from the Nextcloud Web interface and from an offline editor for Windows/Linux/smartphones. The free version has a limit on the number of simultaneous connections, but this is not noticeable for small companies.
OnlyOffice Docs is quite demanding of resources and may not install on a NAS with less than 8 GB of memory – that's where we remember what we talked about above – Terramaster F2-423 will easily allow you to expand the amount of RAM.
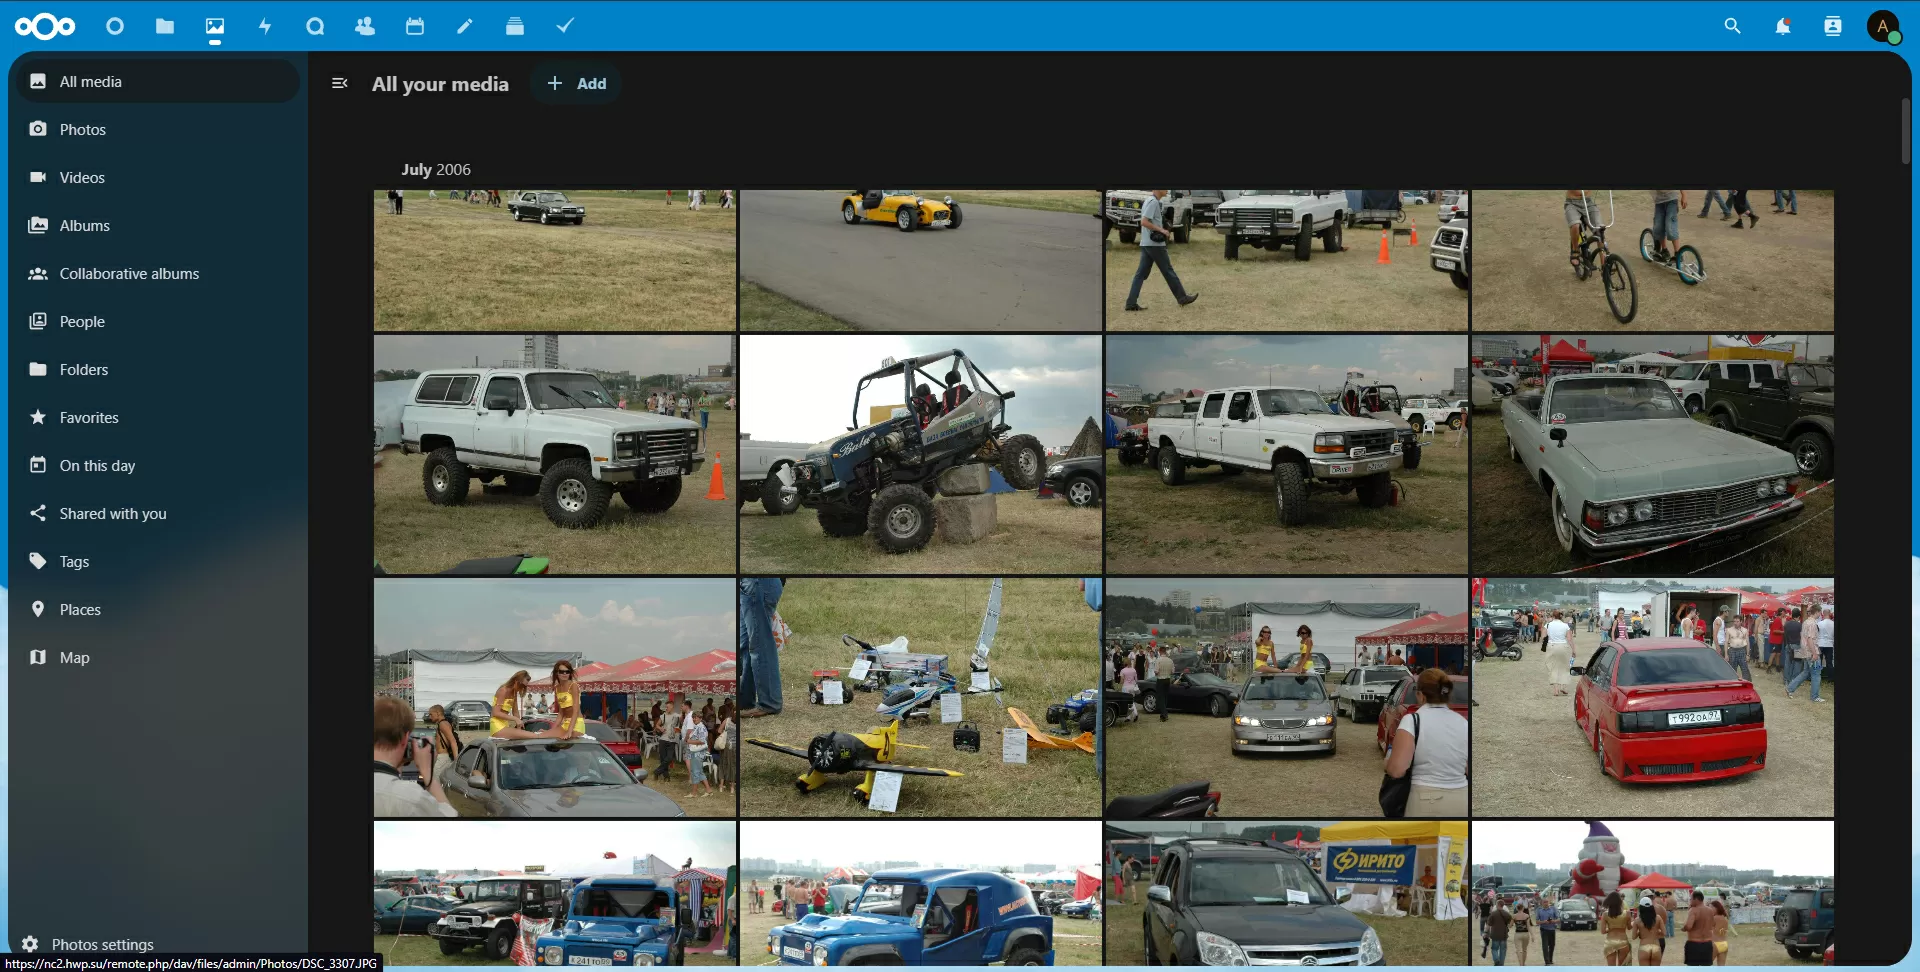
Step 4 – install Immich
NextCloud already has two types of photo galleries, but the most beautiful and spectacular thing in the world of free photo hosting today is Immich. If you need to give a link to the gallery to a client, for example, to view photos, it is more convenient to do this through Nextcloud, but when viewing through Immich, the client will jump with happiness.
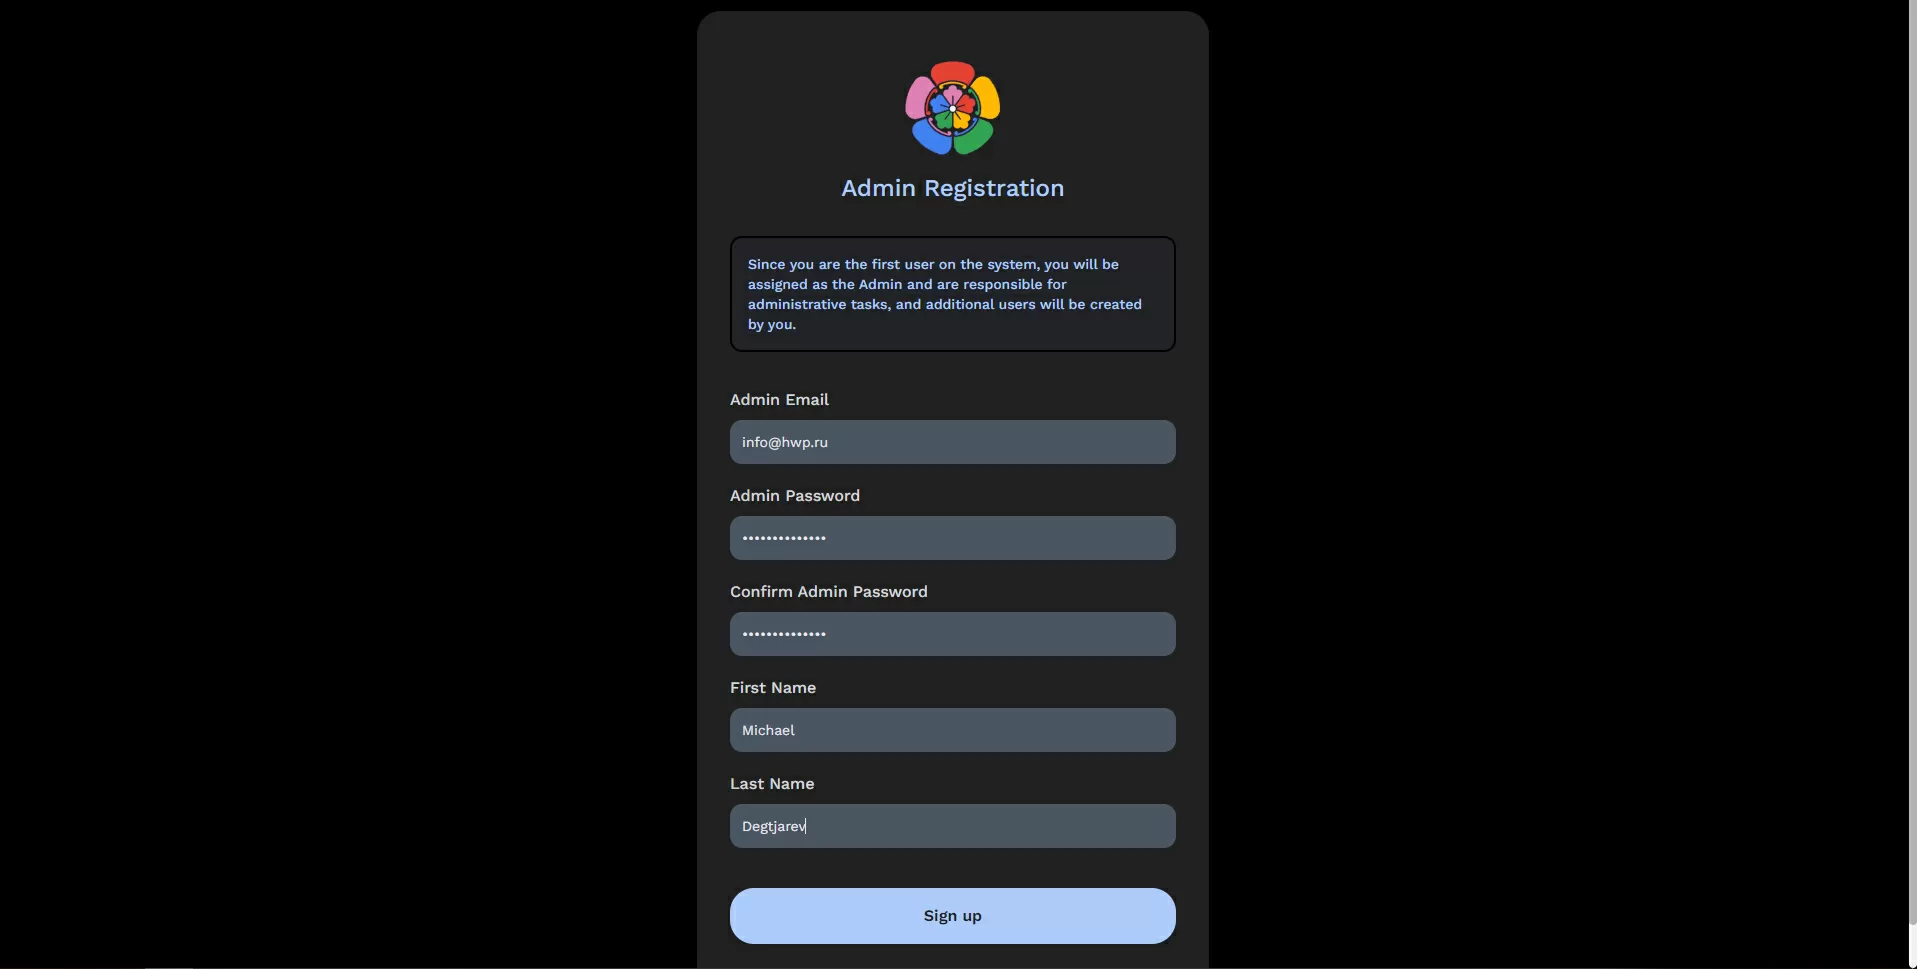
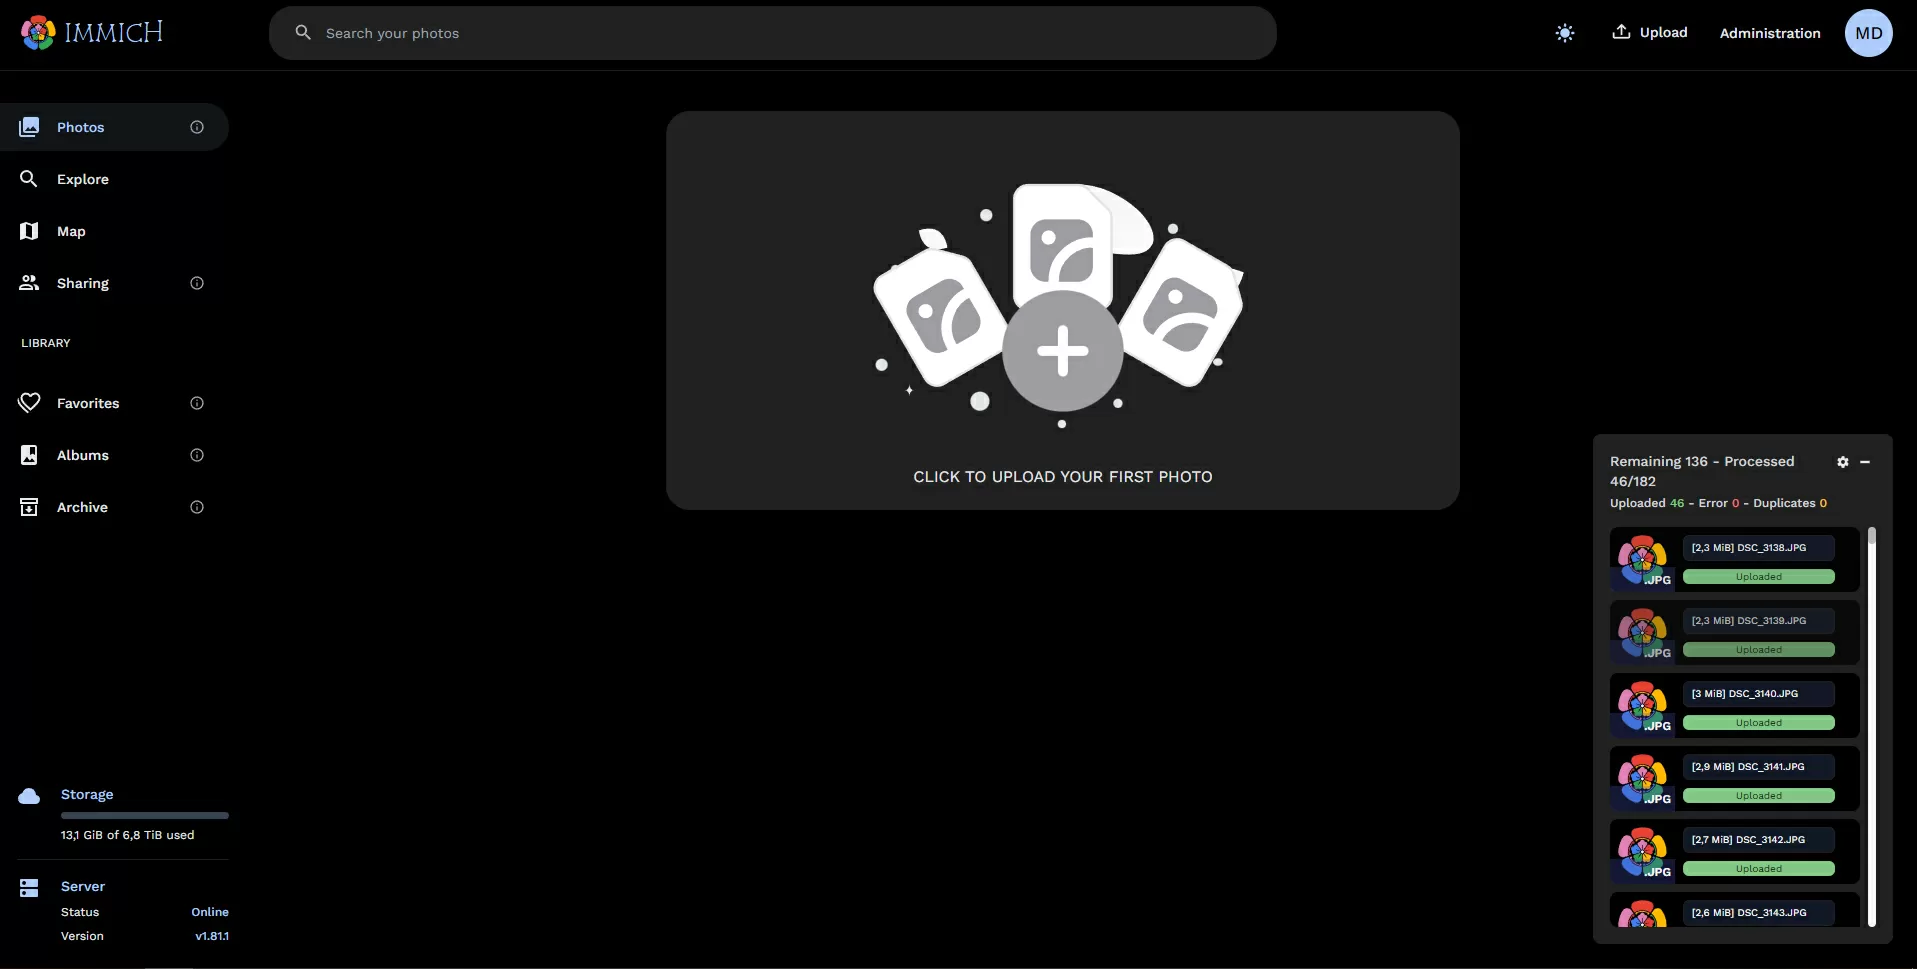
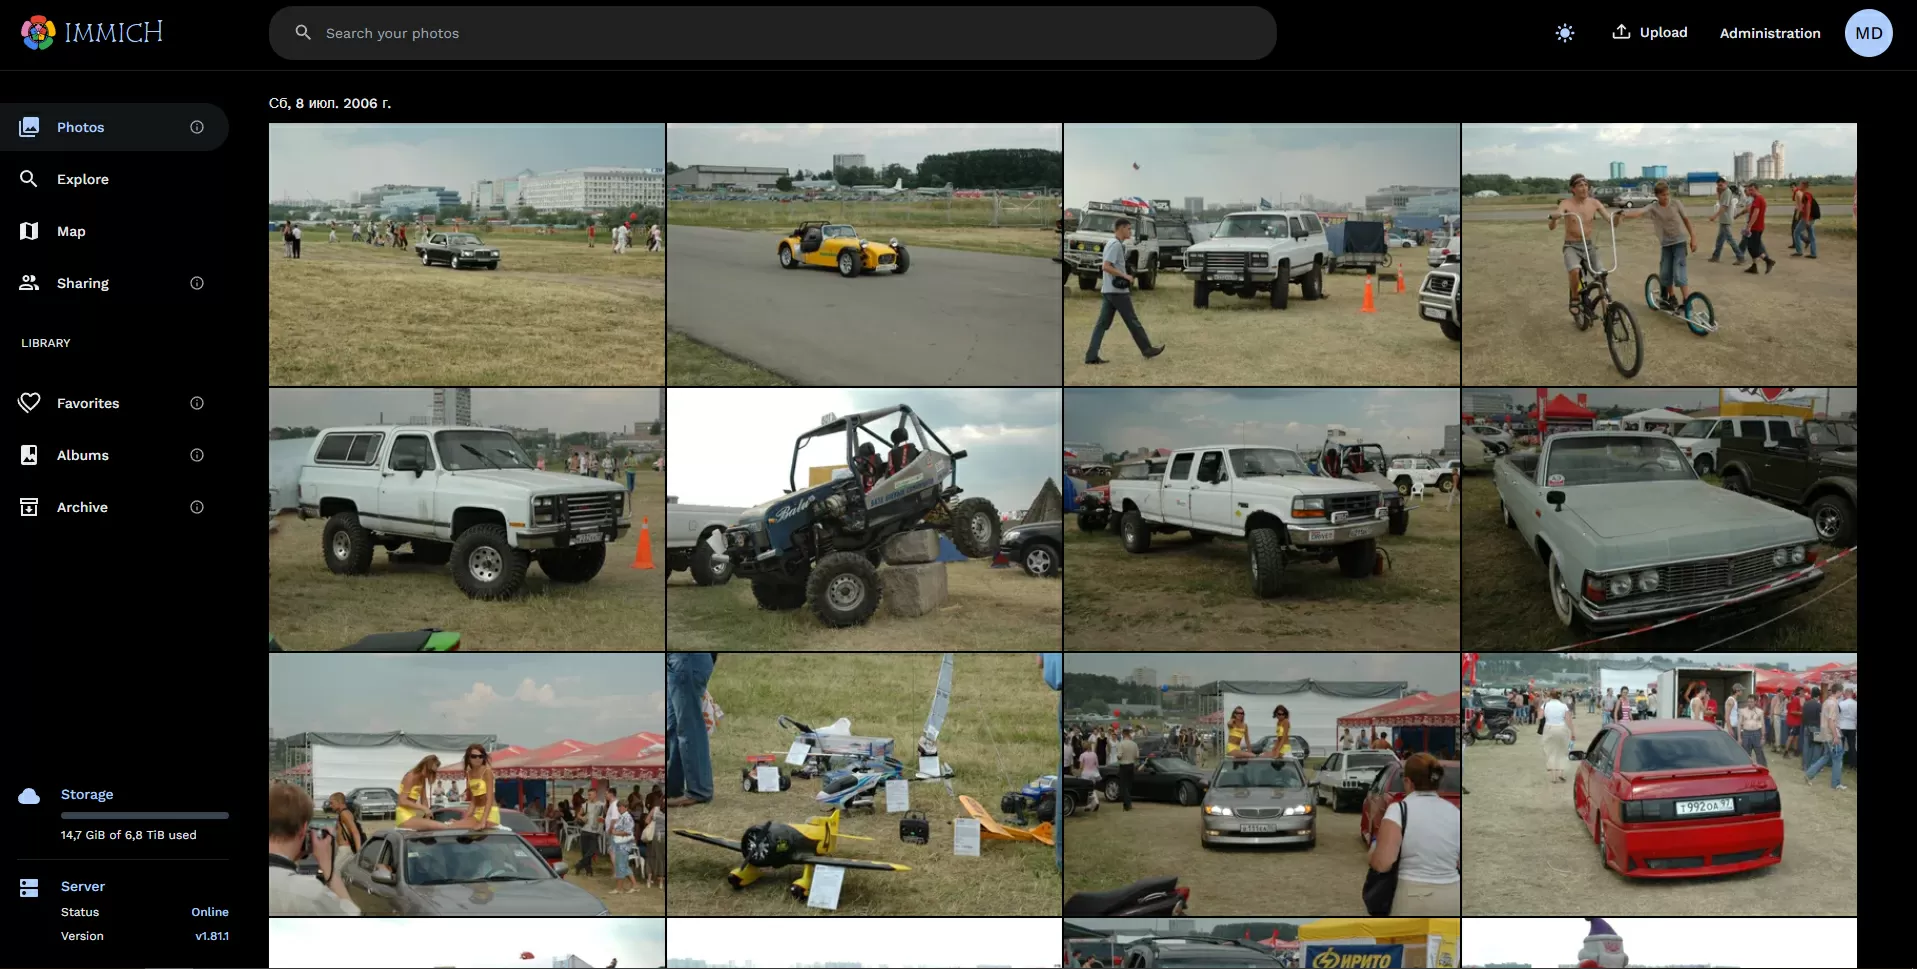
Photos uploaded to Immich are stored unencrypted, sorted by date. The built-in AI functions include face and object recognition, and since the processor in the Terramaster F2-423 is too weak for these tasks, we recommend that you select processing these functions in 1 thread in the application settings: it will work slower, but it will not load the processor by 100%.
Step 5 – setting up a proxy via a white IP or CloudFlare Tunnel
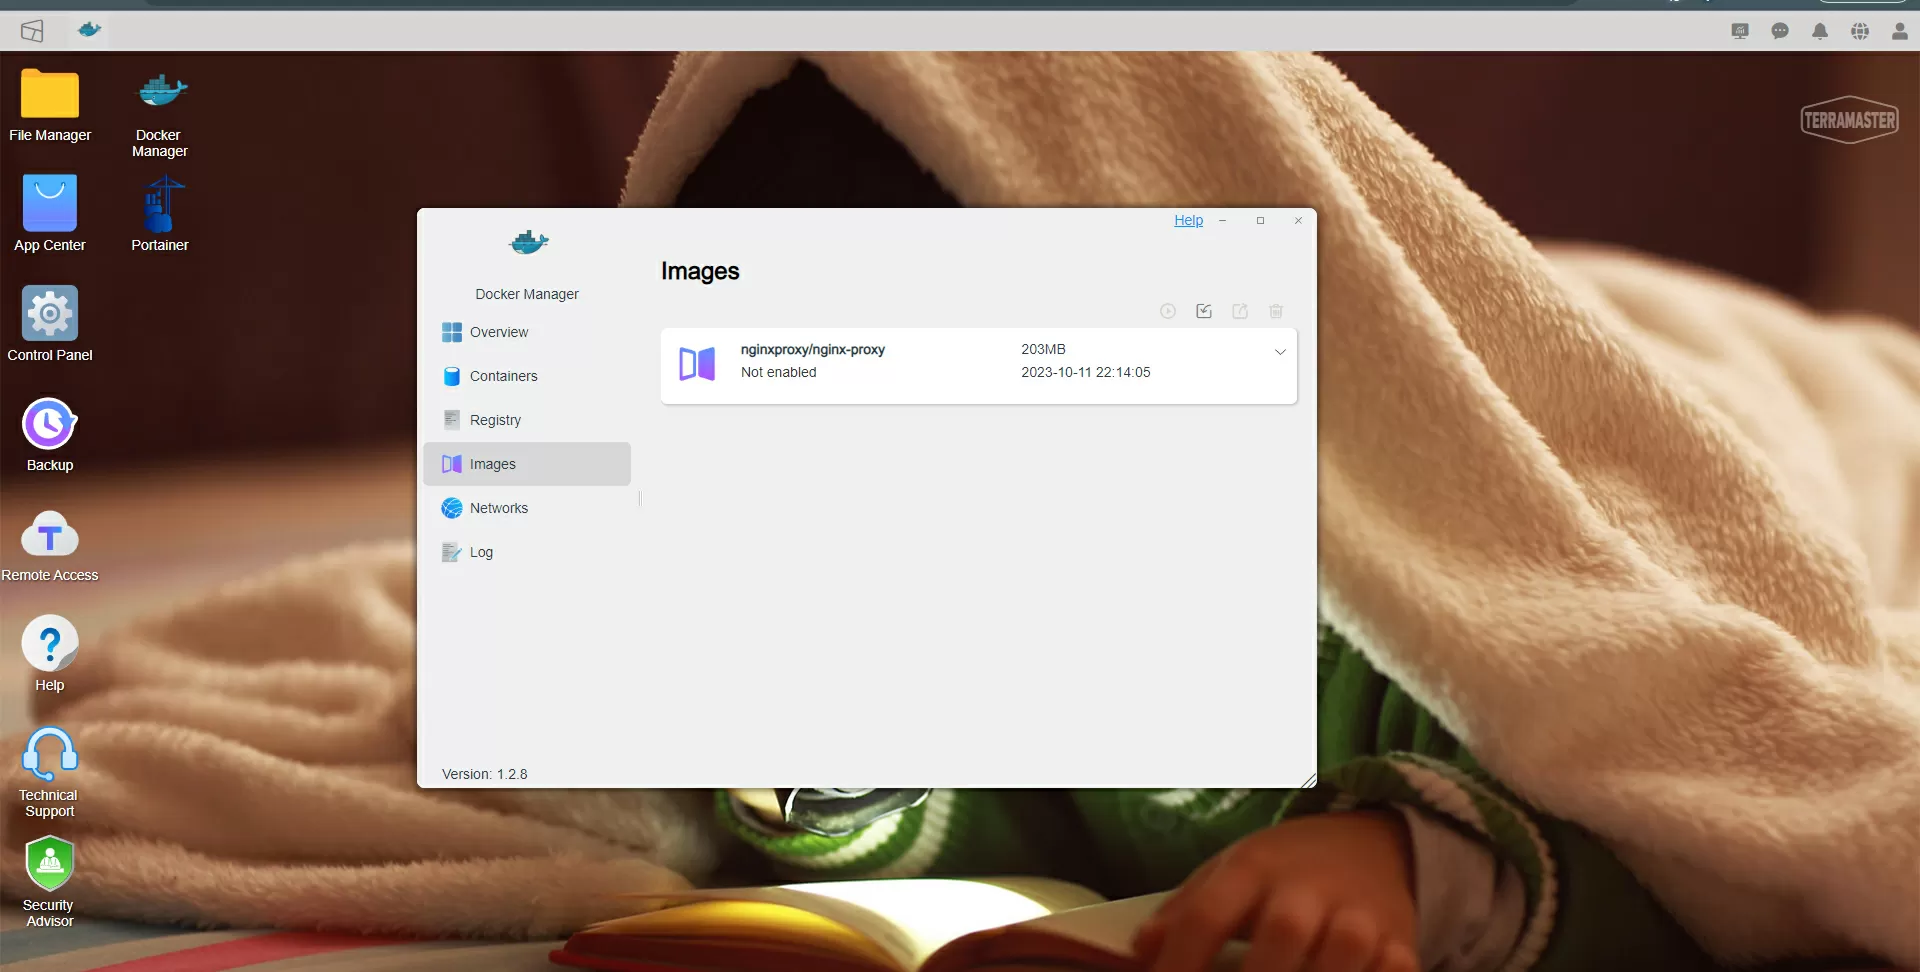
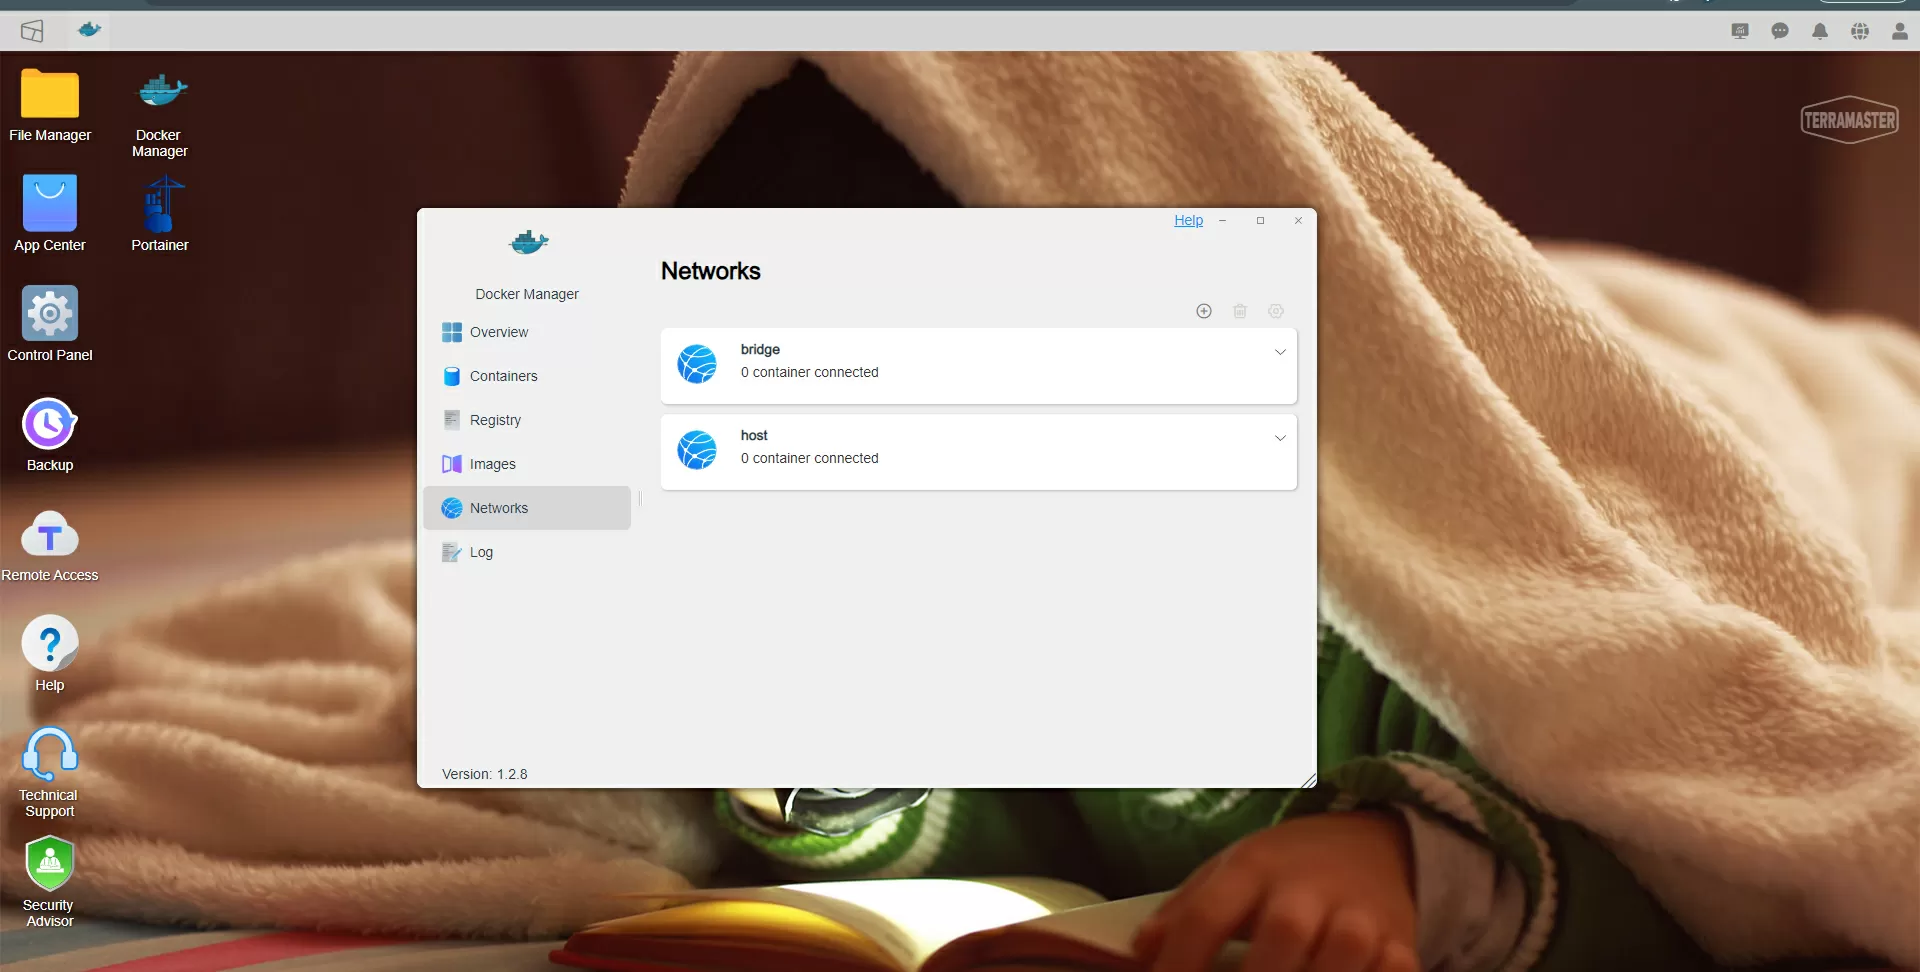
Your services will use the Docker internal network with forwarding of open ports to the IP address of the NAS itself. In order for all of them to work through a secure HTTPs channel, you need to configure proxying for the domain. There are two ways to do this: the first is to buy a "white IP" from the provider and send ports 443 and 80 to the Terramaster F2–423 IP address on the router in the NAT settings, and install Nginx Proxy Manager. The default ports can be reassigned, for example, the 80th NGINX port can be forwarded to the 8082 host, and in the router, when an incoming request is broadcast to the 80th port, it can be redirected to the 8082nd, and similarly the incoming 443rd port can be redirected to the 8443 Nginx port, for example.
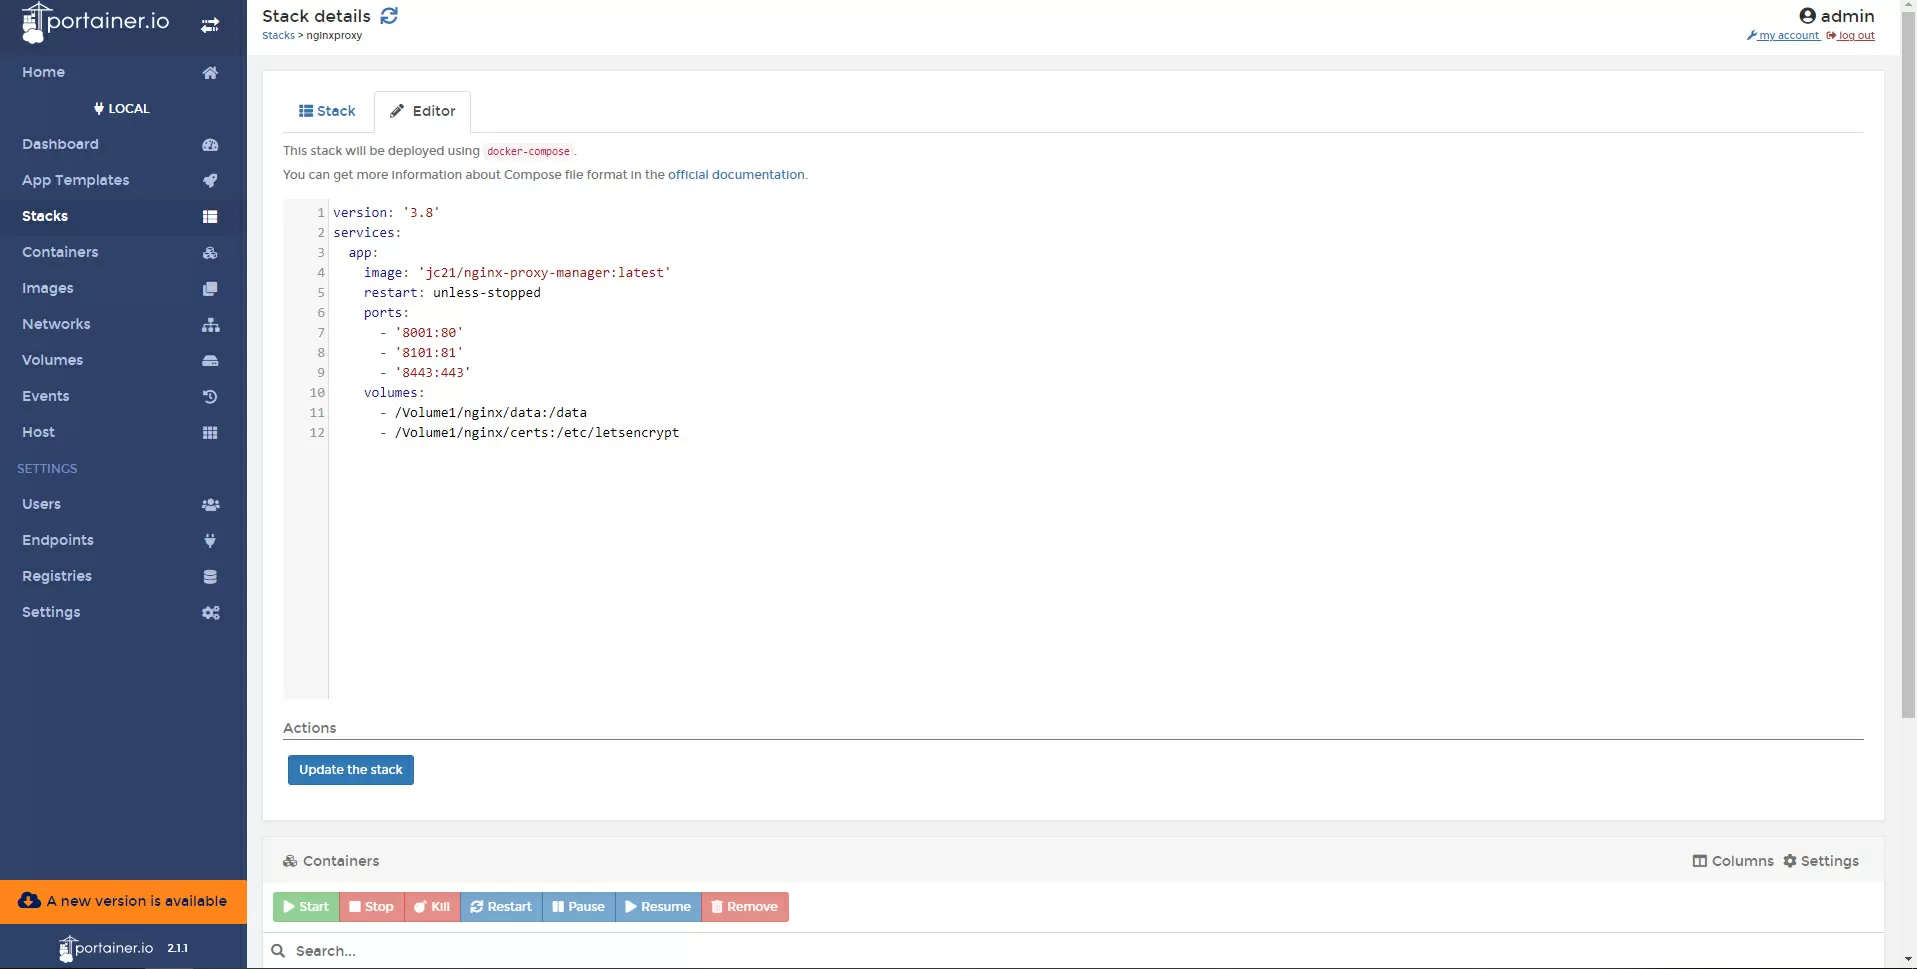
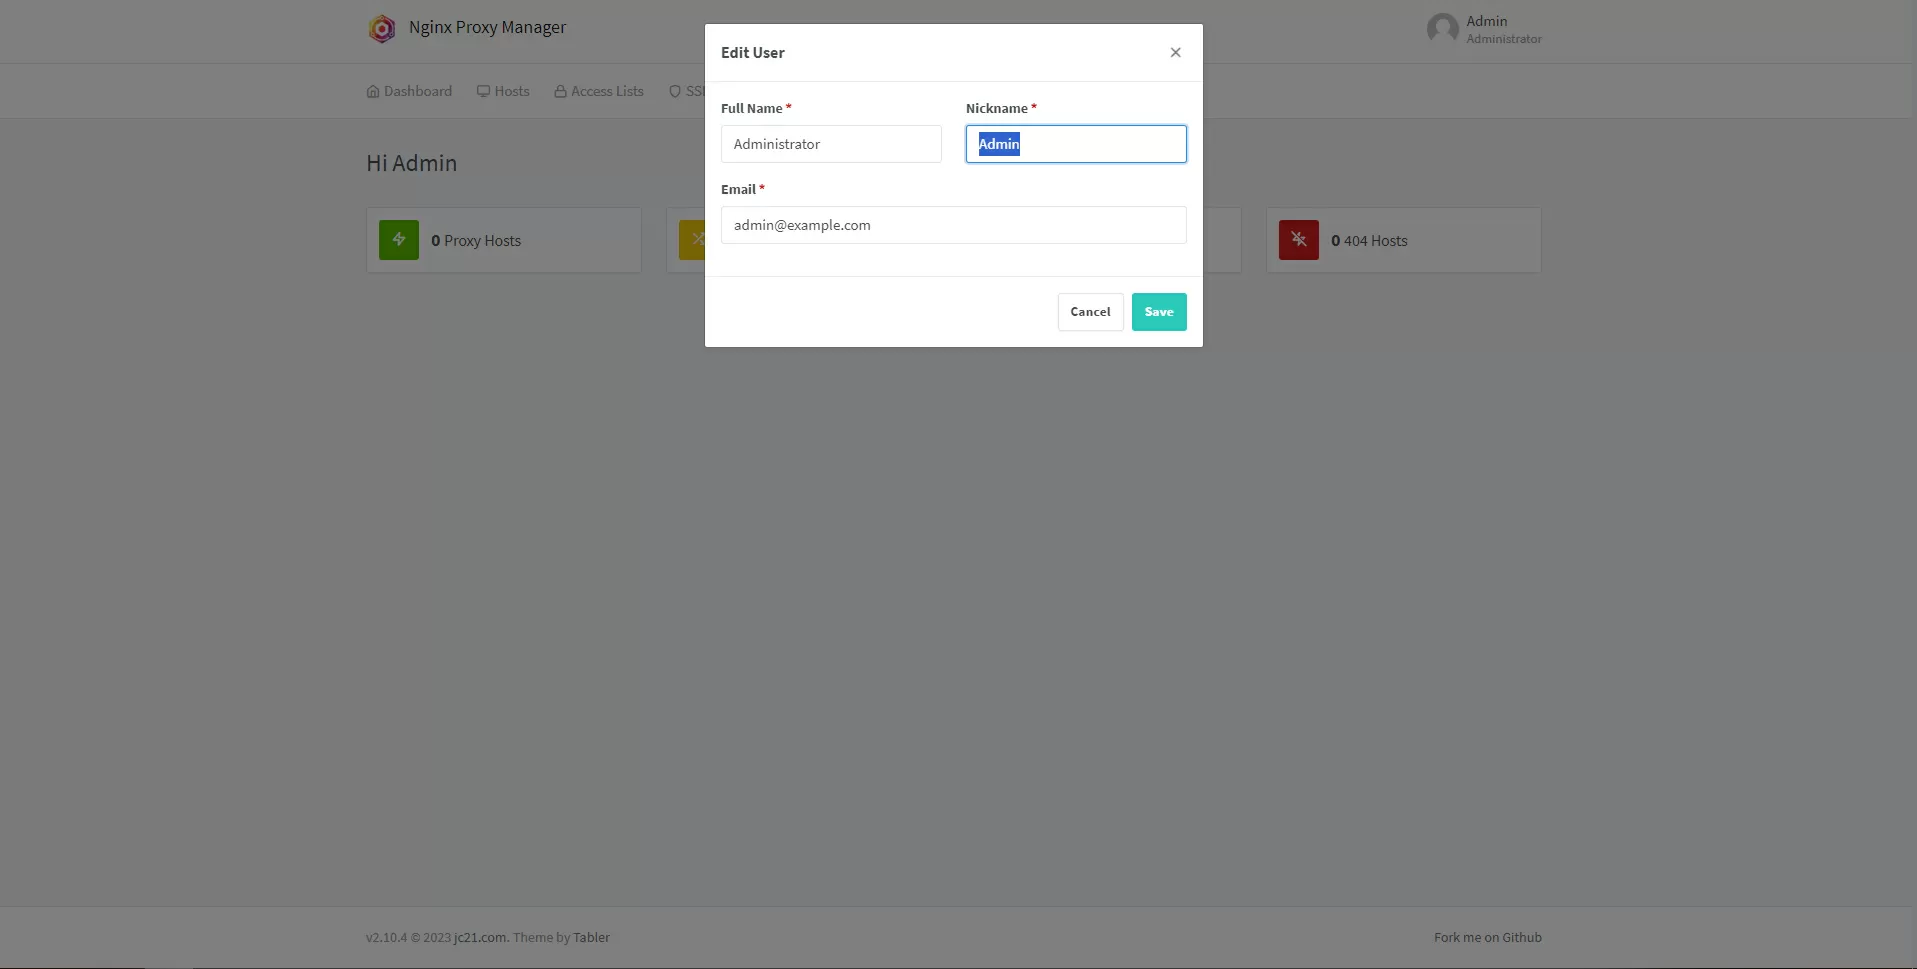
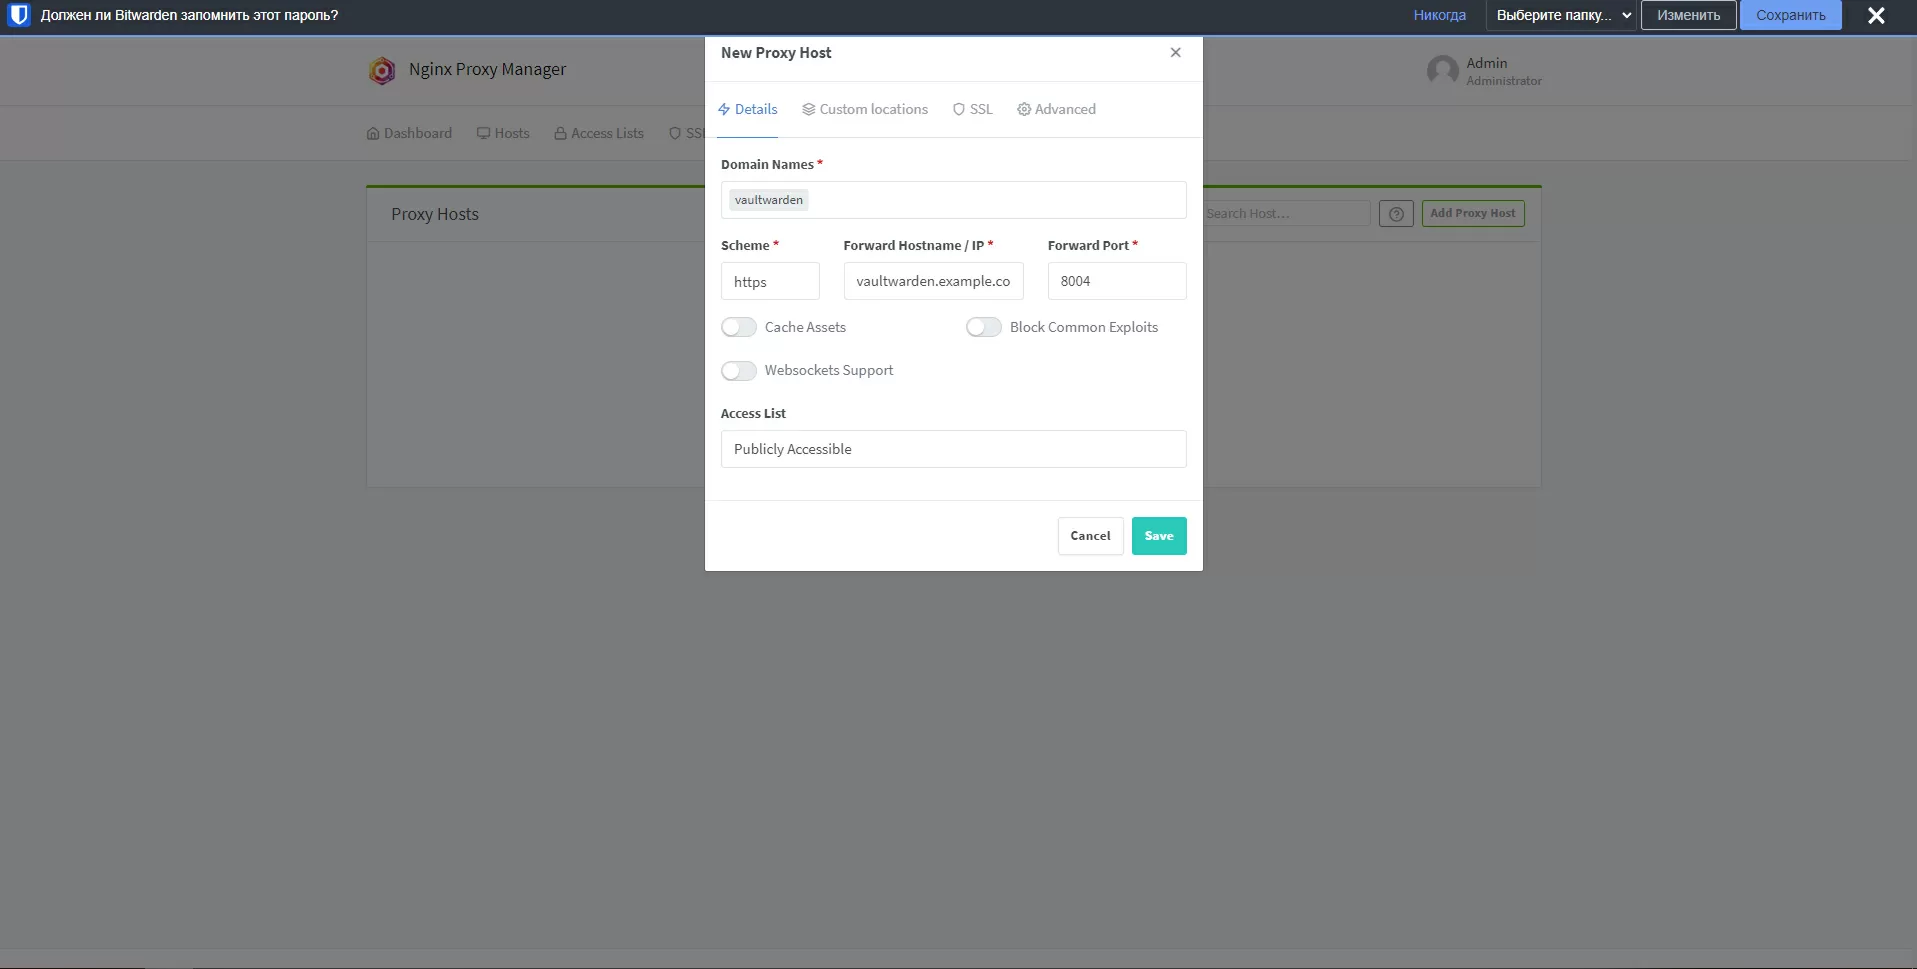
The easiest way is to hang each service on its own subdomain, for example, on nextcloud.example.com , immich.example.com , password.example.com and already from the web interface of the Nginx control panel, select the appropriate port of the host to which the container is bound. For example, for nextcloud.example.com we choose 192.168.1.164 (the Terramaster F2-423 IP address) and port 11000 (the one on which the Apache stack is hanging).
There is another option – using Cloudflare Tunnel. It allows you to connect to your servers over HTTPs, even if you don't have a "white" IP address, and since it's free, you can only rejoice and wish them good health. The essence of the technology is simple – a container is launched in your cloud that establishes a connection with Cloudflare servers, and already when accessed via HTTPs, Cloudflare connects the client to your service by sending response network packets. Thanks to this, the technology works even behind the gray IP provider, does not require you to bother with obtaining and updating Let's Encrypt certificates, but the truth is there are speed limits and such an unpleasant trifle that when registering you will be required to have a valid VISA/Mastercard credit card number. National payment systems such as Mir cards are not supported, so we will not dwell on this method in detail: if you have the right card, you will easily find step-by-step documentation on how to configure everything by installing the Cloudflare client in Docker and prescribing an access token to it.
In terms of reliability, speed and security, I recommend you to use a white IP and your own reverse proxy, whether it's Nginx Proxy manager or another.
Time costs:
It takes about 1 day to install Nextcloud + Immich + Vaultwarden + OnlyOffice + Nginx Proxy Manager if you know what you are doing, and about 1 week if all this is new to you. If you need to set up registration via LDAP, then it will be paid almost everywhere, but there are no other obstacles to installing an LDAP controller in Docker.
Migration to another NAS
If you decide to switch to another NAS with all your services saved, you need to copy the Docker stack data from the Portainer editor to Notepad, stop all containers and simply copy the Docker volume folders to the new device. When launching services on a new NAS, you will only need to change the paths to these folders in the Portainer editor and correct the IP address of the device in Nginx Proxy Manager and in the NAT section on the router.
This scheme does not bind you to a single hardware manufacturer, so you can easily migrate data from Terramaster to QNAP, Synology, Asustor or a self-assembled server under Ubuntu/Centos Linux.
Conclusions
I did not set out to consider the entire endless world of free applications for creating my own micro-cloud, I just wanted to show that today, even on such small and compact platforms as Terramaster F2-423, we can run the latest versions of useful software without waiting for the NAS manufacturer to adapt them to their platform or he will write something of his own. As you can understand, the requirements for the NAS in this case are decreasing, and the degree of our freedom is growing. We can migrate our data between devices from different manufacturers, and it's easier than ever. We are protected from various kinds of sanctions, our disk array is protected with RAID, we have one of the most progressive file systems, BTRFS, and most importantly, now the NAS manufacturer can't "hook us up" with its built–in software, and then go broke or beautifully go into the sunset.
Links to self-hosted resources:
- awesome-selfhosted - sorted selection of services and software
- r/selfhosted - Reddit community
Terramaster F2-423 is ideal for such a start if you are doing it all for the first time: expandable memory, two NVME M2.SSD slots, SSD caching support and a user-friendly interface. The built-in processor is enough for most tasks not related to artificial intelligence, memory is installed easily, the device is not very expensive and very compact.
Michael Degtjarev (aka LIKE OFF)
17/10.2023