Putting the cables in order in the server room. Where to start and what will be required
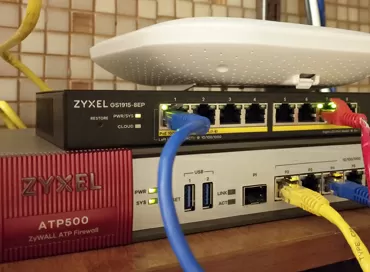
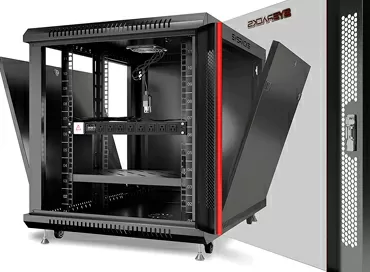
Careful laying of cables in the server rack is especially important to ensure ease of maintenance of IT equipment and to give a professional look to your server cabinet. Many organizations face difficulties when servicing a large number of cables, especially if they are not marked and everything is the same color as for evil. It is recommended to plan the cabling in advance before starting the installation and organization of the rack. If the cables were connected before the organization, then in most cases they will have to be removed and re-installed.
Cable management planning strategy
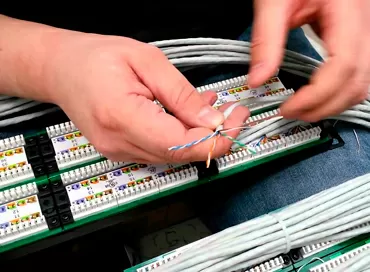
The installation of cables may vary depending on where they come from and where they go. This usually means that the cables will come in from the top, bottom, or connect inside the rack. If you have a patch panel, then you may face the problem of placing thick cables that go through the ceiling. The solution may be to secure all cables connected to one panel using special loops, and then lay patch cables through a horizontal cable organizer.
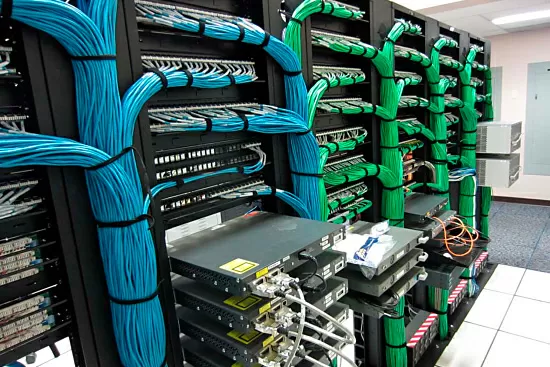
When connecting cables inside the rack, you can simply lay cables on the sides of the cable channel and use Velcro or clamps to fix them. In any case, the main idea is to combine cables that are directed to one place and ensure the compactness of a group of cables inside the rack at the same time with convenient access to them.
Basic accessories for cable management in the server cabinet
Vertical beam for cable management (vertical cable organizer). Many racks already come with them, but if you don't have one, try to find a compatible option. These beams give you more flexibility in the installation of signal and supply wires, they usually have built-in hooks and loops on which the wires are attached, but sometimes they are also found in the form of flexible sleeves. In fact, all cables will be carried up or down inside these beams. Vertical cable organizers are relatively cheap - you will most likely need one for the entire cabinet or rack.
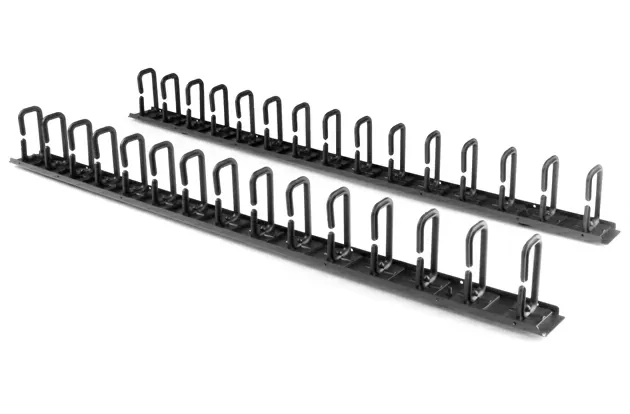
When connecting network equipment from the front side and to patch panels, it is necessary to have special horizontal cable organizers, such as beams with D-shaped rings, or "ridges", which are easy and convenient to use. You can also use cable organizers with a cover, allowing you to remove the cable wiring more elegantly.
It is important to understand that if vertical cable organizers are used inside the rack and serve to assemble dozens of cables into one thick bundle, then horizontal ones are used to evenly distribute cables outside the cabinet, usually from the front side. Their main task is to take on the weight of the cables, remove the ugly "noodles" or even protect the connectors from accidental pulling out.
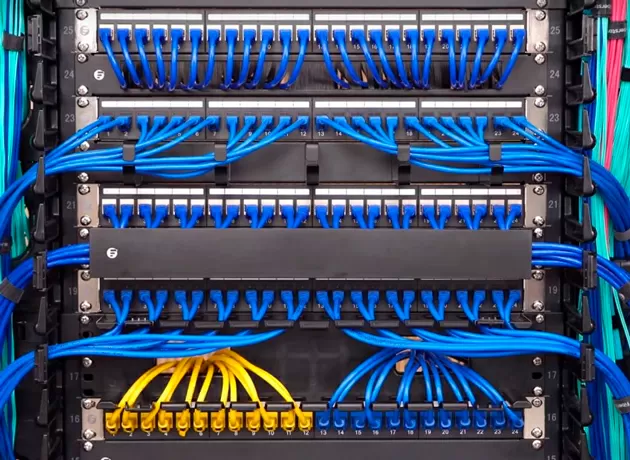
The organization of the cable system does not do without the use of fasteners, such as clamps and Velcro. They allow you to neatly fold the cables and avoid sagging, which not only facilitates the management of the cable system, but also improves the aesthetic appearance of cabinets with network equipment. In the most extreme case, you can do without cable organizers at all, simply by connecting the cables with Velcro and ties.
Ties or Velcro? Straps!
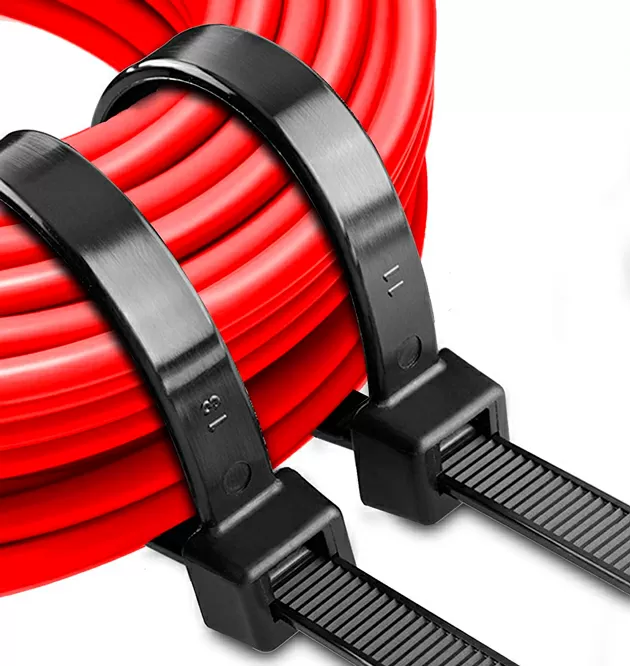
Ties and clamps – these small products never cease to amaze us with their versatility. With their help, you can attach anything, and most importantly, they are easily adjustable and can be removed and reused repeatedly. They are most common in the automotive and electrical industries, but are also used in everyday life. However, their use carries certain difficulties. Firstly, the clamps can tighten the cable, which can lead to damage to its internal conductors. Secondly, the clamps do not have the ability to adjust the tightening, which can lead to uneven fixation of the cable, and if you tighten the clamp, you will not be able to loosen it. Thirdly, from time to time and under the influence of ultraviolet light or weather, the screeds burst.
And if we talk about Velcro, it is also a very convenient and practical material for attaching various items. They are widely used in the textile industry and in the manufacture of shoes. Velcro is convenient because they can be easily fastened and unfastened, they hold well and do not damage the surfaces on which they are attached. They usually work well for light cables, but they don't always cope with heavy ones. Velcro can also lose its stickiness over time, especially when reused, or if accidentally collected debris and dust in the open state.
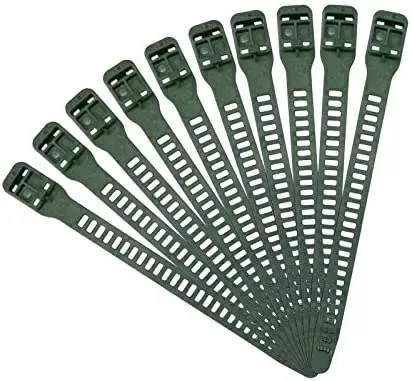
The most universal solution is the use of special straps for cables. One of the main advantages of cable straps is ease of use due to the presence of a built-in buckle that allows adjustment of tension. They are easily attached and unfastened, which allows you to quickly and effortlessly replace or move cables, sometimes without even loosening the fastening of the entire harness.
Where to start?
Now that you are determined to clean up the cables, here are some useful tips for where to start:
- Measure the distance between the connections taking into account the cable routing path.
- Mark your cables with color, this will help to avoid a mess in the future. Caps of different colors can be used for network cables.
- Mark both ends of the cables. This will help you know exactly where they should be connected/what they are used for. Read about how to label equipment in the data center in our article.
- Route all cables through the sides of the rack in vertical stackers.
- Plan an expansion. Perhaps your infrastructure will grow, equipment will be supplemented, and planning in advance is often cheaper and less time-consuming than subsequent rework.
- Make an estimate for cable organizers, straps, Velcro and ties.
- If you have dozens of network cables coming to the server, it makes sense to buy special combs for laying them neatly (cable comb).
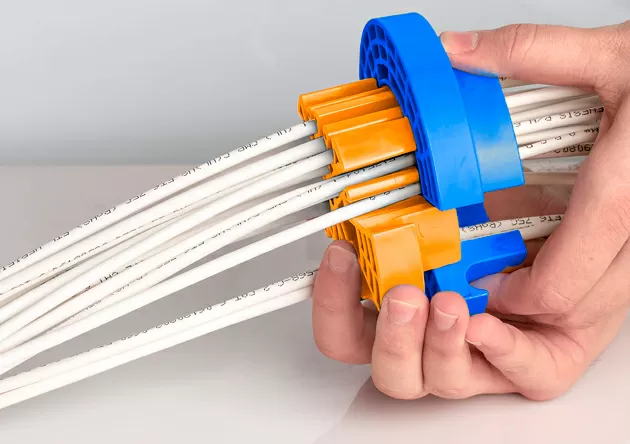
CableComp is a tool for organizing cables when laying them in routes: under the ceiling, under false floors and at the entrance to the server cabinet. It is used to assemble cables together and align them to create a more neat and organized look, and most importantly, at any moment any cable can be pulled out and replaced without causing entanglement. Cable combs are made mainly of plastic, so as not to damage the insulation of the conductors. They come in different sizes for a different number and thickness of cables. The cost of such combs can vary from $5 to $20, and if your organization has a 3D printer, you can print it yourself. It is important to understand that when laying cables using combs, the resulting bundles need to be fastened with Velcro through the same distance and prevent twisting of the tool in the process of "combing" the harness.
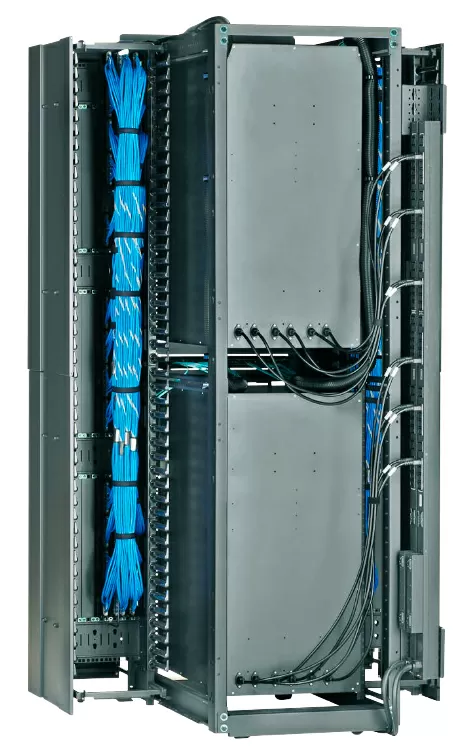
Careful laying of cables in the server cabinet is necessary not only to ensure cleanliness, order and security. This allows you to reduce the loss of time when searching for the right cable, avoid their entanglement and connection errors, as well as improve airflow and reduce the risk of accidentally disconnecting the "wrong" plug or connector.
Ron Amadeo
24/03.2023

